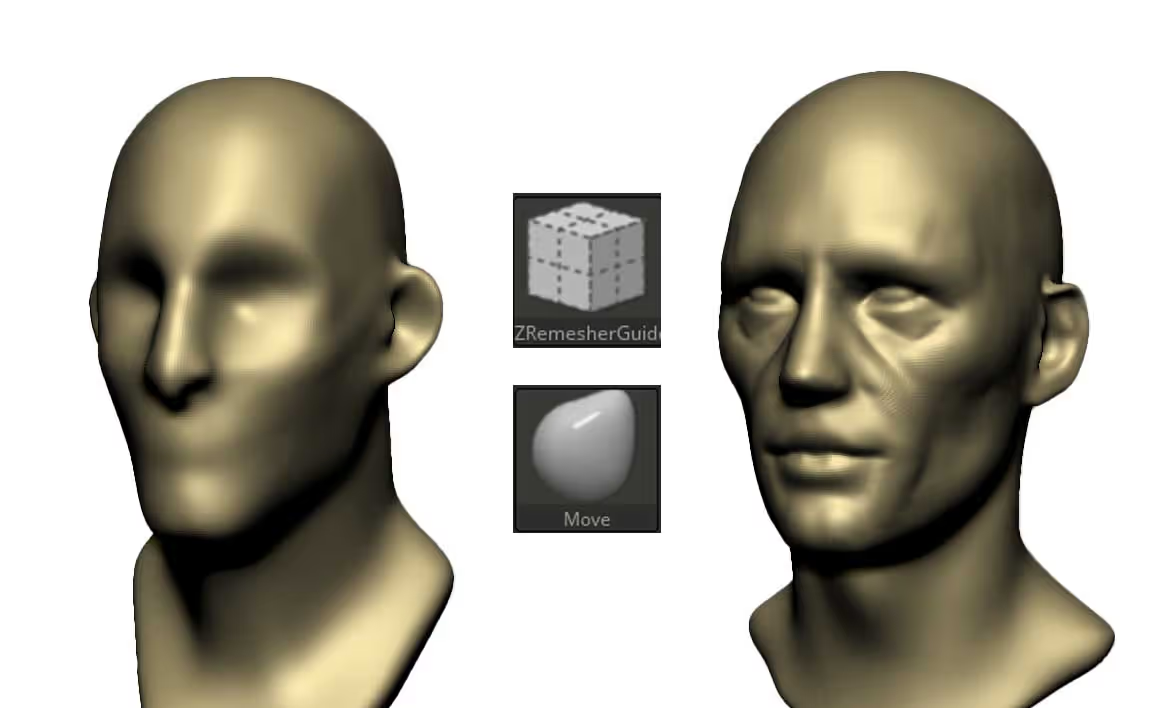
To control the automatic retopology process of the ZRemesher you can use Polygrous but this method is quite useful for simple things (note that I don’t have many definitions on the eyes or mouth areas).
Using the ZRemesherGuides, you can literally trace the main areas or polyloops you want the ZRemesher to follow in the retopology process. I’d recommend keeping it simple and only ‘mark’ the main loops.
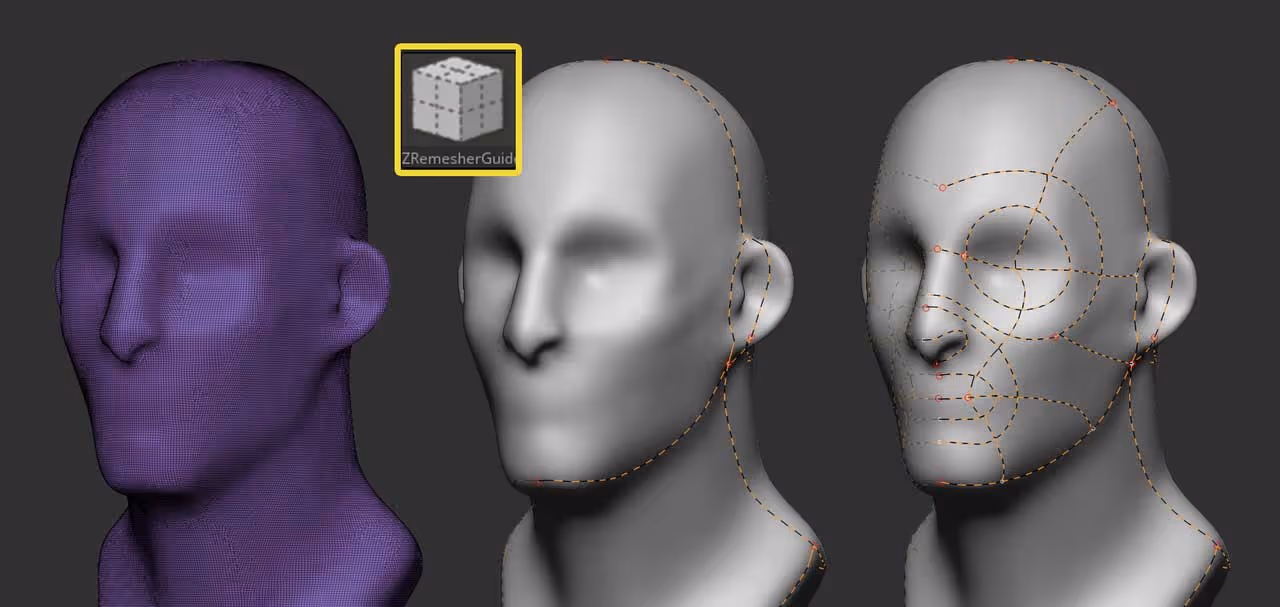
Also, if you make a mistake while drawing curves, you can hold the Alt key and draw a line going through any other curve to delete it:
once you have your guides, you can go to the ZRemesher palette and set up your settings... I used the default settings but turned the ‘Curve Strenght’ slider all the way to 100 to force the ZRemesher to follow the placement of my loops. Play around with this value, sometimes something like 80 will work a lot better and still follow what you set up.

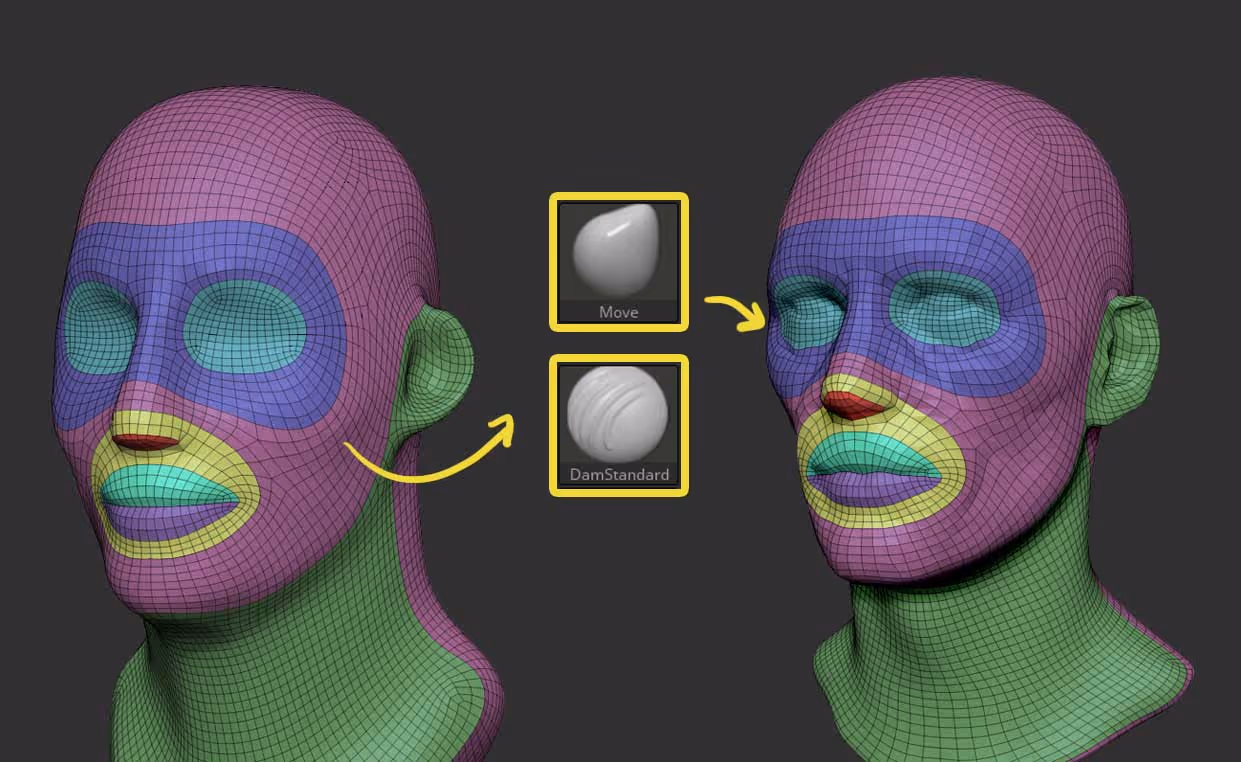
After re-topologizing the mesh, I spend a couple of minutes cleaning up the new topology by reducing the points (another ZRemesher process with ‘KeepGroups’ enabled) and then combining a few polygroups IDs.

The base mesh might not look great at this stage, but it is just a matter of spending some time tweaking the volumes with the move brush or any other sculpting brush.
Hope this helps!


.webp)

.webp)