The first tip/technique is using Polypaint, radial symmetry, and a nice material to get a good looking eye in just a few seconds...
The process is really simple and you can follow this set of steps below and the gif above as reference:
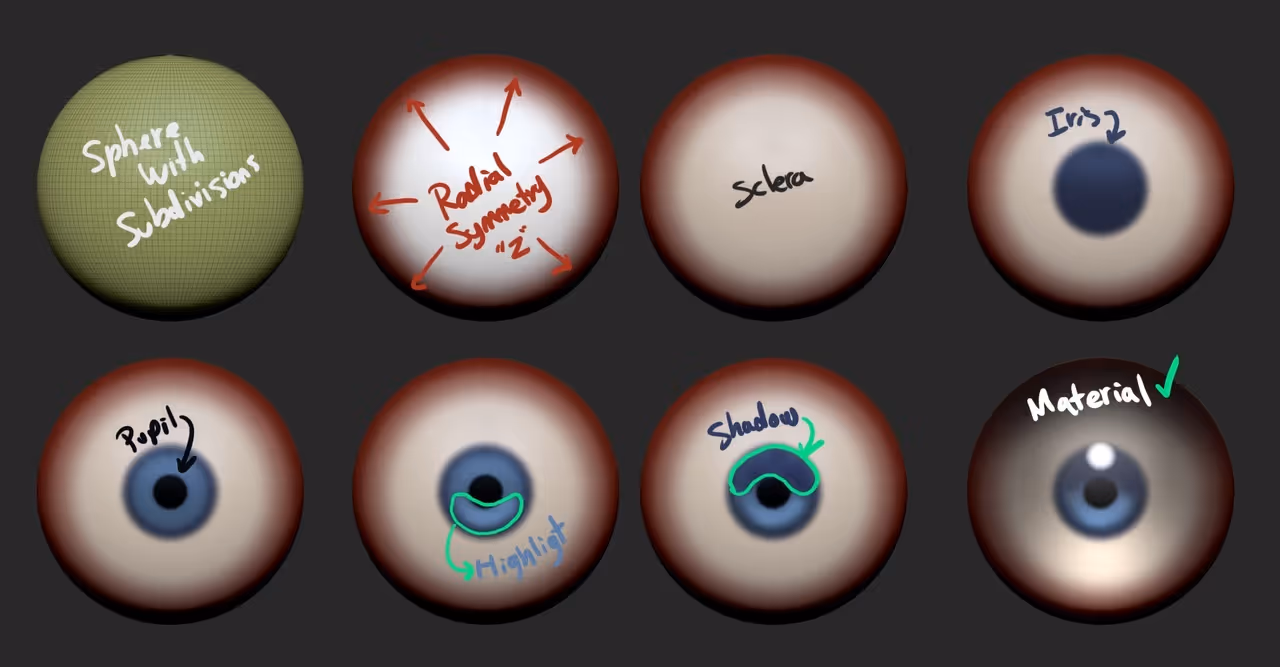
- Choose/create a sphere, subdivided it a few times to have enough resolution and choose the SkinShade4 material (to see polypaint better)
- Activate Summetry and turn on the 'R' for Radial Symmetry. Switch from the 'X' axis to the 'Z' axis.
- Choose the standard brush, turn off 'Zadd' and turn on 'RGB'
- Now you are ready to paint the eye. Choose a dark red colour and cover a bit more than half the sphere.
- Add a light 'cream' colour for the sclera, and chose the colour of your iris... you'll see that these steps are super easy and fast thanks to the radial symmetry.
- Add a black dot for the pupil
- Finally, turn off Radial symmetry and you can 'fake' the concave shape of the iris, but adding some highlight with a lighter colour to the bottom half of the iris and a dark tone at the top of the pupil.
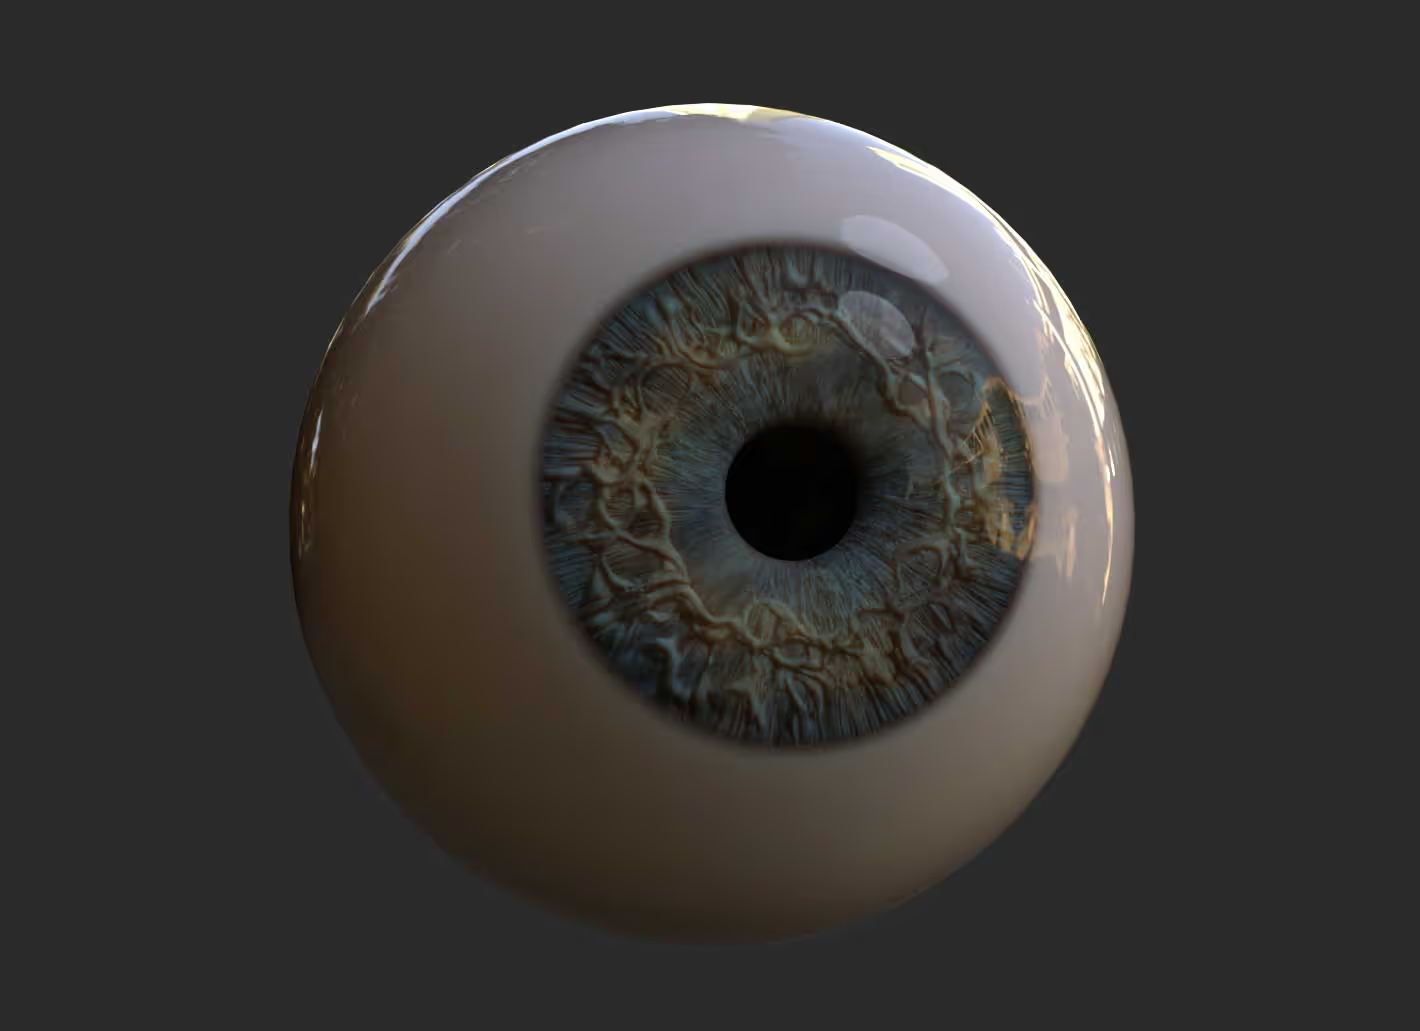
- The final step is to switch to a more reflective material. you can use the JellyBean or ToyPlastic materials in ZBrush to complete the effect (or download the I prepared for you from the buttom below).

Download the simple eye material for ZBrush
Pretty straightforward, right? - You can do lots of different variants and save the spheres as separate tools in a folder so you can build your own asset library of eyes ;)
The second technique is even simpler and super cool.
In ZBrush, the MatCaps use an image to produce the effect of the material. The image that is used as a base for the material, is usually based on a sphere shape... so, naturally, since the eye is kind of like a sphere, we can basically replace the texture of any matcap for a painted texture of an eye:
You can use any eye texture (you can just take a pixture of your eye) and put it into a square image and import it into ZBrush. These are the steps:
- Find a texture or take a picture of your eye and fit it in a square document in Photoshop
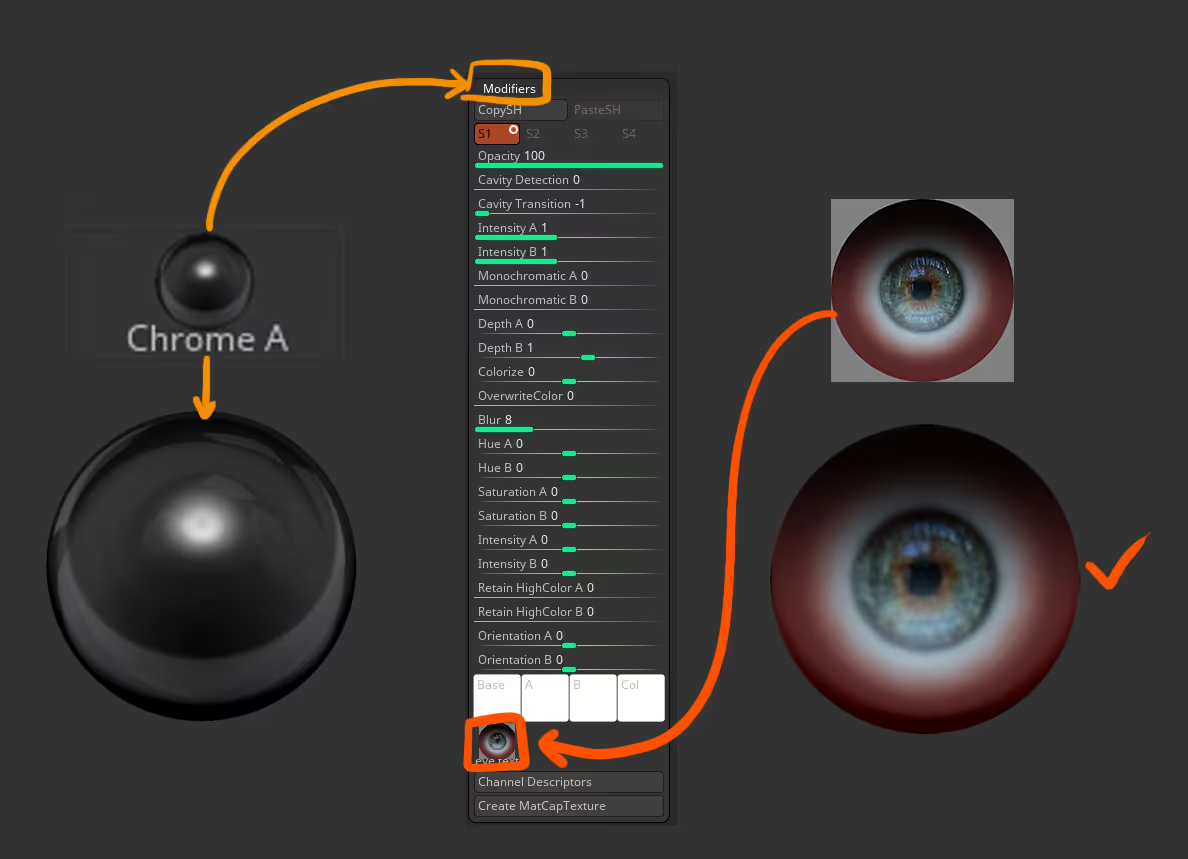
- In ZBrush, select any matcap like the 'Chrome A' or similar, go to the Modifiers subpalette from the Material Palette, and click on the texture thumbnail at the bottom.
- Click on import from the pup-up palette and select your JPEG or PNG image
- voila! you have a brand new eye material... is that simple really.
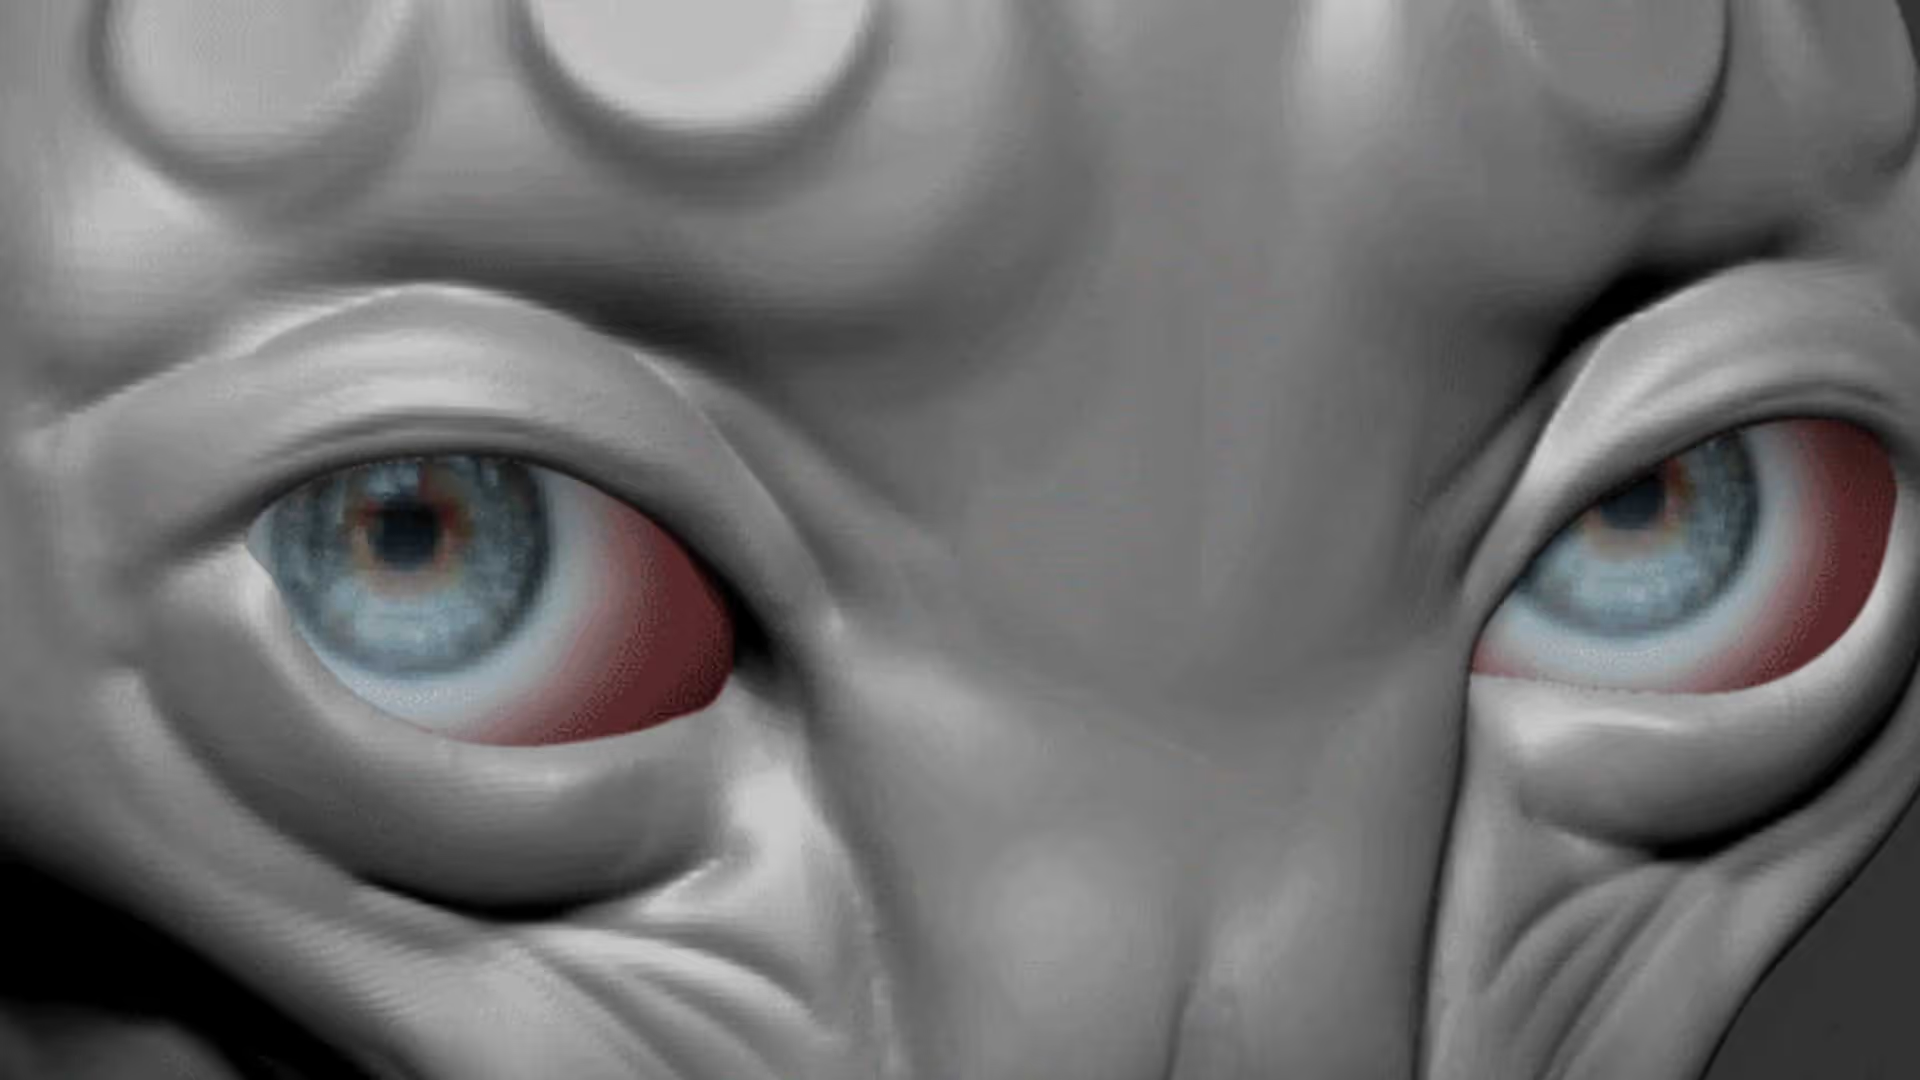
The only thing is that because it is a MatCap, the eye will always be pointing at the camera which is a little bit creepy when sculpting, it feels like your sculpture is constantly judging you haha:
That's it for today. I'll be sending a couple of emails about the workshop closer to the deadline of enrolment in case you want to join later (provided we still have spots available).


.webp)

.webp)