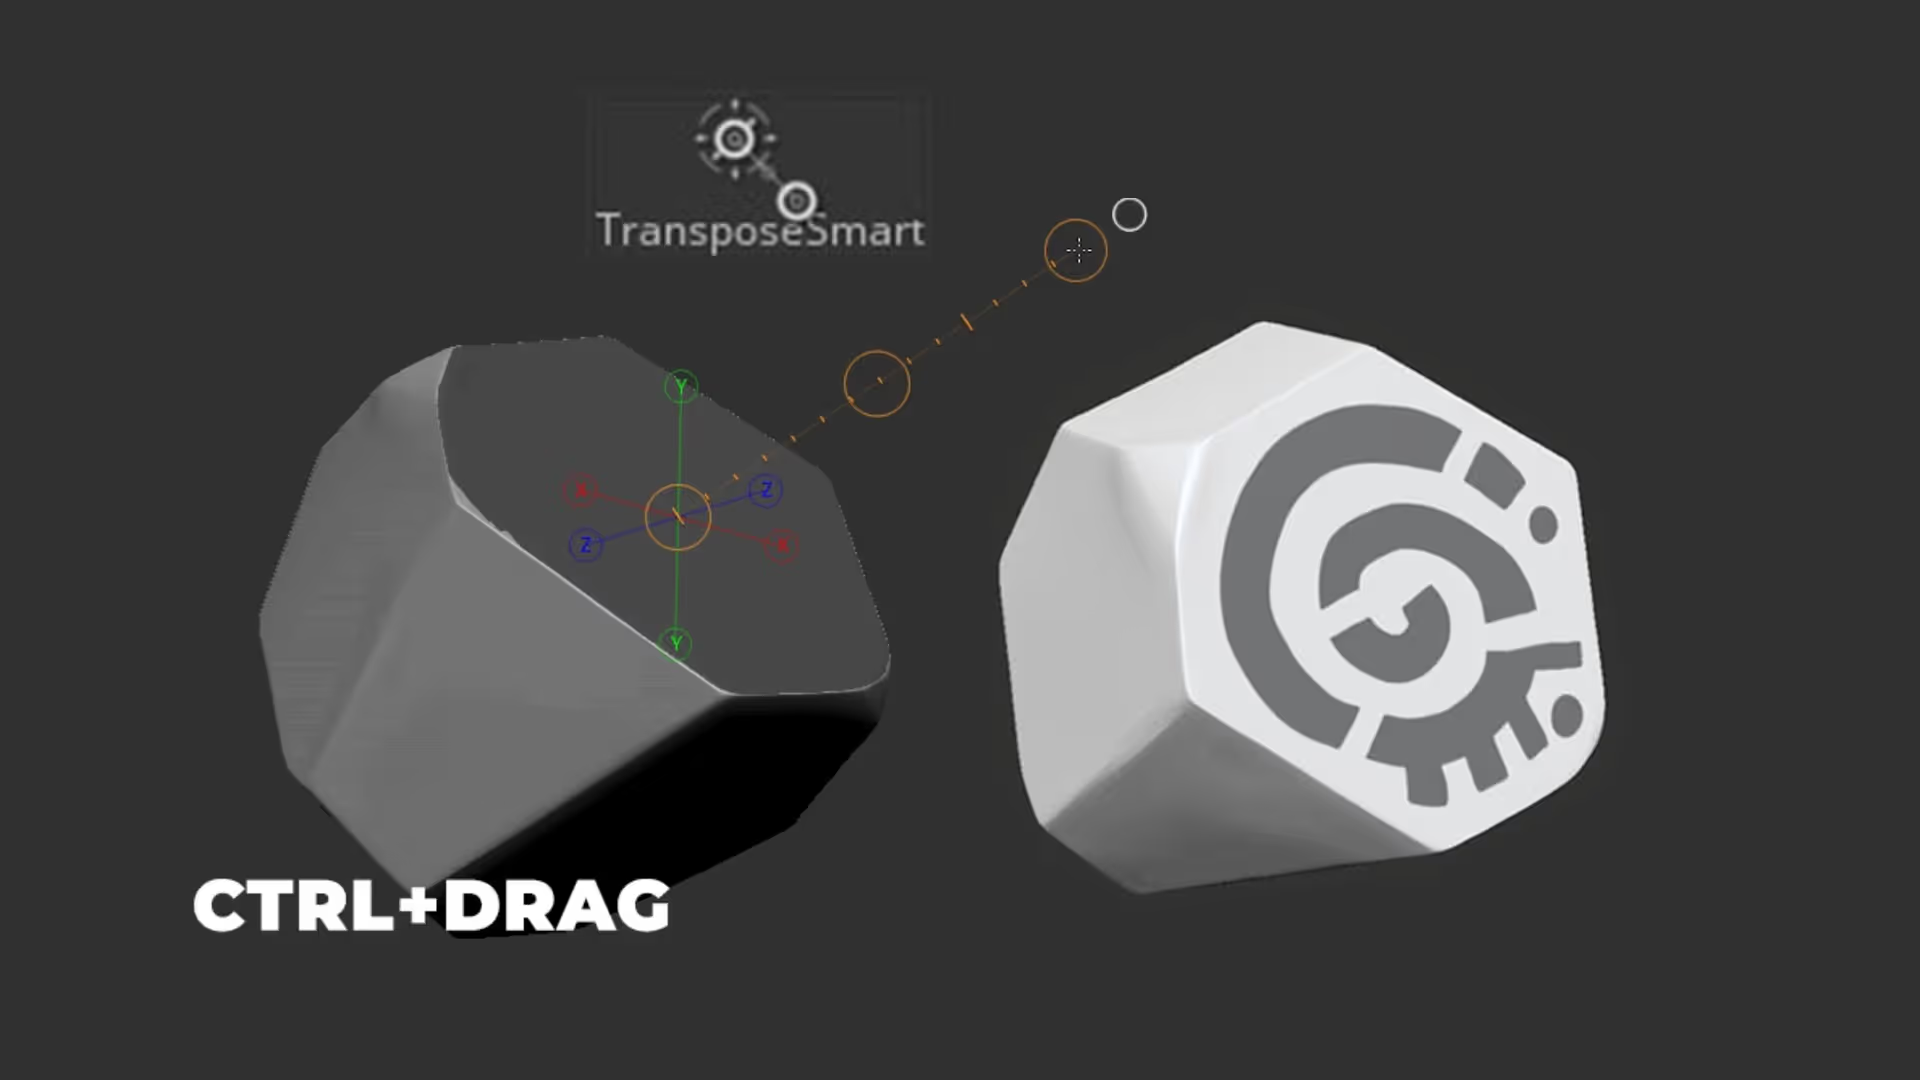
The first one is the TransposeSmartMask tool... have you seen it? it has been in your brush library all along!

This is a fantastic little tool that allows you to mask based on the normal of the surface, so all you have to do is select it, hold Ctrl... click and drag on a 'plane' of your model and ZBrush will take care of the rest...
sometimes is not perfect, but you can hold Ctrl+Shift to add more sections to your mask ;)
Now, how about when you spend a long time creating a mask and then you have to get rid of it to use another process? what if you want to keep your mask to use it later? Well, there are a few options, the one I use all the time is just a simple black and white polypaint in a single layer (multiple masks can be saved in multiple layers):
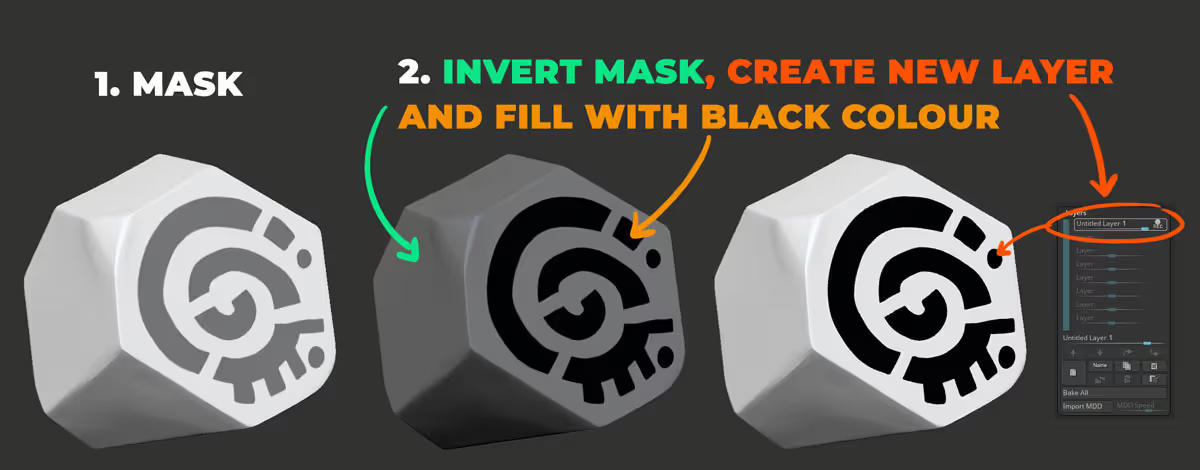
Once you have a simple black and white polypaint from your mask, you can enable the layer you want (set it to 1), go to the Masking subpalette, expand Mask by color and click on 'Mask by intensity' That's it!
Alright, that it. I hope you are finding these little tips useful!


.webp)

.webp)