
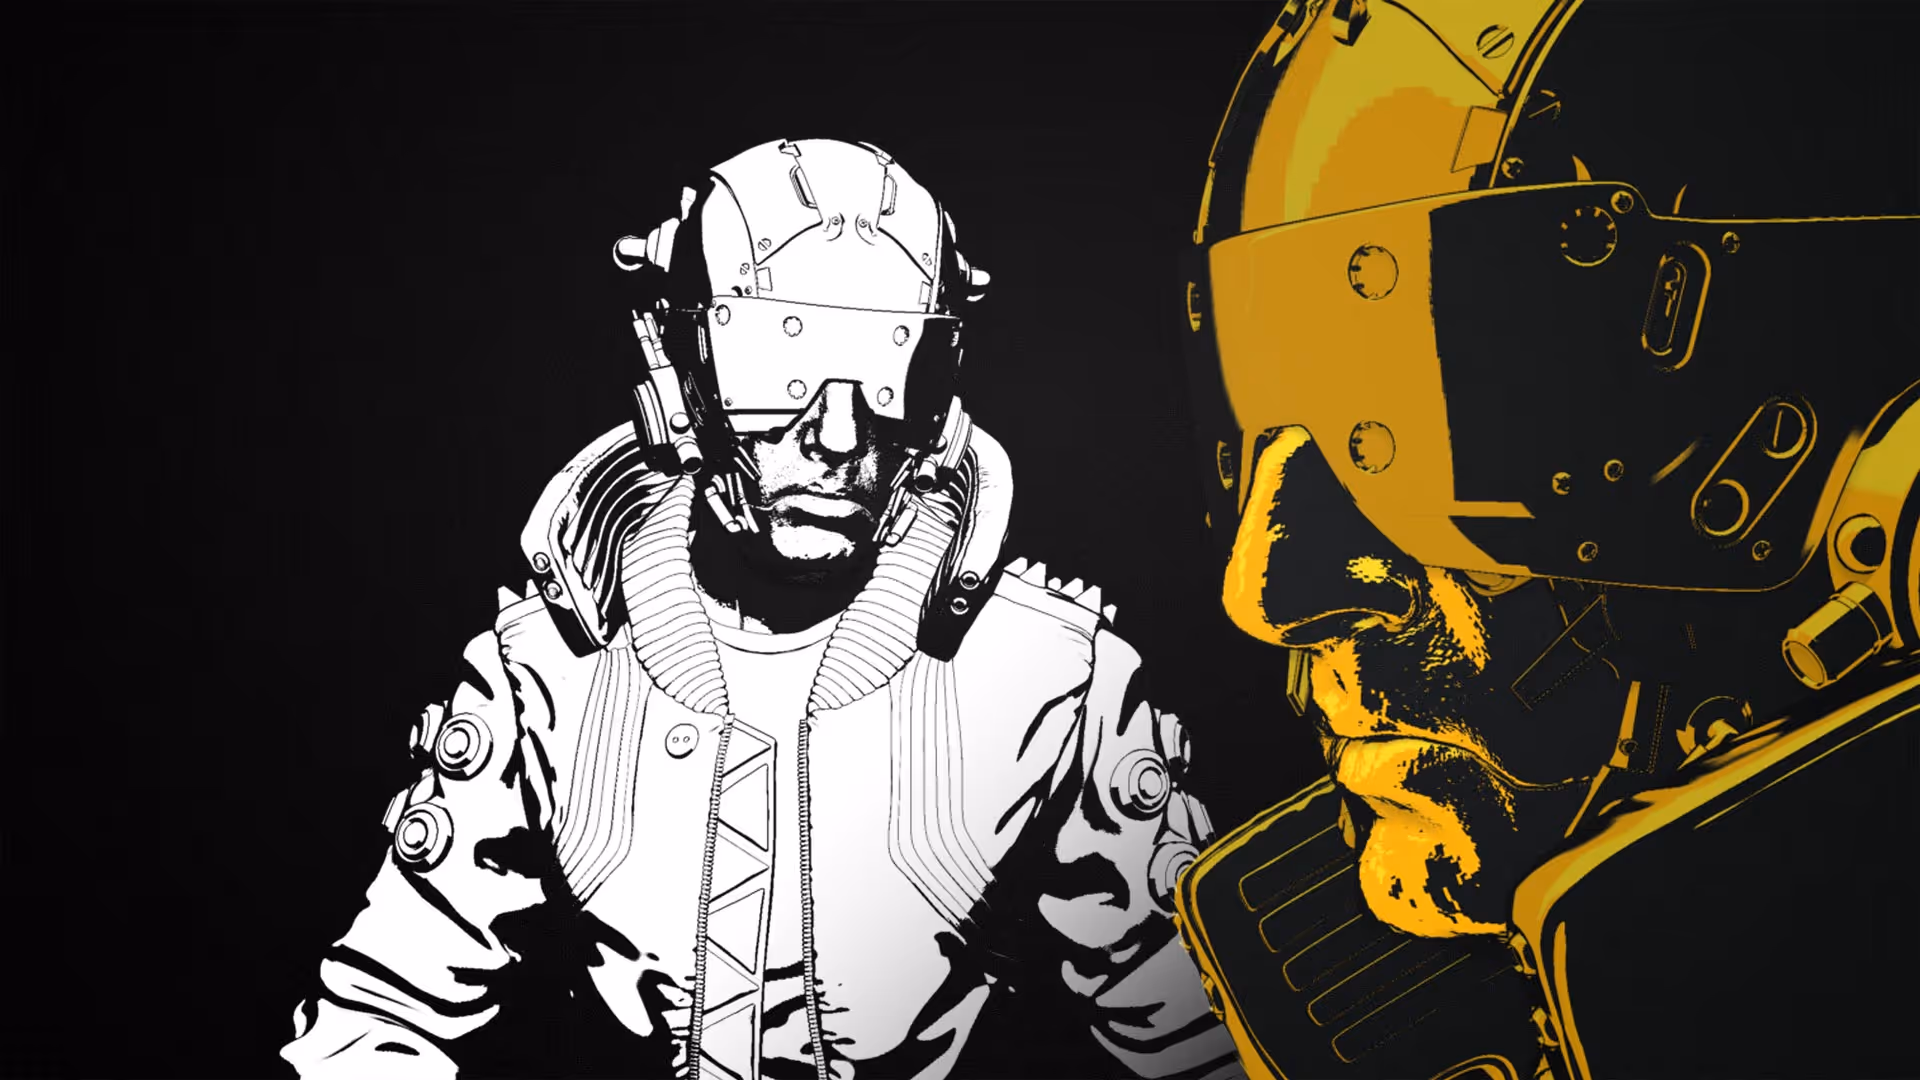
The rendering style is also pretty cool so I thought I’ll give you some simple tips on how to render something similar within ZBrush so you can recreate the stylisation and make your characters look like they belong to that world!
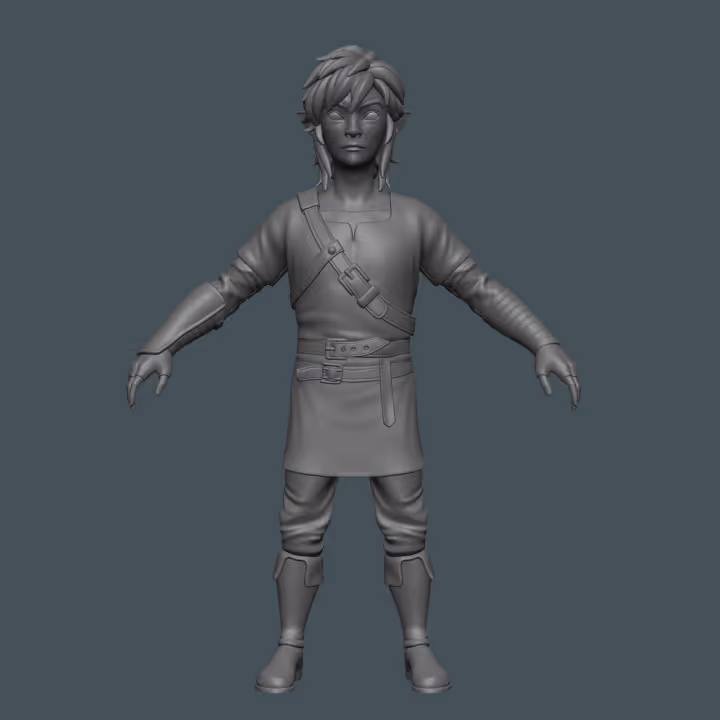
The trick is actually very simple… First let me show you how the quick 3D sketch of link looks like in ZBrush with a standard Grey MatCap material:
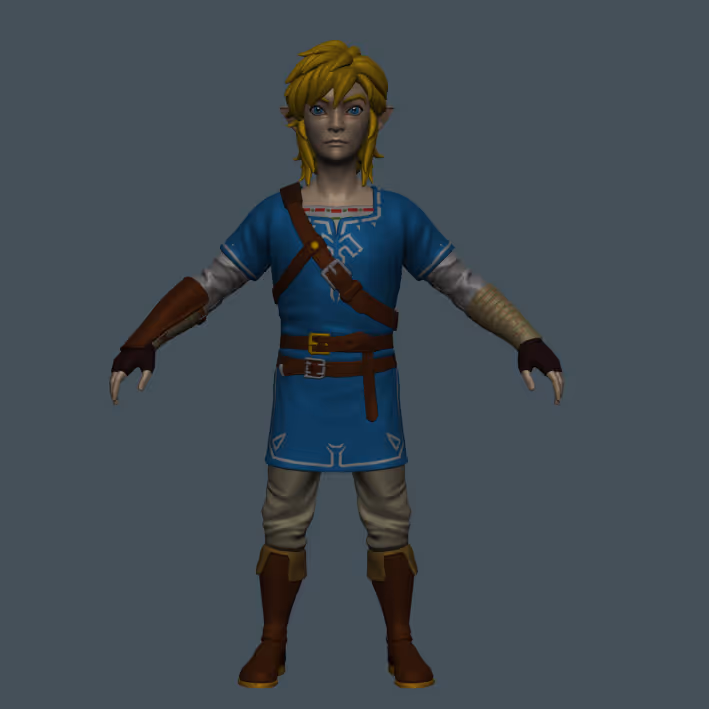
So the first thing you need aside from the mesh, is some polypaint… nothing fancy you can just fill different objects with different colours like this:
Then you can load up my Comic Material for ZBrush (you can get it free on the ZBGs website if you haven’t download it yet) and kill the third shader to avoid the harsh shadows:
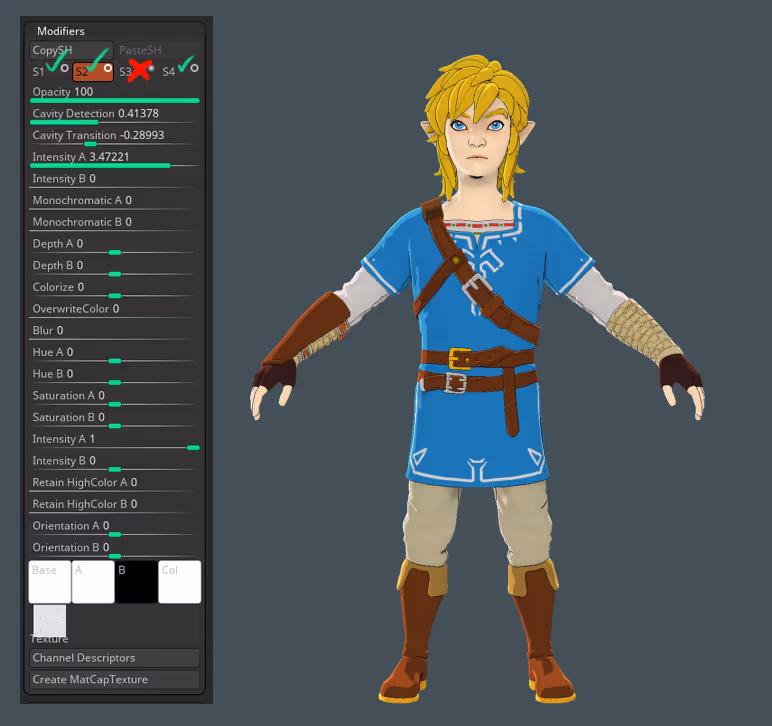
The comic material with the small tweaks will get you 90% there so the remaining 10% wich would be those nice contrast shadows can simply be achieved from the render palette.
Open up the render palette and expand the Preview shadows, from there you can turn on the ‘Deep Shadows’ and the ‘Flat shadows’ button and play with the ObjShadow slider to reduce the intensity.
The Length, Slope and Depth are sliders that help you to give orientation to those ‘preview’ shadows:

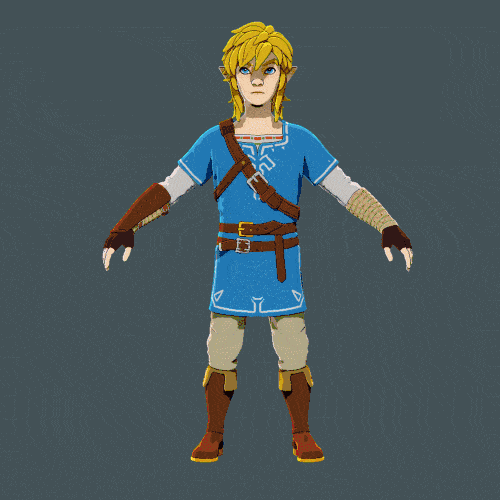
That’s it! now you have the ‘Zelda style’ in ZBrush all within the canvas without the need of even rendering the thing ;)


.webp)

.webp)