This technique is simple and it can be applied to a bunch of other type of details as long as there is a repetition of a small pattern. The idea is to identify the smaller element of the patter and recreate that on its own first.
In the case of something like human skin, the smaller element would be a ‘pore’ so you could sculpt something like this on a plane 3D:

Once you finished the sculpting of a small detail, you can go to the Alpha palette in ZBrush, and click on the ‘From Mesh’ button. A new window will pop up that allows you to frame the object and determine the resolution of the alpha:
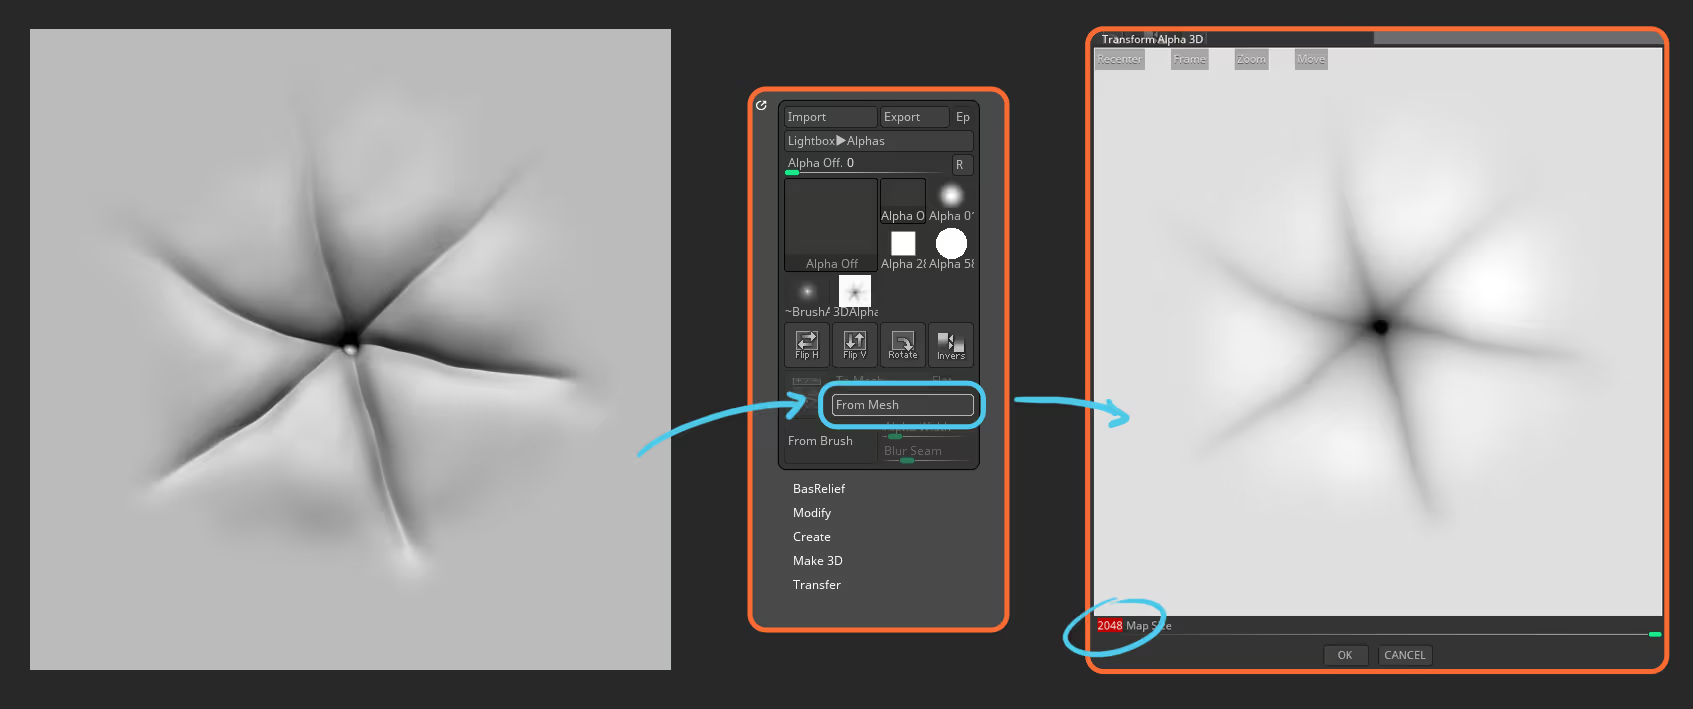
That’s about as complex as it gets with this process… you now have a working alpha that can be used as a single pore to detail a mesh. Now, I like to change the alpha to DragDot so that the size of the ‘pore’ is consistent and you can simply drag it around.
Also you might want to check the ‘surface’ switch from the Modifiers subpalette from the alpha palette to find the median value and avoid changing the volume of the surface too much.
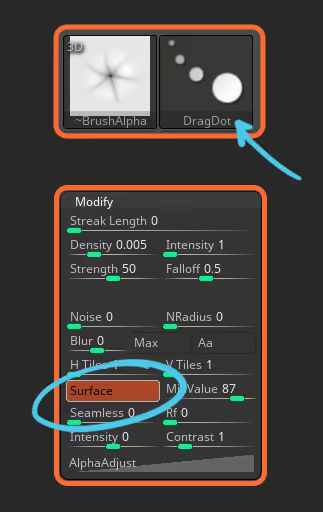
With those tiny tweaks to the alpha and the brush you can build up the next ‘patch’ of the patter using a few of the single pores on a new 3D Plane just like this:

At this point is rinse and repeat… you can grab another alpha and create an even more detailed alpha with more pores. The idea is to start from the ‘microdetail’ and build up from there… so, Pore > Patch with a few pores > skin pattern
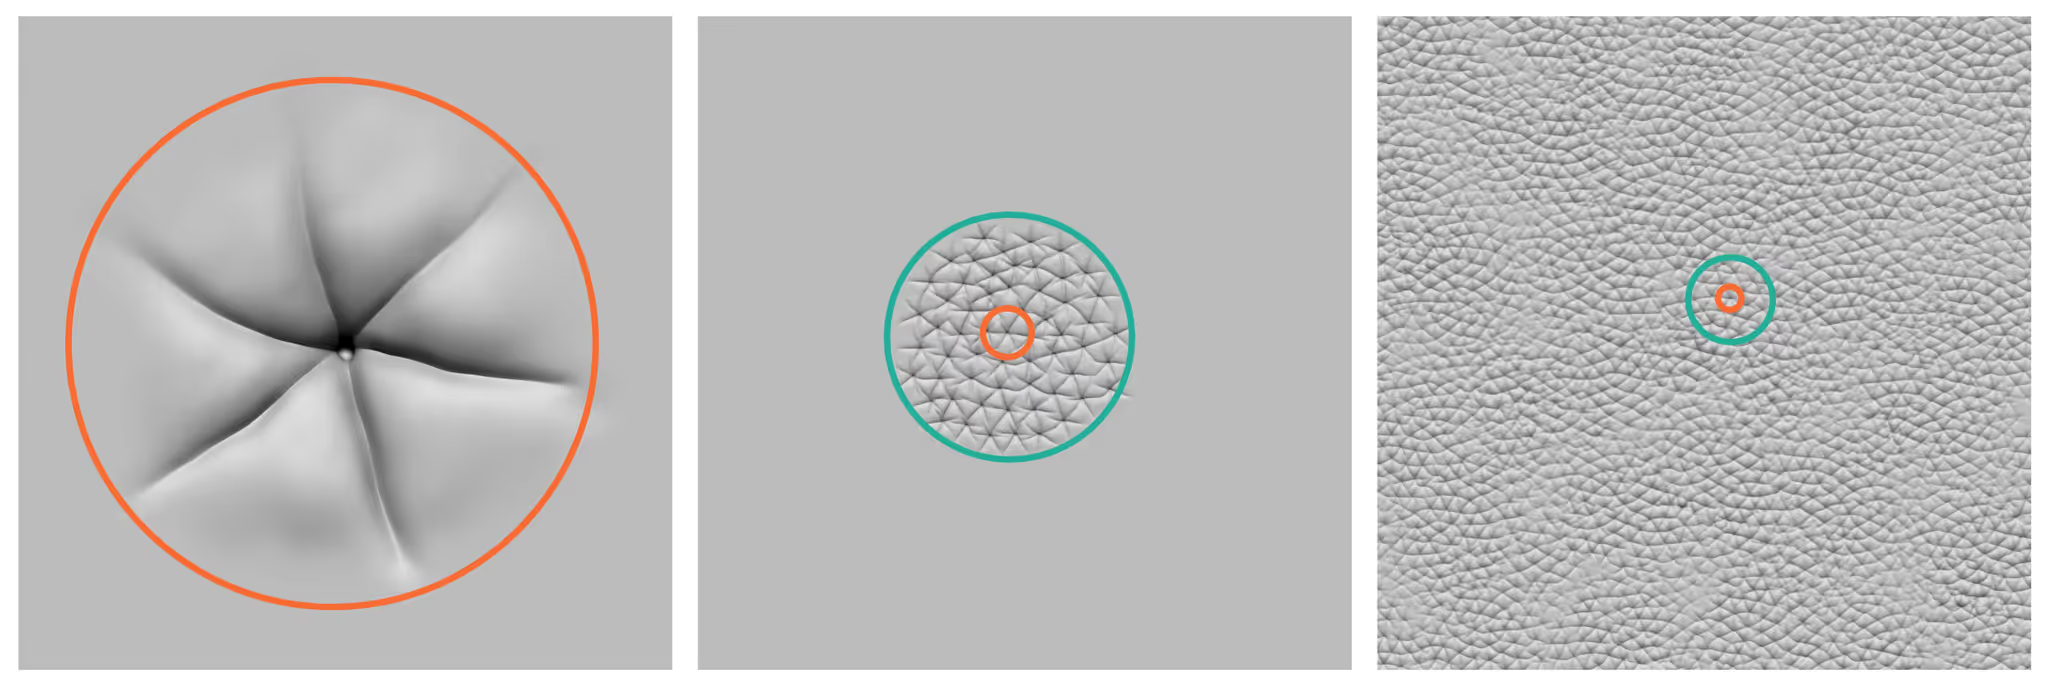
One thing to keep in mind when you get to apply this details to a mesh, is that if you add a bunch of ‘circular alphas’ with pores, you might end up with some gaps to avoid overlapping the alpha too much… in this case what I like to do is use the single pore alpha to ‘fill in the gaps’ and then something like the GIO brush and the Standard brush to add some larger wrinkles and folds:

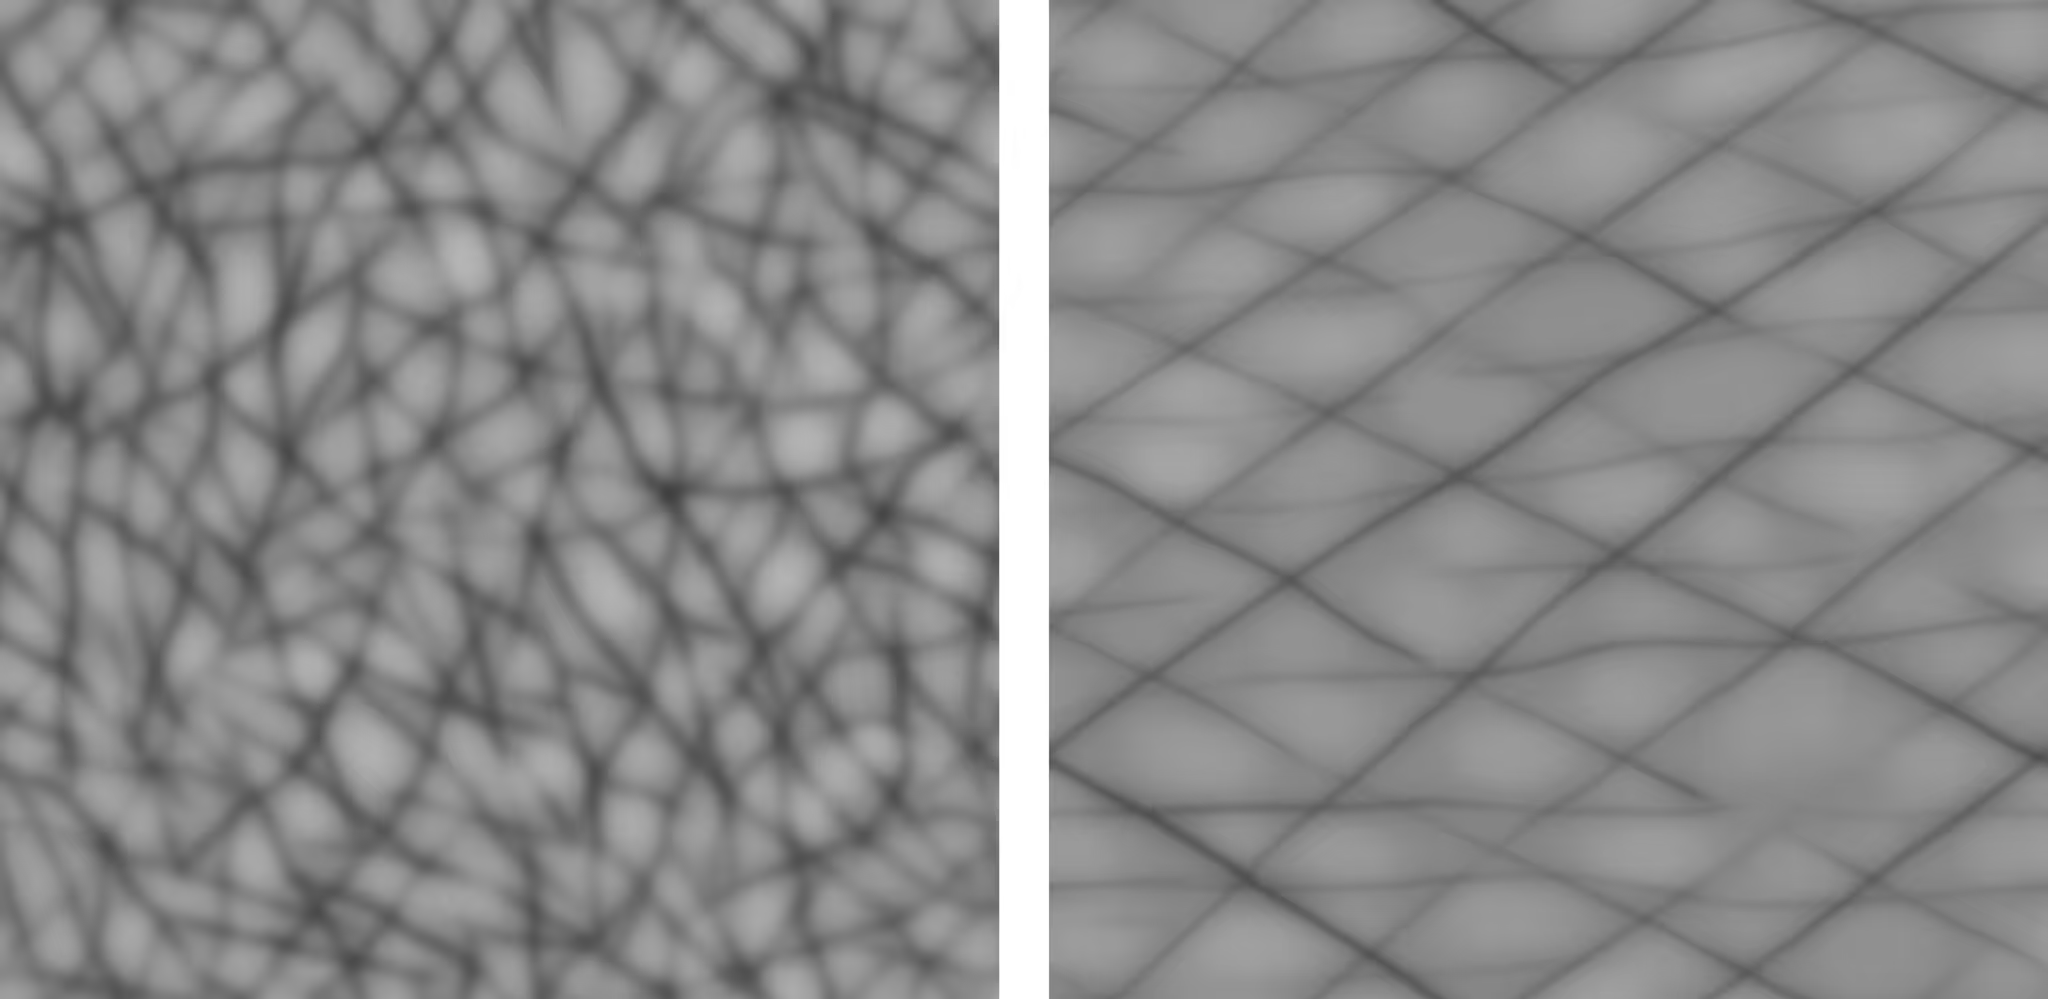
Another cool extra tip about this process, is that you can create your patterns in a ttileable fashion and generate tileable alphas to use as noise makers like these:
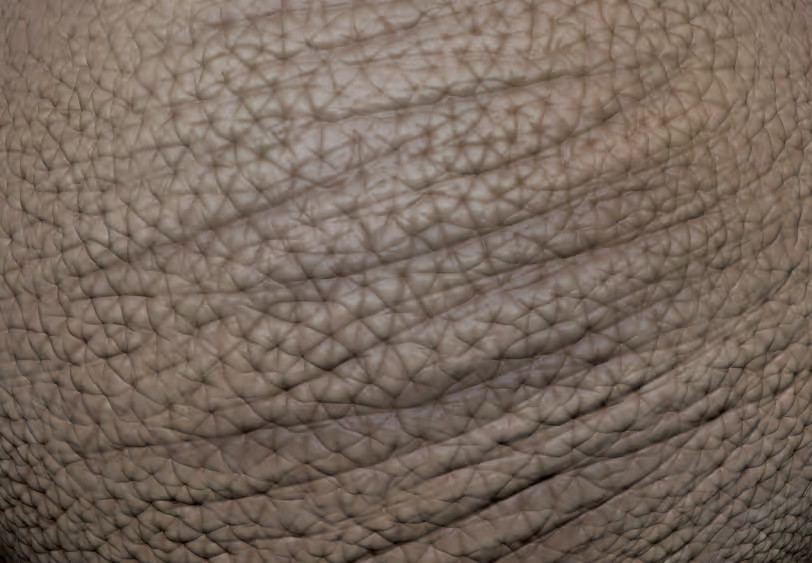
Here is the result of this quick example with a bit of polypaint:


.webp)

