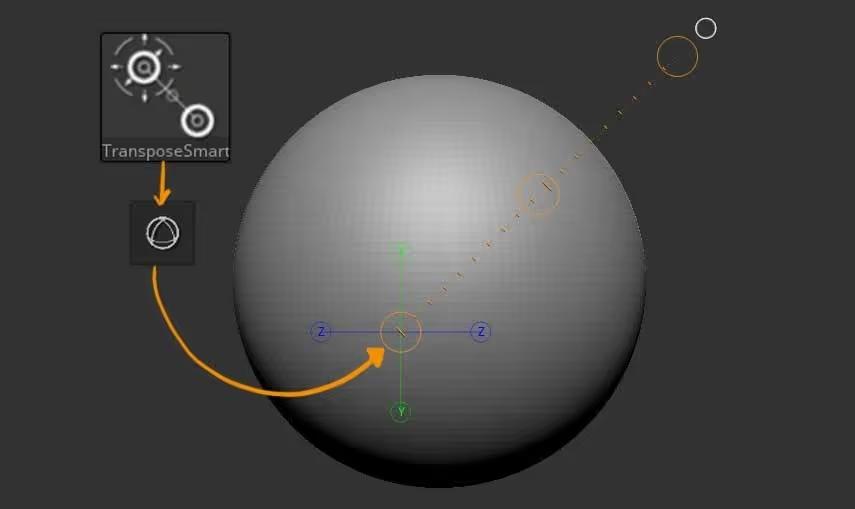
First, go to the brush palette and select the TransposeSmartMask... it looks like the Transpose line icon. You'll also have to disable the Gismo 3D otherwise it won't work that well... it actually works with the gizmo, but the Transpose line is visually a lot easier to understand for this tool.
So, for the most part, this tool works in the same way as the standard Transpose line, so you can move, scale and rotate your object using the manipulators (inner white and red circles within the yellow 'handles'). BUT, this is a smart MASKING tool... so if you hold the Ctrl key and drag, you'll be able to mask the mesh from the point that you initially clicked!
I know... I know, you're probably thinking "what's the big deal?" or "why is this a 'smart' mask?"... and yeah, it is true, you could achieve something similar with the standard masking brushes, but the real value of this tool, is that as you drag the mask, it respects changes in the topology based on the surface angles.
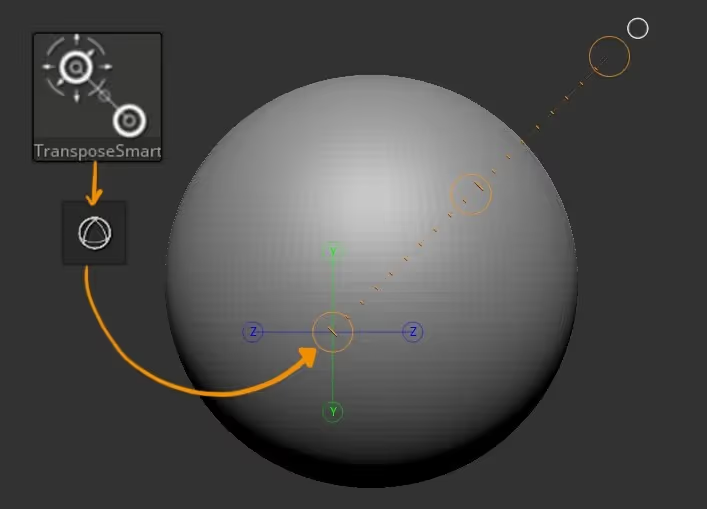
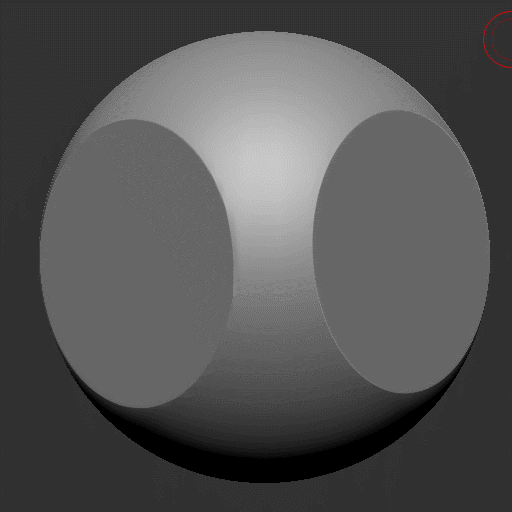
A sphere mesh is probably not the easiest way to see the power of this tool, but if you just clip a portion of it... you can hold Ctrl and click and drag from the 'planar' section and when the TransposeSmartMask 'hits' the edges of that area it will stop!!! WHAT??? yeah... check it out:
This process is incredibly useful for hard surface modeling and in general to refine and polish surfaces. As you can see form the short GIF above, the 'range' of the mask is simply determined by how long you draw that line so you can decide exactly where to stop the mask (like before it 'bleeds' into another unwanted area).
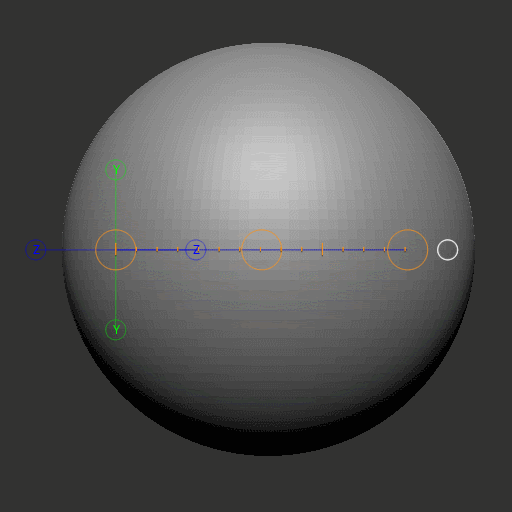
"Ok, this is cool, but what if you have something a bit more complex than just a flat area on a sphere?", you might ask... Well, you can try masking from a different point to try con control the reach of the mask but you might end up with something close but not 'good enough, like this:
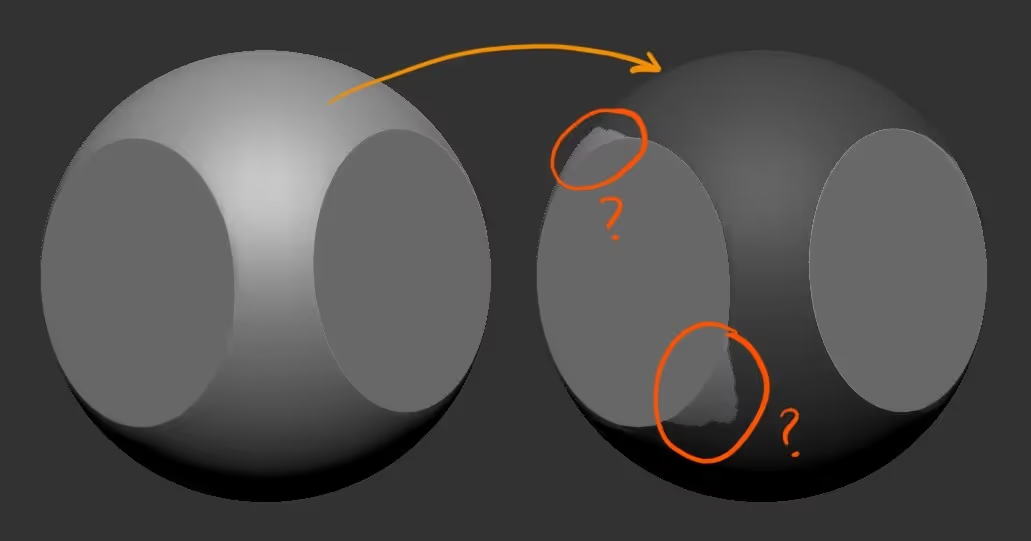
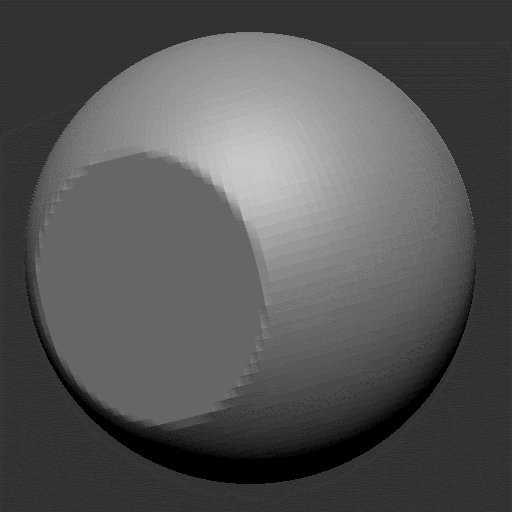
As you can see, it masked around the planar area on the right side of the sphere but the one on the left is a bit 'wonky'... Here is where this TransposeSmartMask really shines, you can use the same method to ADD areas to the mask.
All you need to do is hold Ctrl and drag from the area you want to add.... this will remove the previous mask and start a new one, but don't worry, hold the Shift Key after you start the 'dragging' process and ZBrush will add to the mask. Amazing!
That's it! you are now in control... masks are everything!


.webp)

.webp)