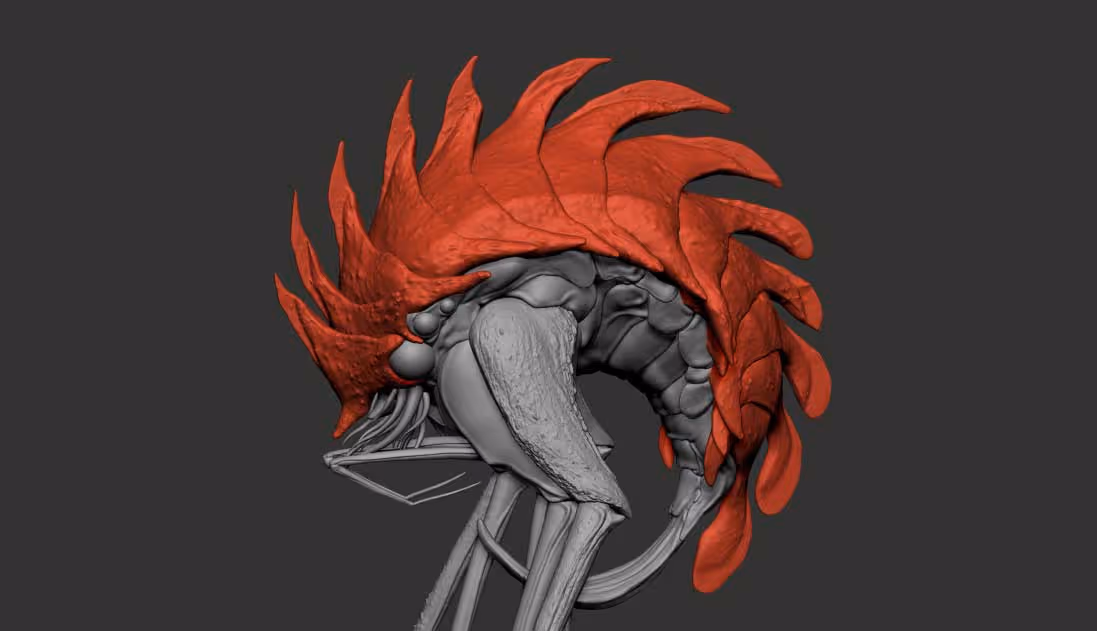
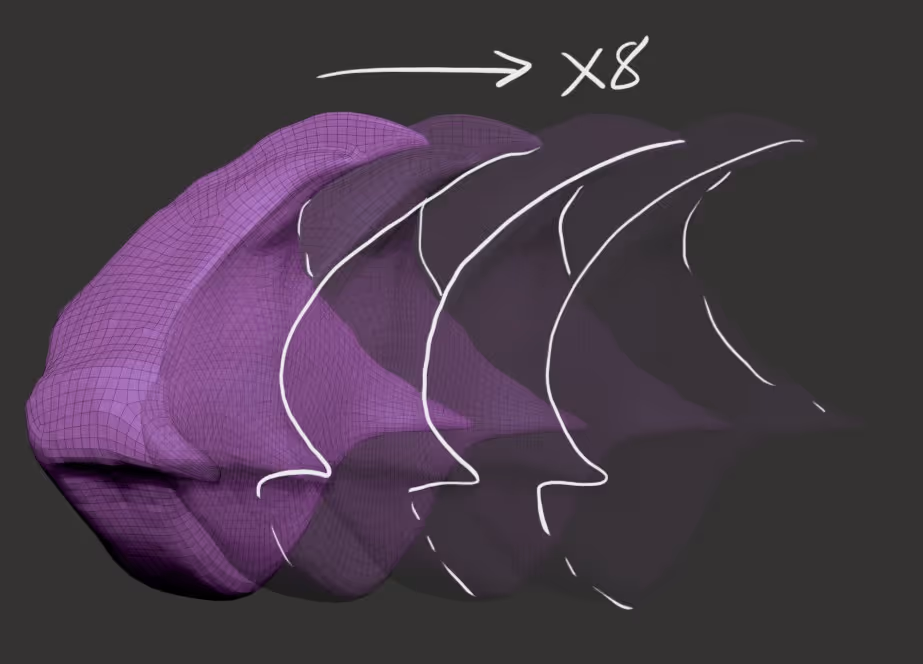
Take a simple object, in this example an individual section of the body of the creature and from the ArrayMesh subpalette enable two things: Array Mesh and the Transpose Switches. The ‘repeat’ slider is where you can define the number of instances. In other to see the ‘repeats’ you need to use the Transpose line and ‘move’ the object
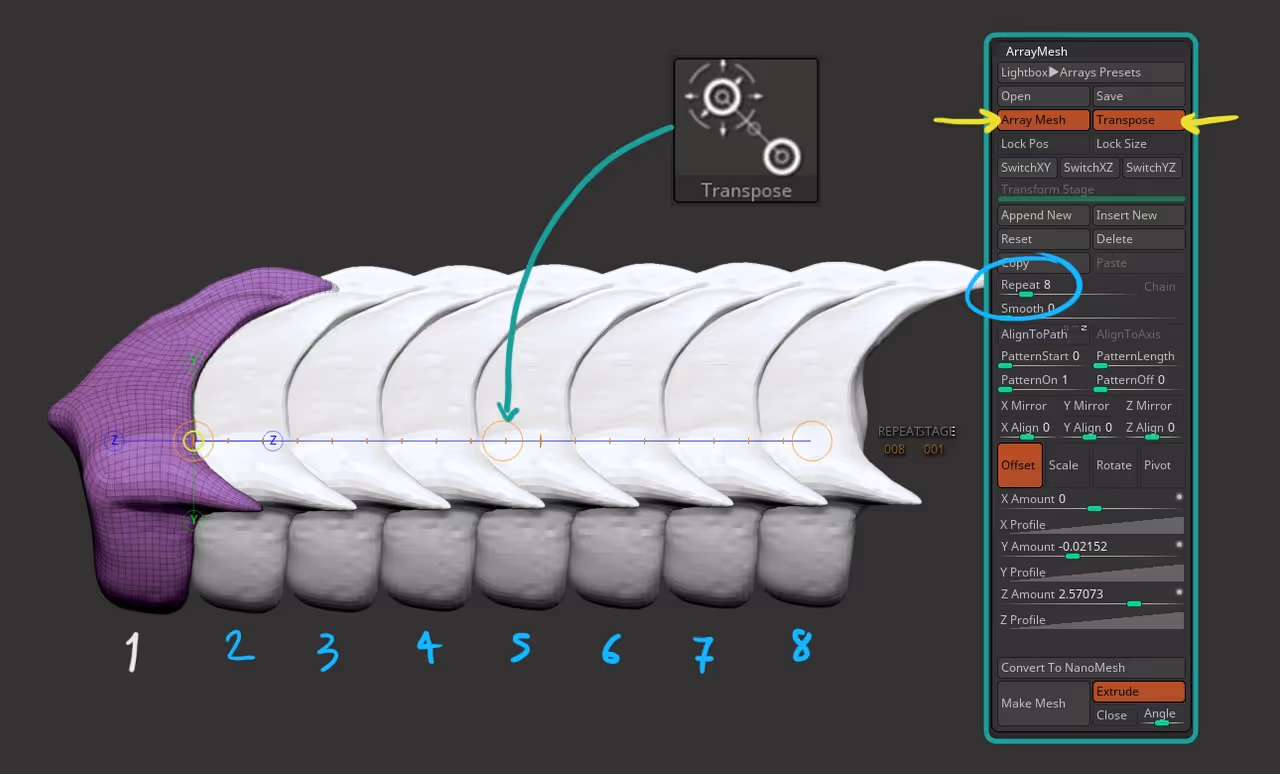
If you only see the Gizmo 3D make sure you switch to the Transpose line using the ‘Y’ key shortcut.
Once you have established the number of instances and the spacing (by dragging from the centre of the transpose line), You can use Rotation and Scale to add variation to the instances. Make sure you click on the ‘red’ circles at the end of the Transpose line:
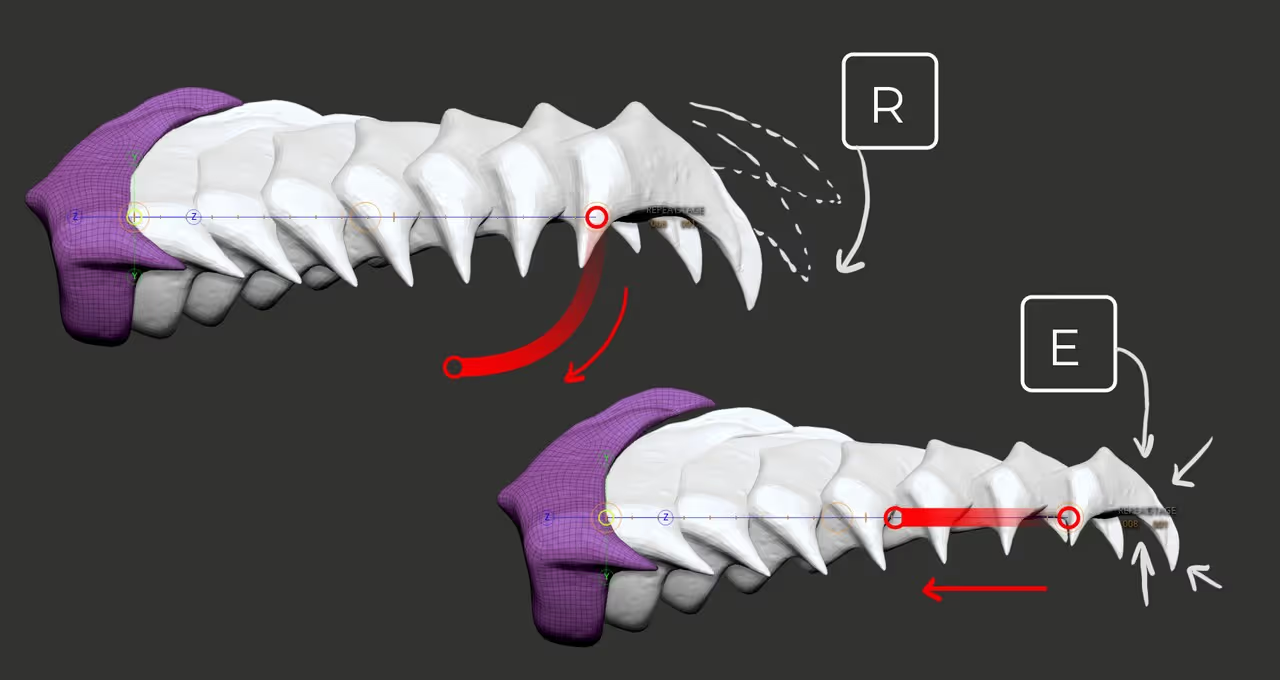
You can also switch back to the ‘move’ option (pressing ‘W’) and from the white circle in the centre of the Transpose line, move the pieces around:
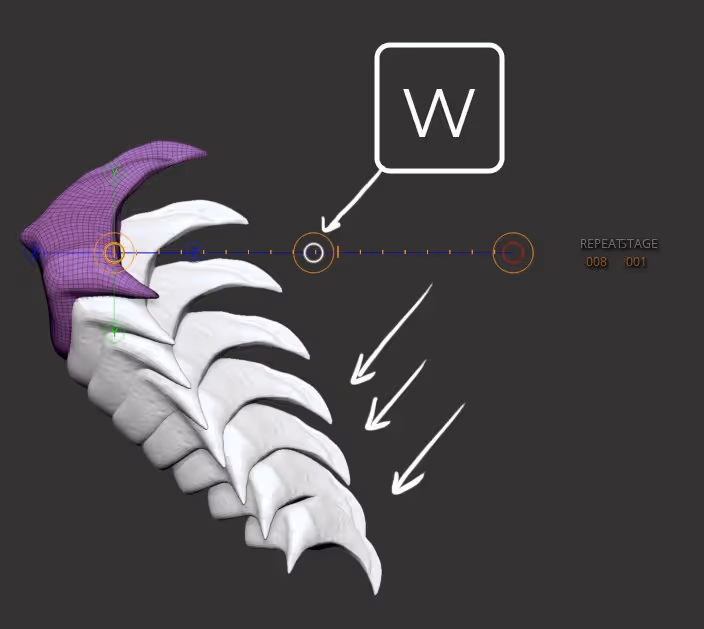
All of these things I’ve mentioned are basic ways of manipulating the Array Mesh, but here is the really cool trick… you can move the ‘pivot’ point of the transformation and create very interesting patterns by clicking the ‘bright yellow’ circle from the manipulator at the start of the Transpose line:

If you only see the Gizmo 3D make sure you switch to the Transpose line using the ‘Y’ key shortcut.
Once you have established the number of instances and the spacing (by dragging from the centre of the transpose line), You can use Rotation and Scale to add variation to the instances. Make sure you click on the ‘red’ circles at the end of the Transpose line:
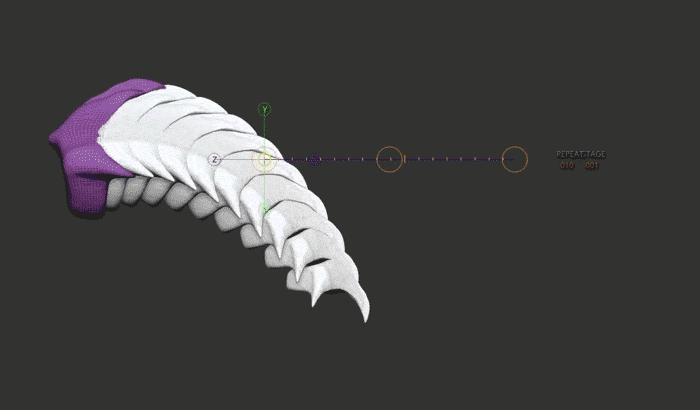
You can also click on the REPEAT numbers at the end of the transpose line and click and drag to change the number of instances. You can continue to rotate and scale pieces around, but moving the pivot is the real deal here.


.webp)

.webp)