


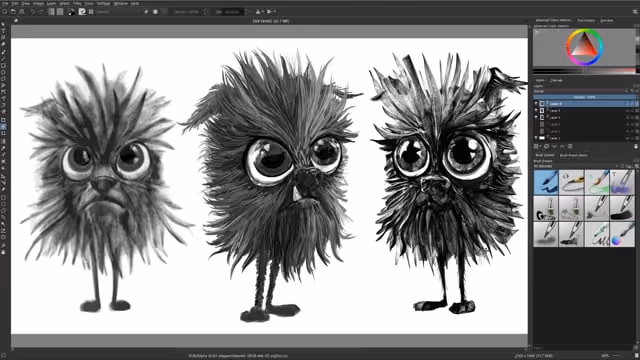

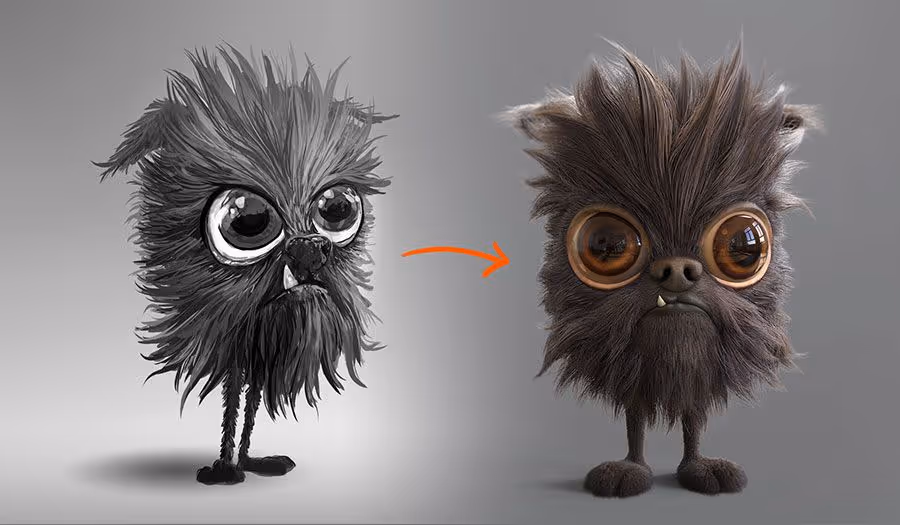
In this tutorial series, I’ll show you a variety of methods and workflows that you can use to polish your ZBrush sculpt and take it to the next level! This is a compilation of some questions I get asked frequently regarding the rendering, compositing and final presentation of a ZBrush project.
Render, illustration and presentation!
The video series is a brief overview of different workflows on how to take your idea or concept sculpt in ZBrush and push it to the next level. Regardless of your skill level in ZBrush, even the most subtle of tweaks can make a huge difference in the way that you present your sculpture, work in progress (WIPs) or final render/illustration.
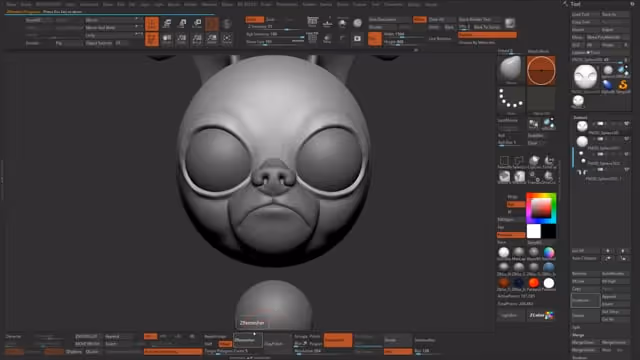
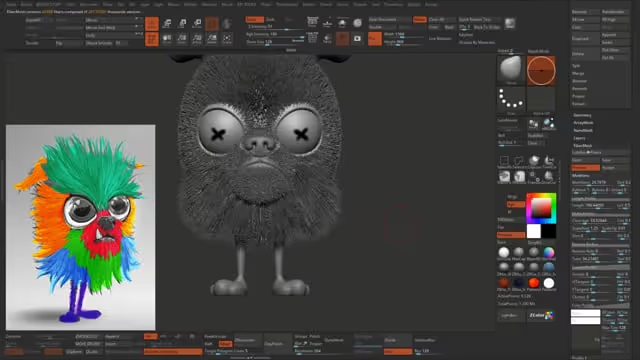
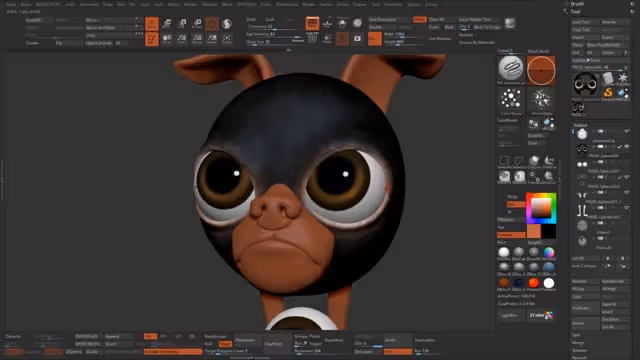
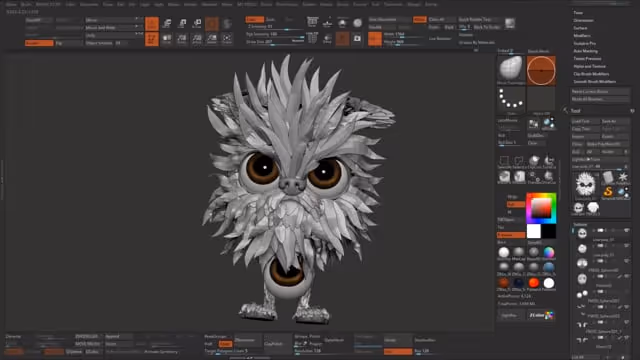
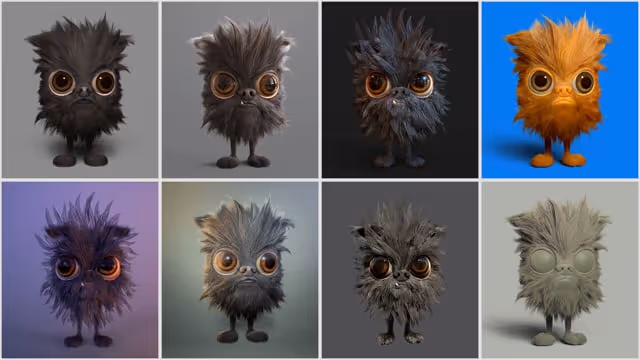
The Pug-Particle
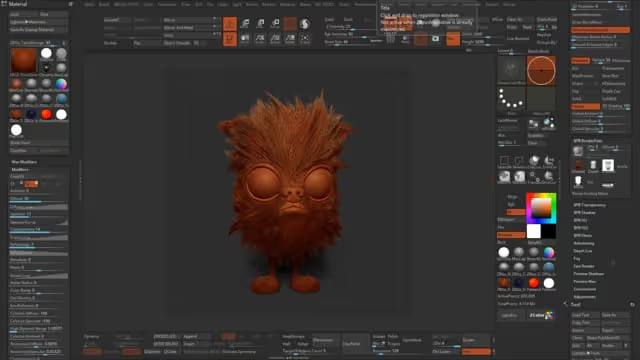
The ‘Pug-Particle’ (some renders above) is a very simple character I made specifically for this tutorial series. Although it is in fact very simple in terms of the modeling, it has some features like FiberMesh that illustrate well various concepts I mention during the videos as we move through the workflows. The main objective of this series is to give you an idea of some of the process you could utilize to enhance your renders
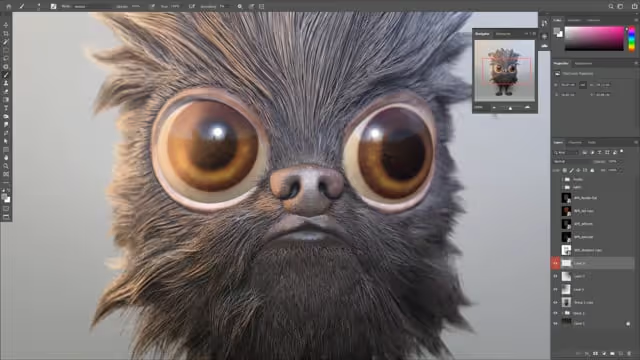
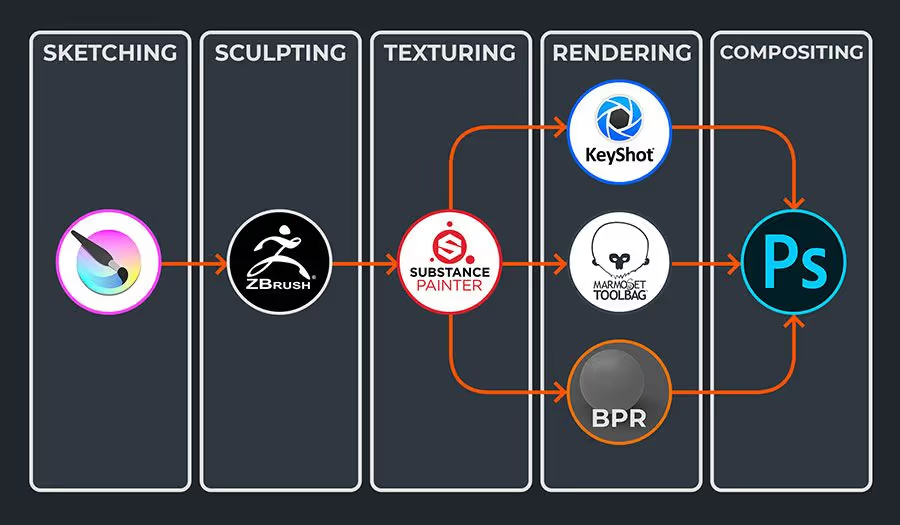
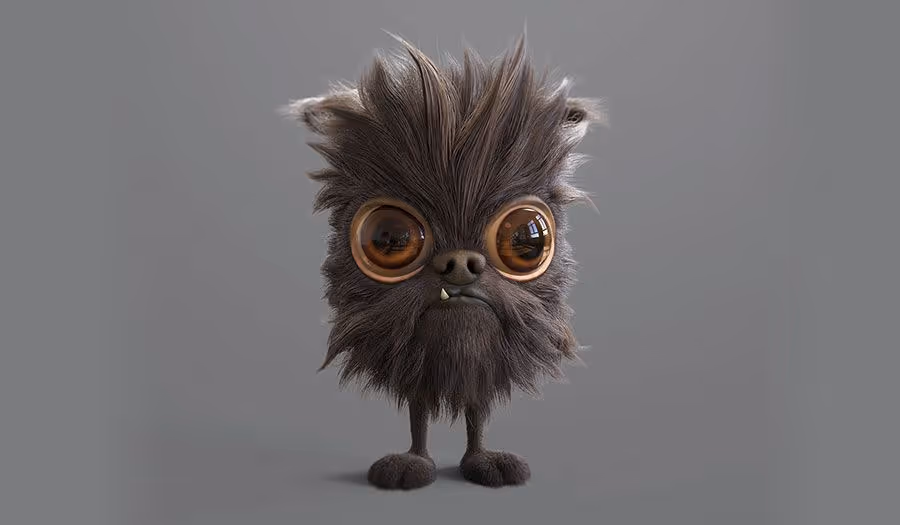
This is the final render frmo Keyshot and photoshop:
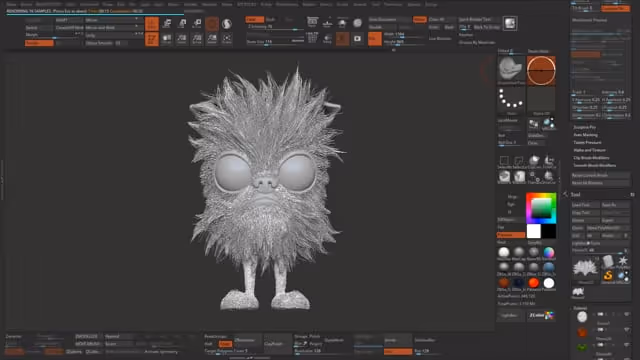
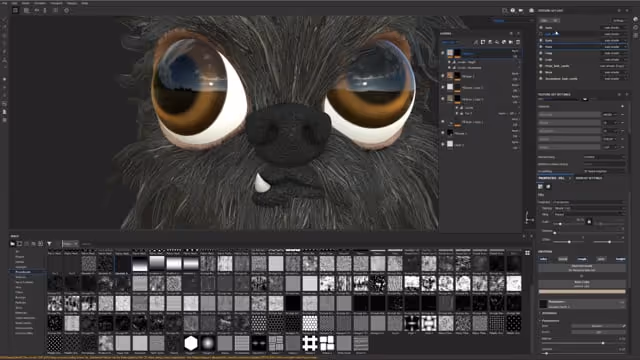
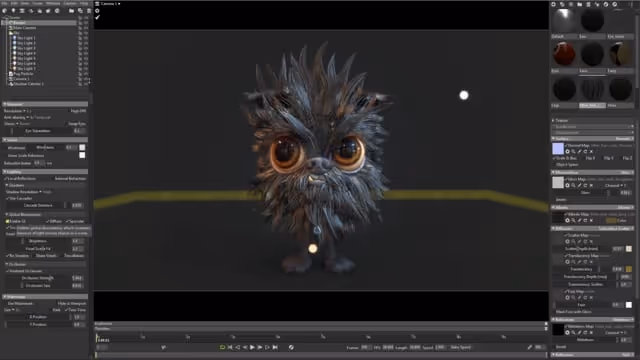
Here is the 'real-time' Marmoset render:
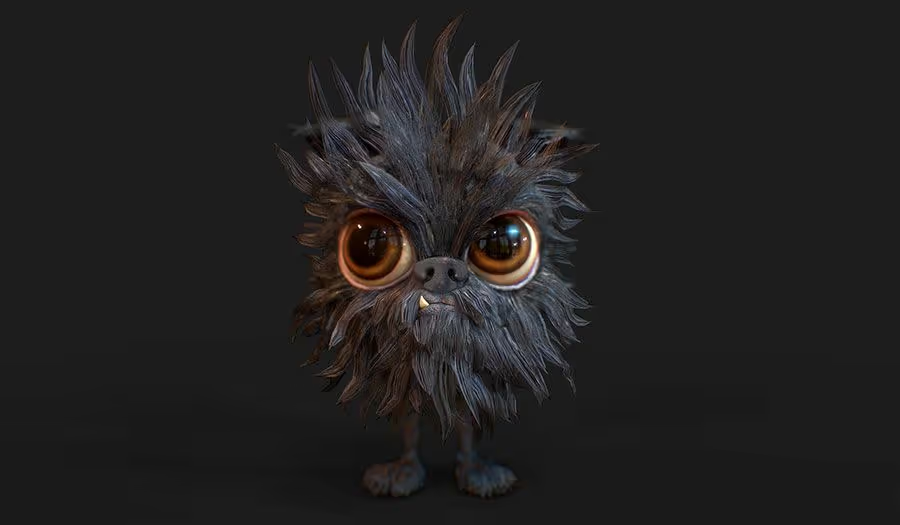
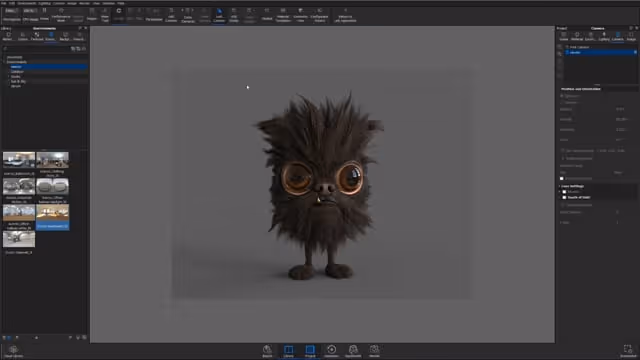
And the BPR from ZBrush and Photoshop compositing:


.webp)

