.jpg)

.jpg)

Why do the little things matter?
Adobe Substance 3D Painter is an efficient tool, but the difference between a smooth session and a frustrating one often comes down to tiny workflow choices. I’m not showing you how to paint better shapes; I’m showing how to make the environment, selection, asset management, and the subtle shading pipeline work for you. Once these become second nature, you’ll notice how much faster and less stressful texturing feels.
Neutral HDR + Camera-Aligned Environment
One of the first tips is to work in a neutral environment when painting the base color (albedo). If you’re using a color-tinted HDR, reflections and image-based lighting can trick your eye and hide the true values of your textures.
Here’s how to keep things clean and accurate:
- Go to Display Settings → Environment and pick a neutral studio HDR. Studio_02, Studio Black Soft or Studio Tomoco are solid starting points.
- Hit C to cycle through channels until you isolate Base Color (albedo). This provides a shadeless view, allowing you to see the raw color without interference from lighting.
- When you need to light tricky spots (like the underside of your model), you can Shift + Right-click drag to rotate the environment. Even better, switch Environment Alignment from World to Camera. This makes the HDR follow your camera view, so you can rotate light relative to your perspective and brighten dark areas with ease.
.jpg)
Switching alignment from World to Camera is simple, but a massive quality-of-life improvement. It avoids endlessly spinning the HD,R hoping to light a shadowed nook.
Focus mode and selection shortcuts
When your model has a lot of materials, switching between texture sets can slow you down. That’s where Painter’s Focus (Solo) mode comes in — it hides everything except the texture set you’re working on, and with shortcuts, it becomes lightning fast.
Here’s the workflow:
- Alt + Q → Toggles Focus mode for the active texture set.
- Ctrl + Alt + Right-Click → Paint-select a texture set directly on the mesh (no need to scroll through the list).
- Tab → Hides the UI for a clean, distraction-free viewport.
The magic is in combining them: press Tab to clear the UI, use Ctrl + Alt + Right-Click on the part you want, then hit Alt + Q to isolate that texture set.
If you’ve got a controller like a SpaceMouse, map Alt + Q to a button for instant toggling. No SpaceMouse? Set it up on a Stream Deck or just memorize it. Either way, this one shortcut is a huge quality-of-life boost.
.jpg)
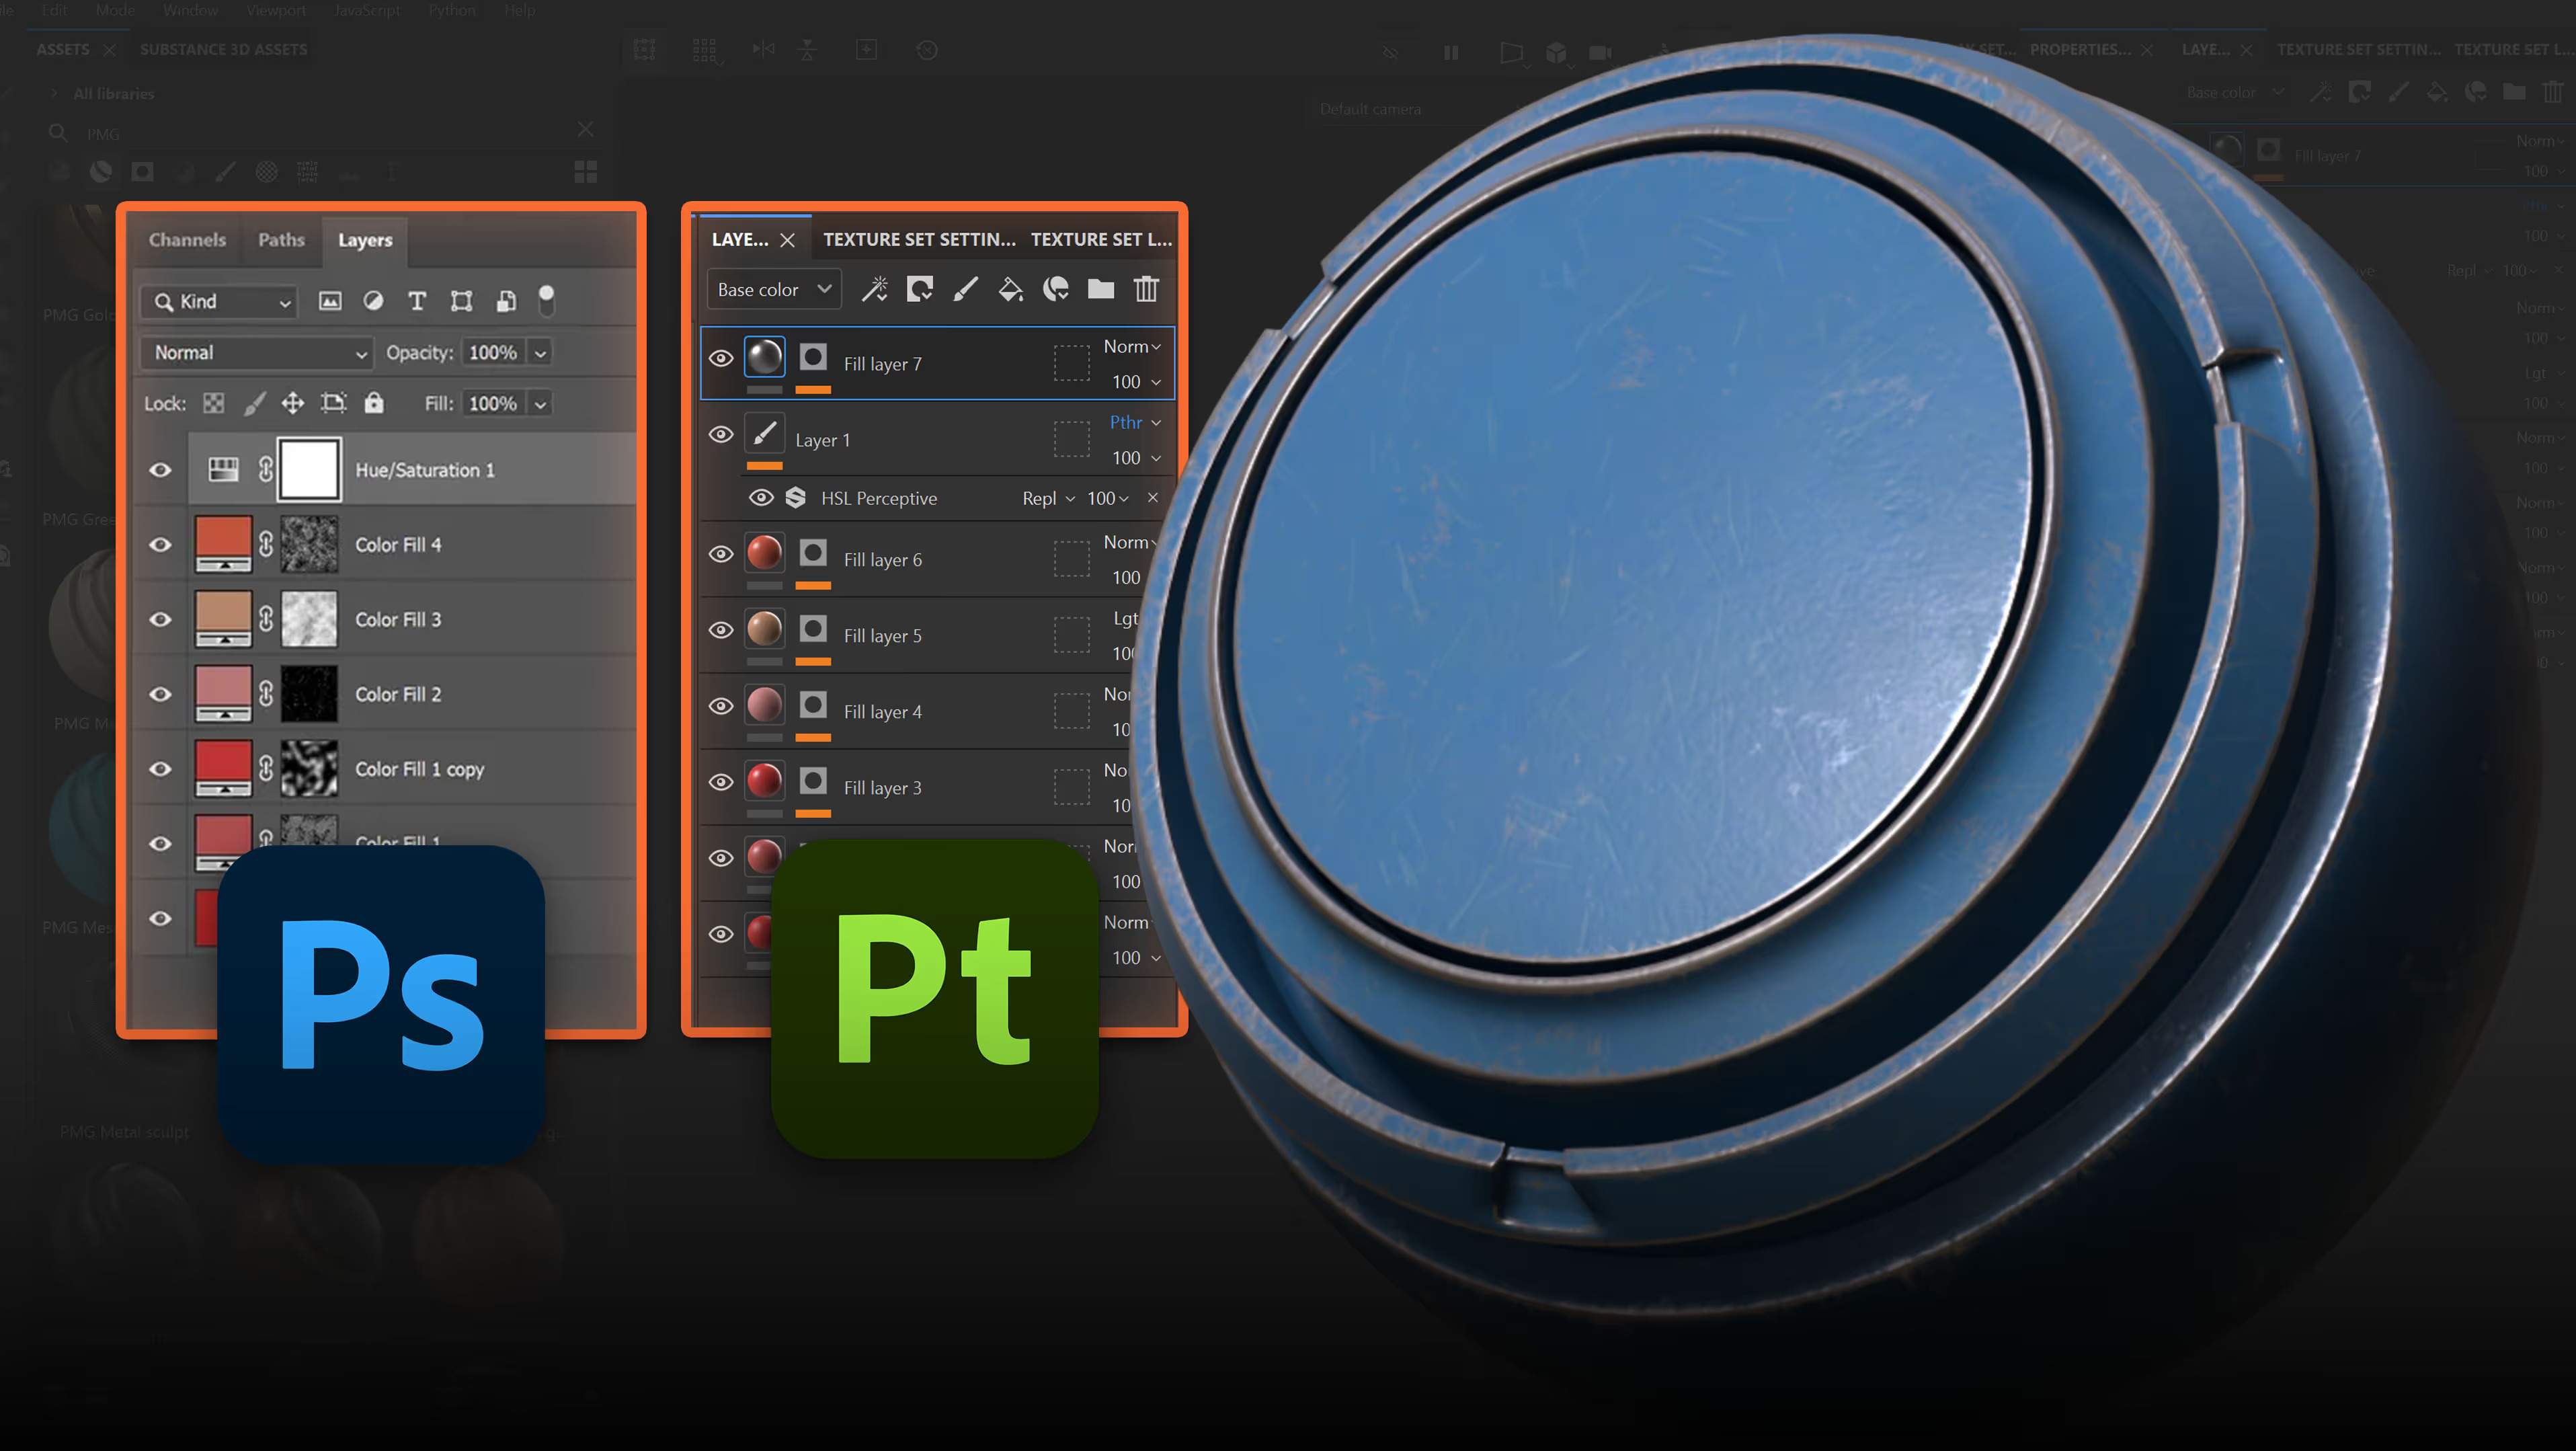
Create custom asset library filters and tabs
Painter’s asset browser is great, but as your personal library grows it becomes noisy. I use a simple naming convention and convert search queries into persistent tabs.
Workflow:
- Prefix anything you create (I use PMG_ for my materials so I can type “PMG” and filter to just my stuff).
- Perform the search in the Assets panel (e.g., type “PMG” and filter by Smart Materials or Alphas).
- Click the little folder icon at the bottom of the search panel to “Open current query in a new tab”. This creates a permanent tab of that query you can jump to anytime.
.jpg)
Do the same for alphas, textures, or even a project query (search “project” to see everything used in the current file). I keep a “Project” tab that contains all my imported textures, logos, and custom alphas it’s a huge time saver when I need to re-use or edit something I already imported.
.jpg)
Auto-update external resources (Asset Panel + Resources used in project)
This is a feature Substance Painter added recently but I find it really useful. I often need to jump into Photoshop (or Illustrator) to tweak a logo or mask. Before, I had to re-import the file into Painter every single time I made a change. Now, I just enable Painter’s auto-update so any edits I save update instantly in the Assets panel and anywhere that resource is already used in my project.
How to set it up:
- Open the Assets panel in Painter.
- Click the panel menu icon (top-right).
- Enable Asset Panel Auto-Update, this tells Painter to watch for changes to imported files.
- Also enable Resources used in the project → Auto refresh (or the equivalent checkbox). This makes sure changes ripple through wherever that resource is already applied.
This little setup removes dozens of unnecessary re-imports and keeps your iteration loop quick and smooth. One tip: if your edits don’t appear on the mesh, double-check that you enabled the Resources used in the project refresh option — Painter has two separate toggles for updates.
.jpg)
Height-based Ambient Occlusion for extra micro-shading
If you’re adding tiny scratches or stamped detail in the Height channel, you probably want those marks to actually cast micro shadows. That’s where Painter’s HBAO (Height-Based Ambient Occlusion) filter comes in — it generates AO directly from height maps, and setting it up only takes a minute.
Here’s how:
- In Texture Set Settings, add a new channel → Ambient Occlusion (user channel).
- In your Layer Stack, go to Filters and search HBAO.
- Drag it into a Fill Layer that targets the AO channel you just added.
- Tweak the sliders:
- Depth = shadow strength
- Radius = shadow spread
- Blur Intensity = softness
- Choose Height or Normal as the input depending on where your details live.
.jpg)
Your baked mesh AO handles the big, macro shadows. HBAO gives you the fine, micro shadowing that makes scratches, pores, and tiny marks actually read in renders. It’s subtle but instantly adds depth and polish.
Wrapping up
These aren’t flashy tricks; they’re simple, everyday habits that make texturing flow smoother. Neutral HDRIs and channel isolations keep your colors accurate, camera-aligned lighting helps you reach tricky spots, and Focus mode cuts distractions. Custom asset tabs save digging around, while auto-updates and HBAO keep your details sharp and consistent.
Think of them as a small beneficial setup: once you get used to them, you’ll shave off dozens of tiny interruptions and feel the difference across every project. If you’re just starting out, practice these a bit until they become second nature; it’s time well spent.
Give them a try, see which ones click for you, and let me know what helped most. I’m always curious to hear tweaks people add to their own pipelines.

SP101: The Complete Beginner's Guide to Substance 3D Painter!
A clear hands-on and project-based guide to mastering Substance 3D Painter from the ground up.
Check it out


.webp)

