

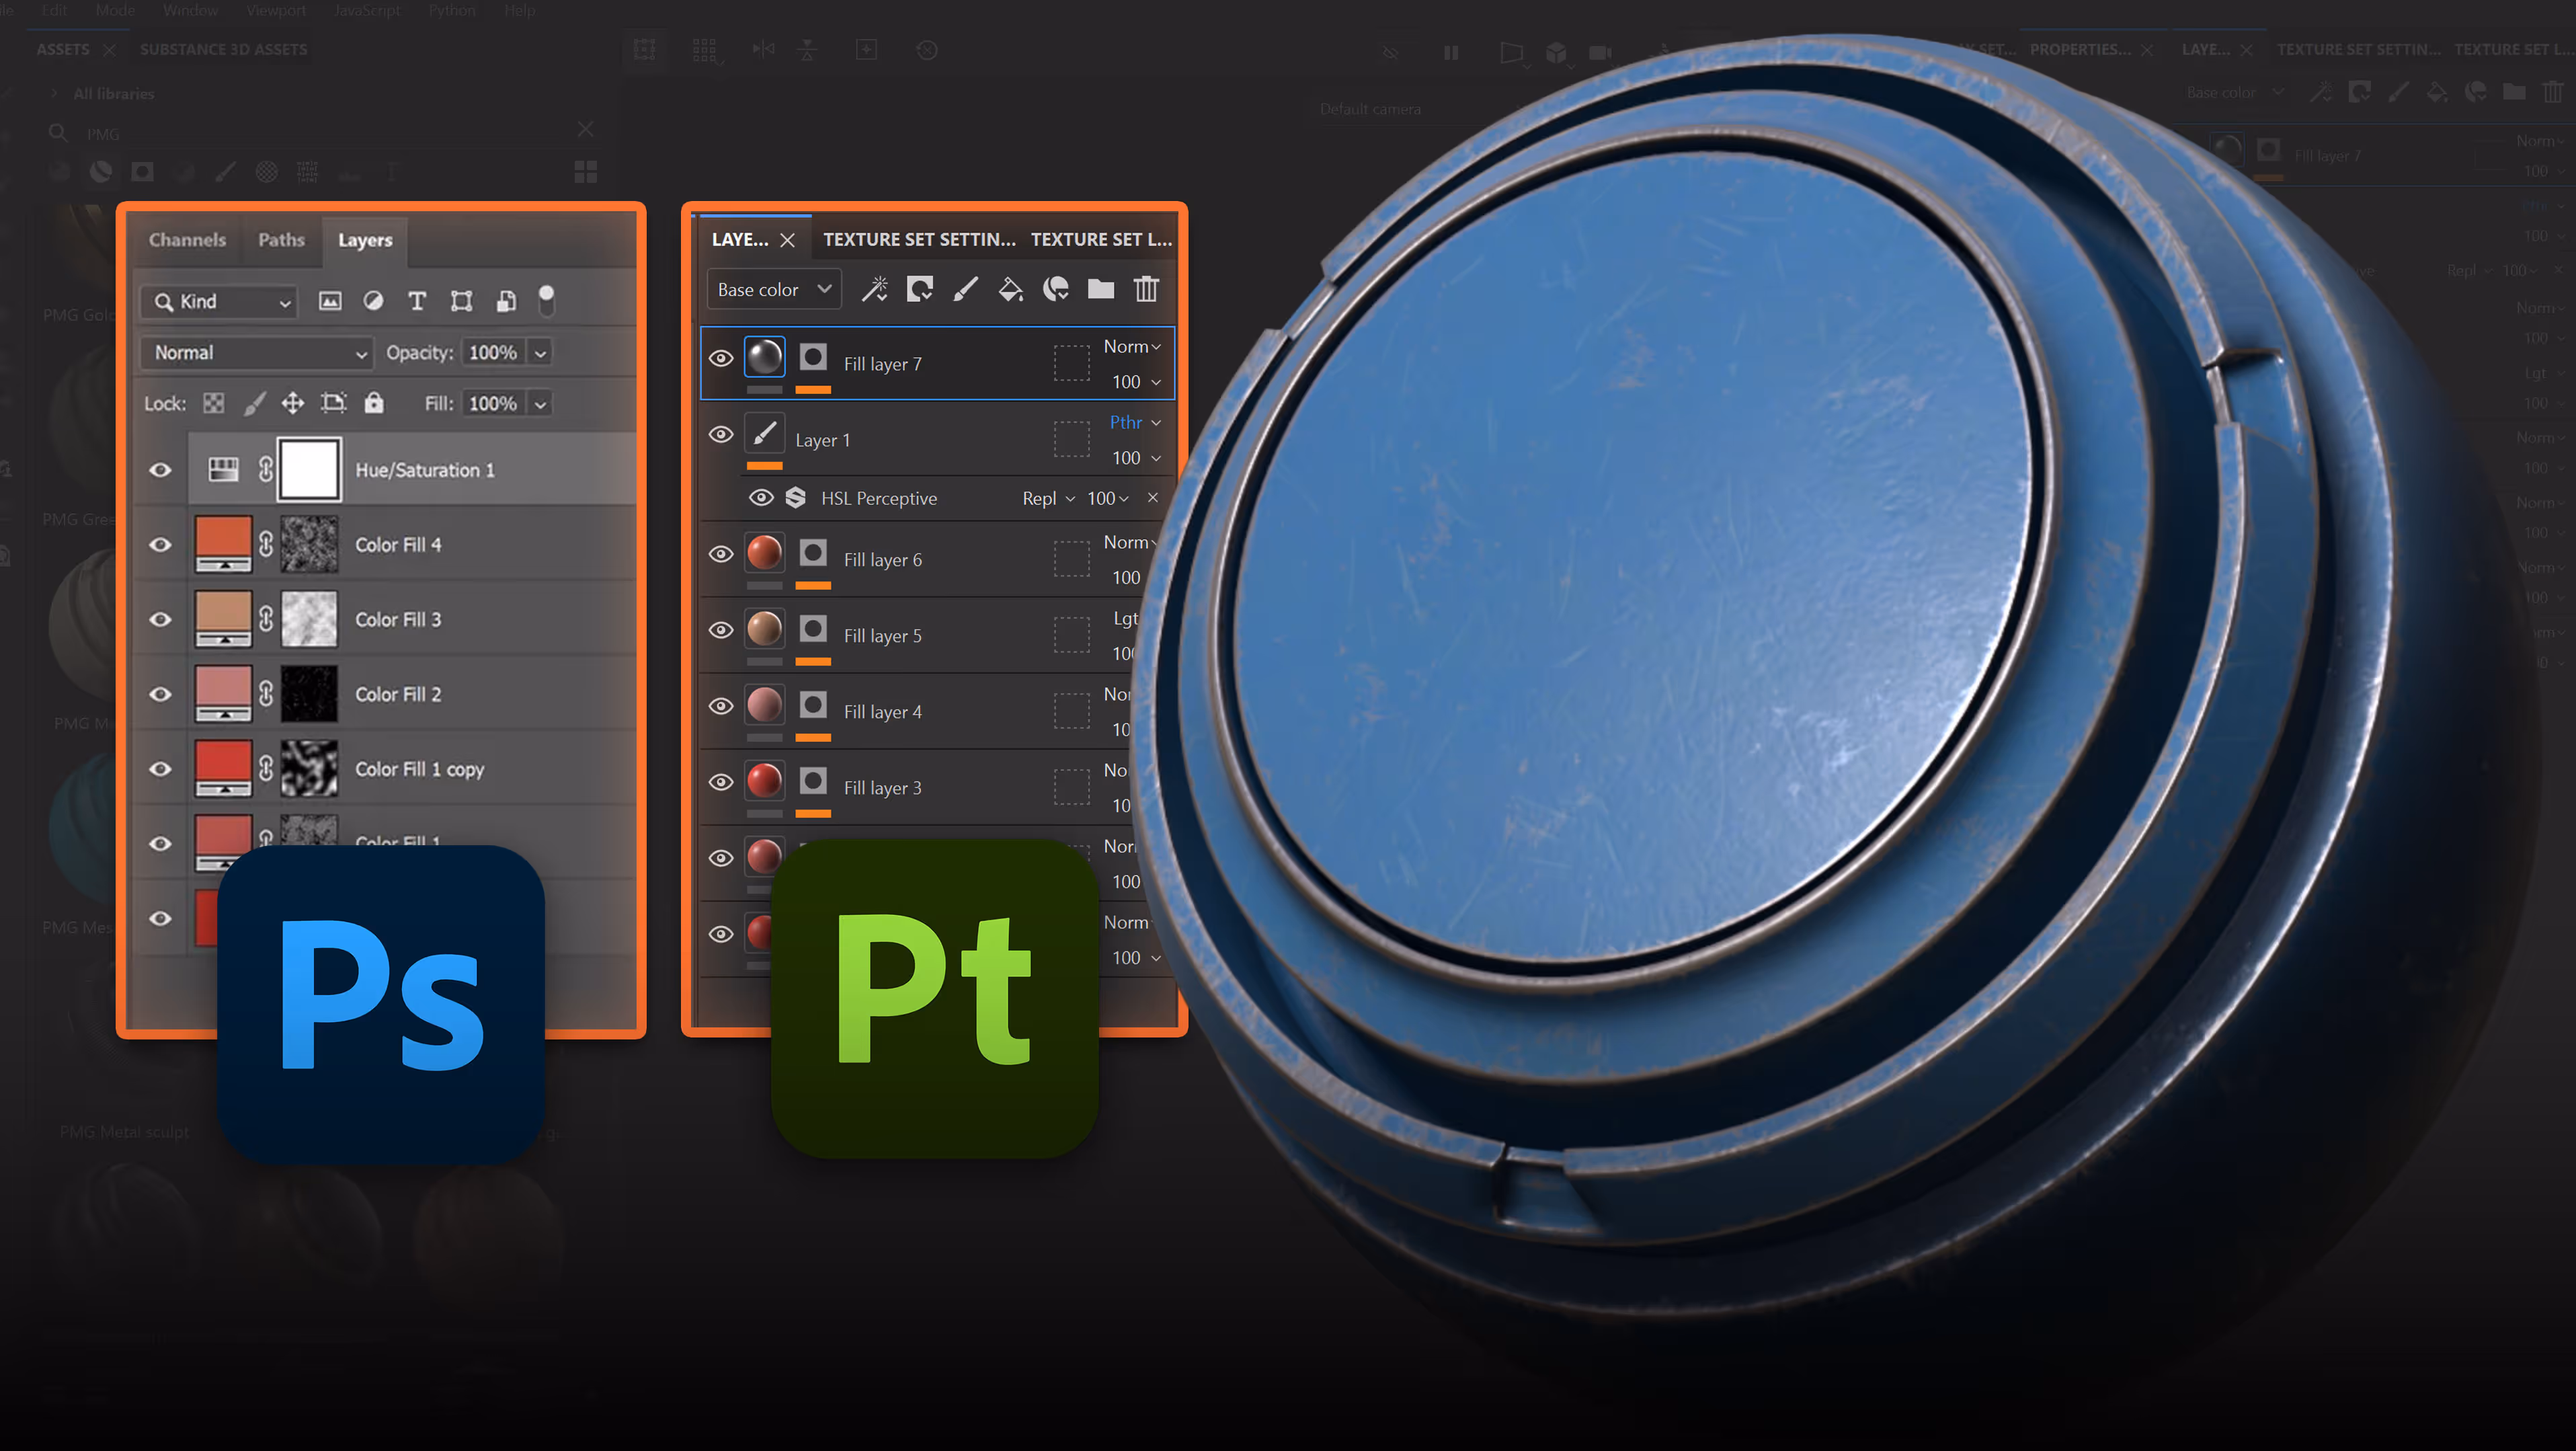

If You Know Photoshop, You Already Know 3D Painter
As a 3D concept artist and educator, I’m always on the lookout for ways to help artists transition smoothly into new tools. One of the questions I get asked often is how to get started with Substance 3D Painter if you already know Photoshop. The good news? If you understand layers and masks in Photoshop, you already have a solid foundation to master 3D Painter. In this tutorial, I’ll walk you through how to create complex materials in Photoshop and then translate that knowledge directly into Substance 3D Painter. You’ll see how familiar the process feels and how powerful it can be once you get the hang of it.
Understanding the Basics: Layers and Masks Are Your Best Friends
At its core, Substance 3D Painter is a texturing software designed to create rich, detailed textures for 3D assets. But beneath all the advanced features and controls lies a simple principle: layers and masks. If you know how to use fill layers and masks in Photoshop, you already understand the building blocks of materials in Painter.
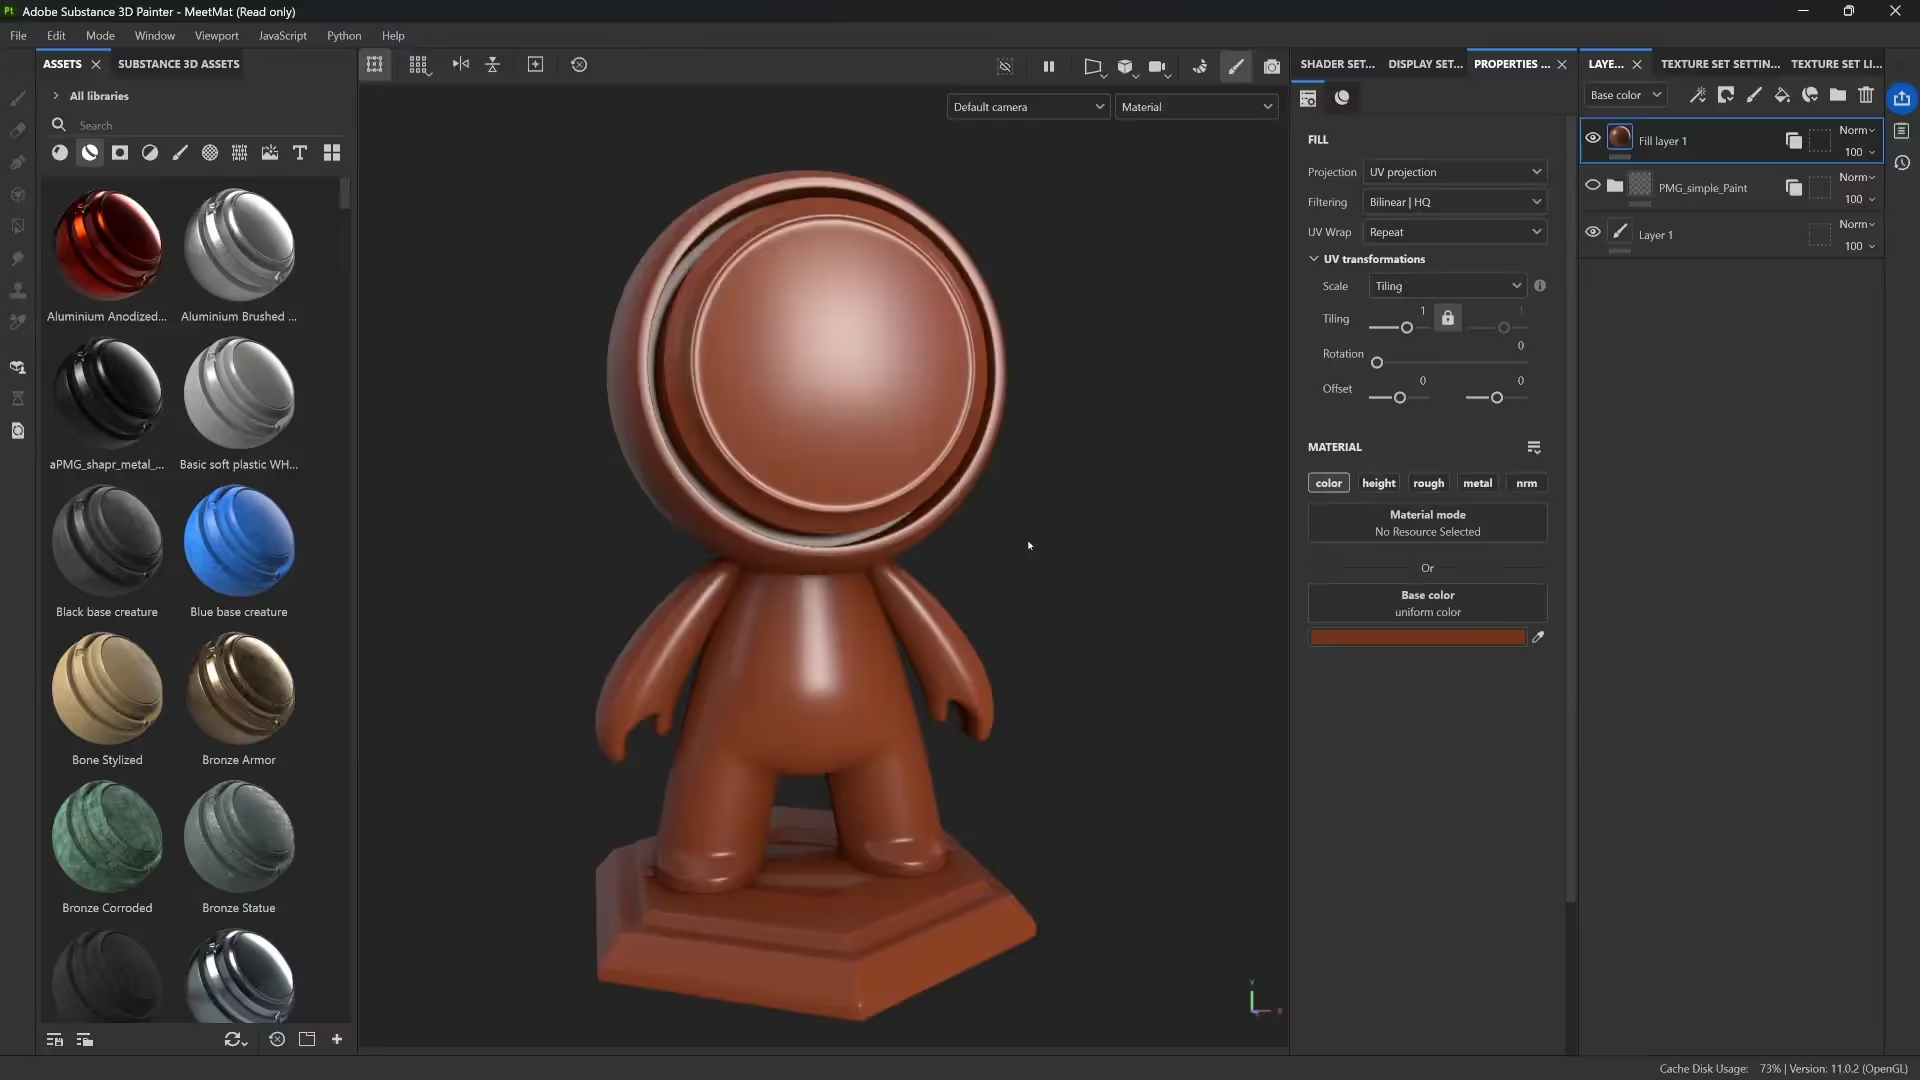
Let’s start by examining a material I created in Painter. It looks like a simple terracotta orange paint from a distance, but when you zoom in, it reveals tiny dents, scratches, dirt, and roughness variations that make it look much more realistic and interesting.
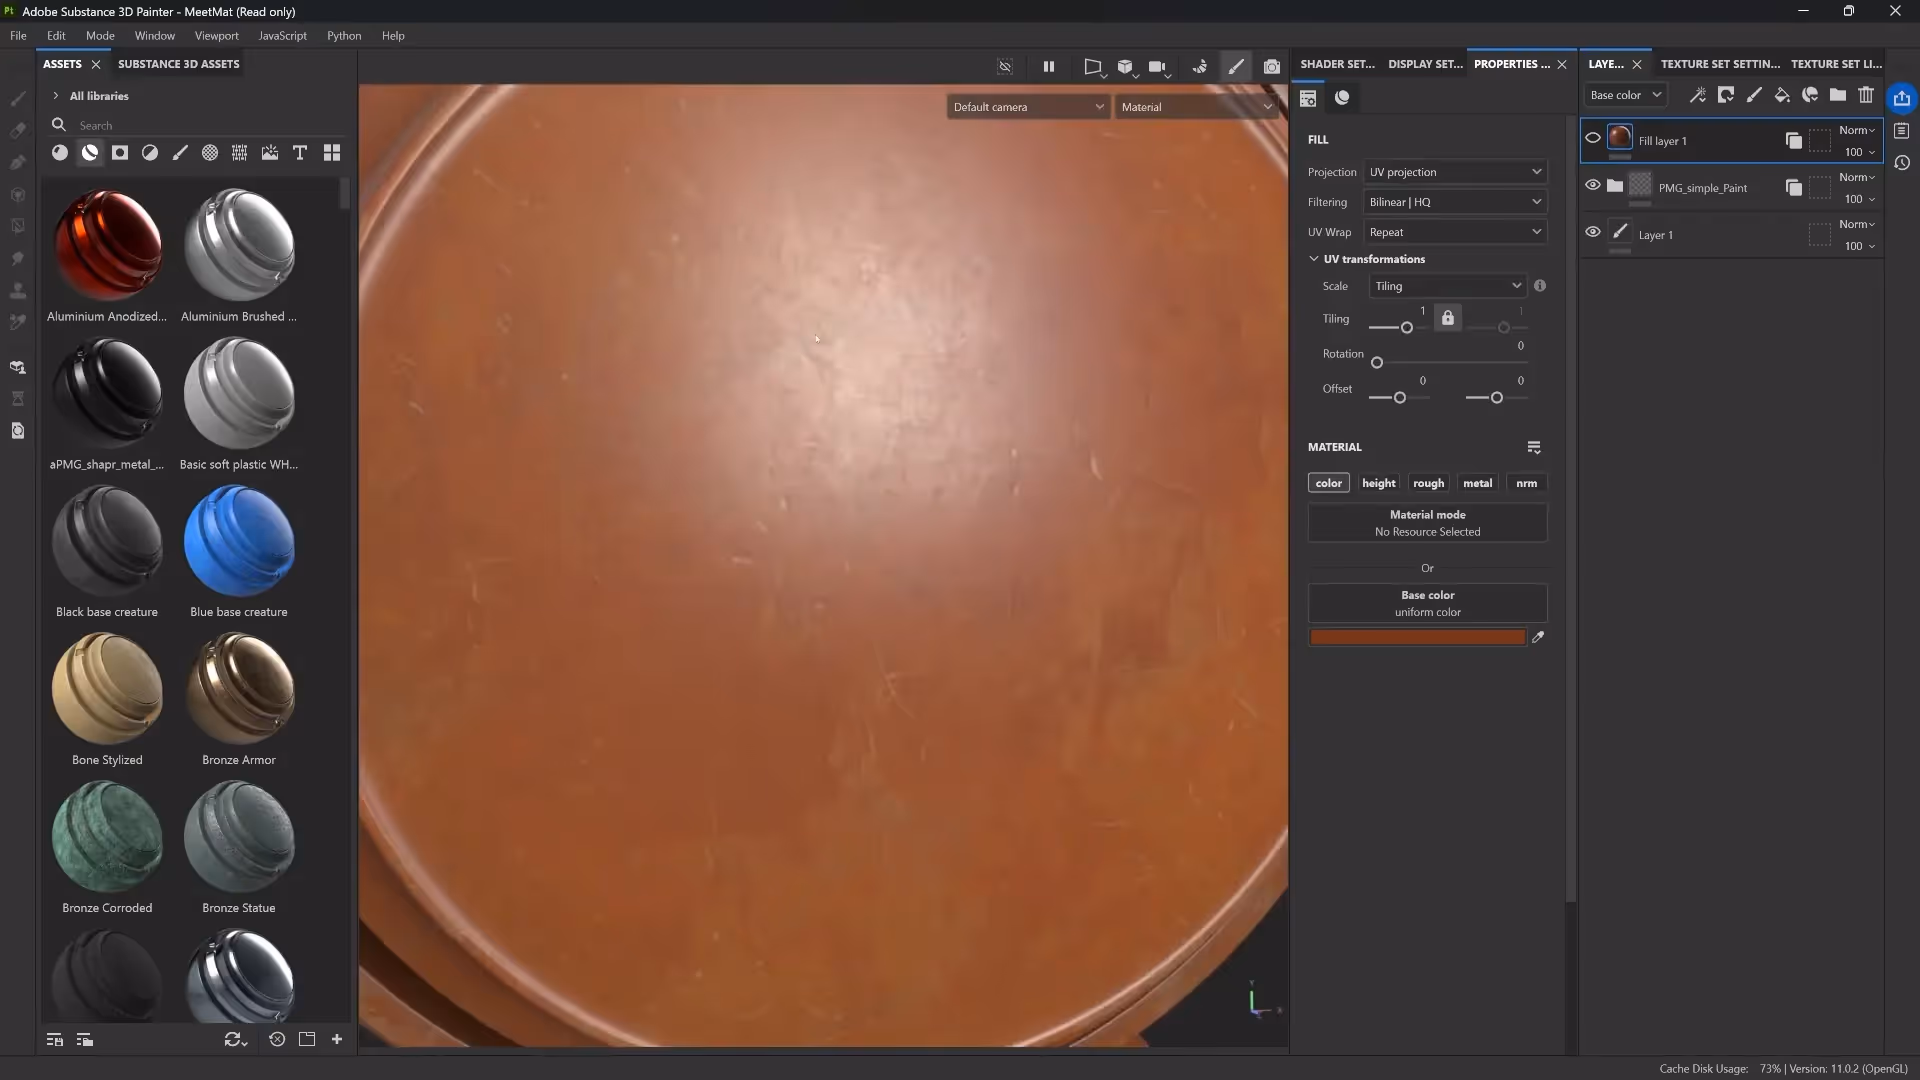
Compare this to a plain material with a single color and no variation in roughness — it looks flat and plastic-like. The magic lies in those subtle details, which you can create easily in Photoshop using layers and masks.
Building Complex Materials in Photoshop: A Step-by-Step Breakdown
To replicate this in Photoshop, I start with a base fill layer of solid color. Each additional fill layer has a slightly different color and a mask that controls where it appears. Masks are grayscale images where white reveals the layer and black hides it, with varying shades of gray creating partial visibility.
For example, one mask might be a splatter pattern that adds subtle variation to the color, while another could be a set of scratches or grungy noise that adds texture and roughness variation.

Here’s the key: these masks don’t have to be complicated. Simple black-and-white splatters, scratches, and noise brushes are enough to start building rich, layered materials.
One Photoshop feature I love using for this is the Pattern Preview mode, which lets me visualize how my textures tile seamlessly. This is essential because textures often need to repeat across 3D models without obvious seams.
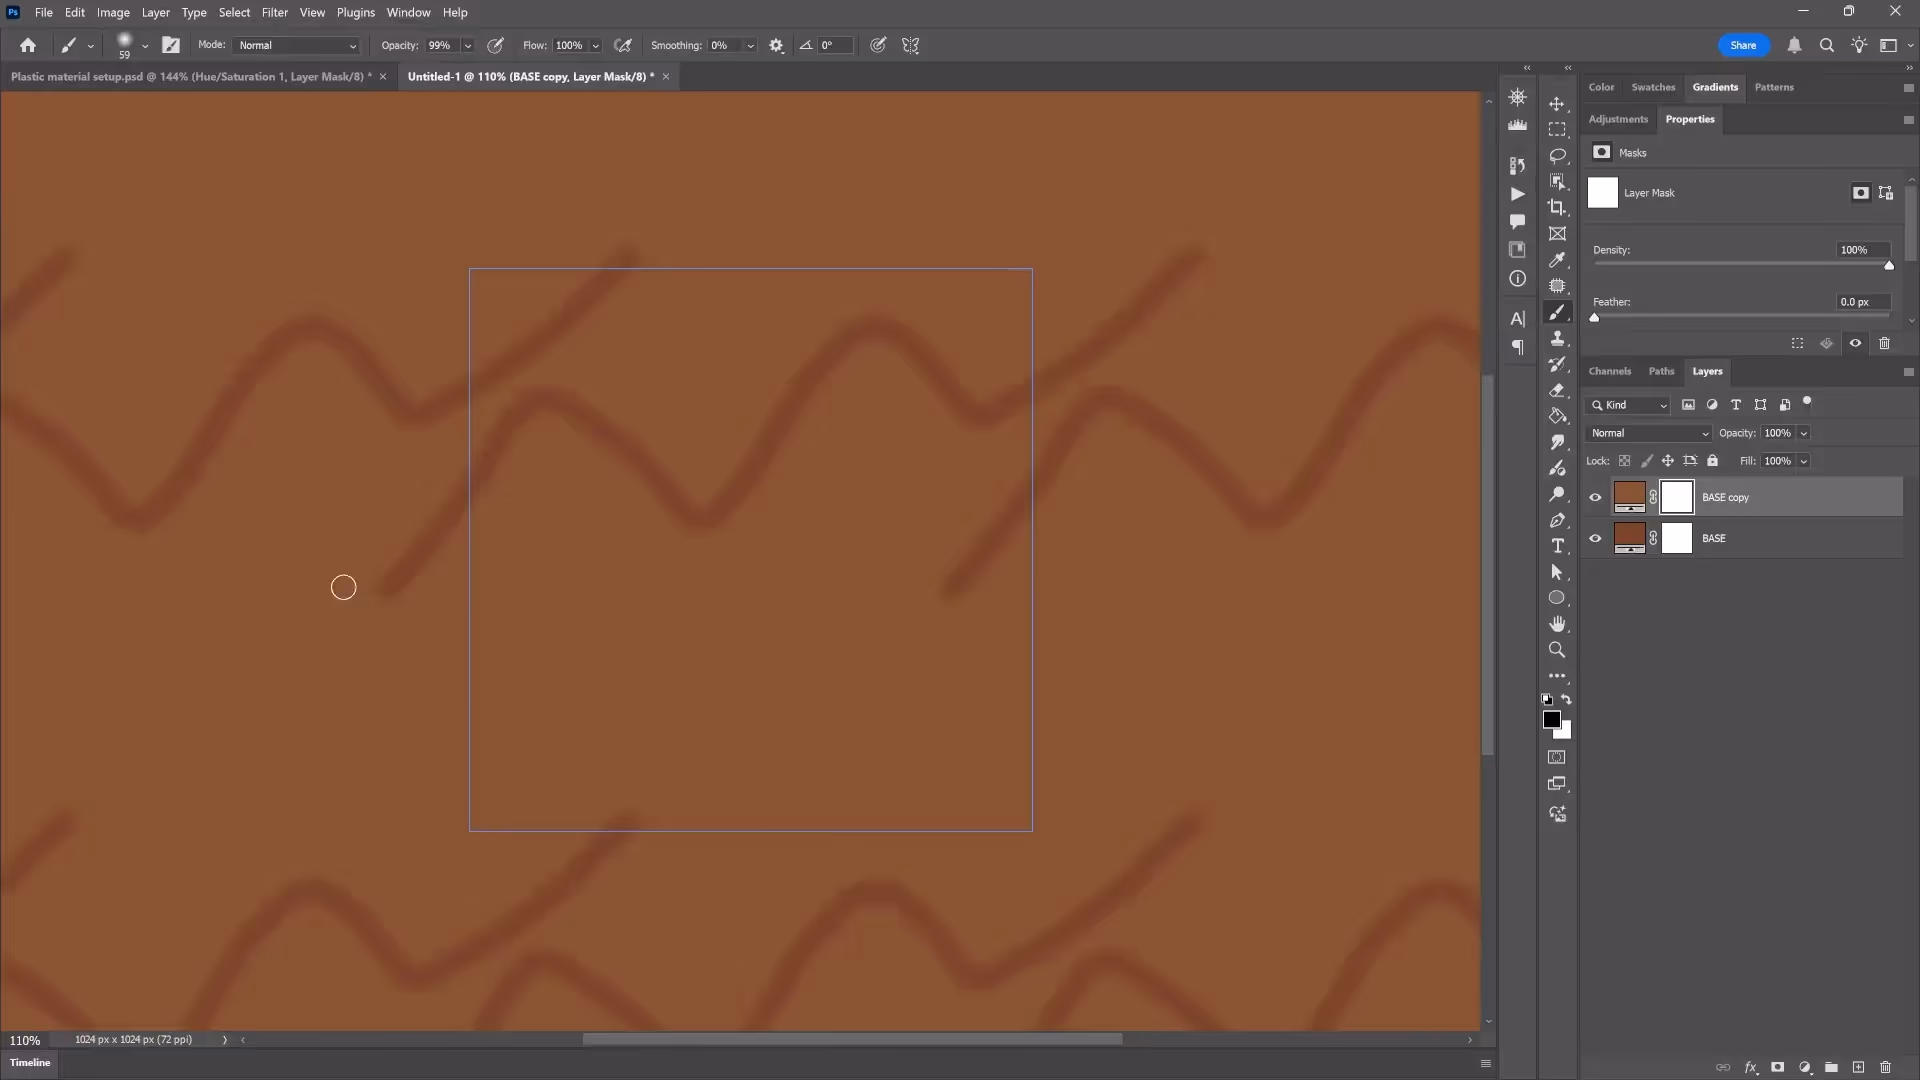
By painting with different brushes on the masks — sometimes black to hide areas or gray to partially reveal them — I create subtle variations that bring the material to life. And because I use fill layers with masks, everything remains nondestructive and editable. I can tweak colors or mask details at any time without losing work.
Exporting Masks from Photoshop for Use in 3D Painter
Once you have your masks ready in Photoshop, the next step is to export them as separate grayscale images. You can do this by alt-clicking on each mask to select it, copying the mask content, and pasting it into a new document. Save each mask as a PNG or JPEG file. These will serve as the black-and-white maps that control where details appear in Painter.
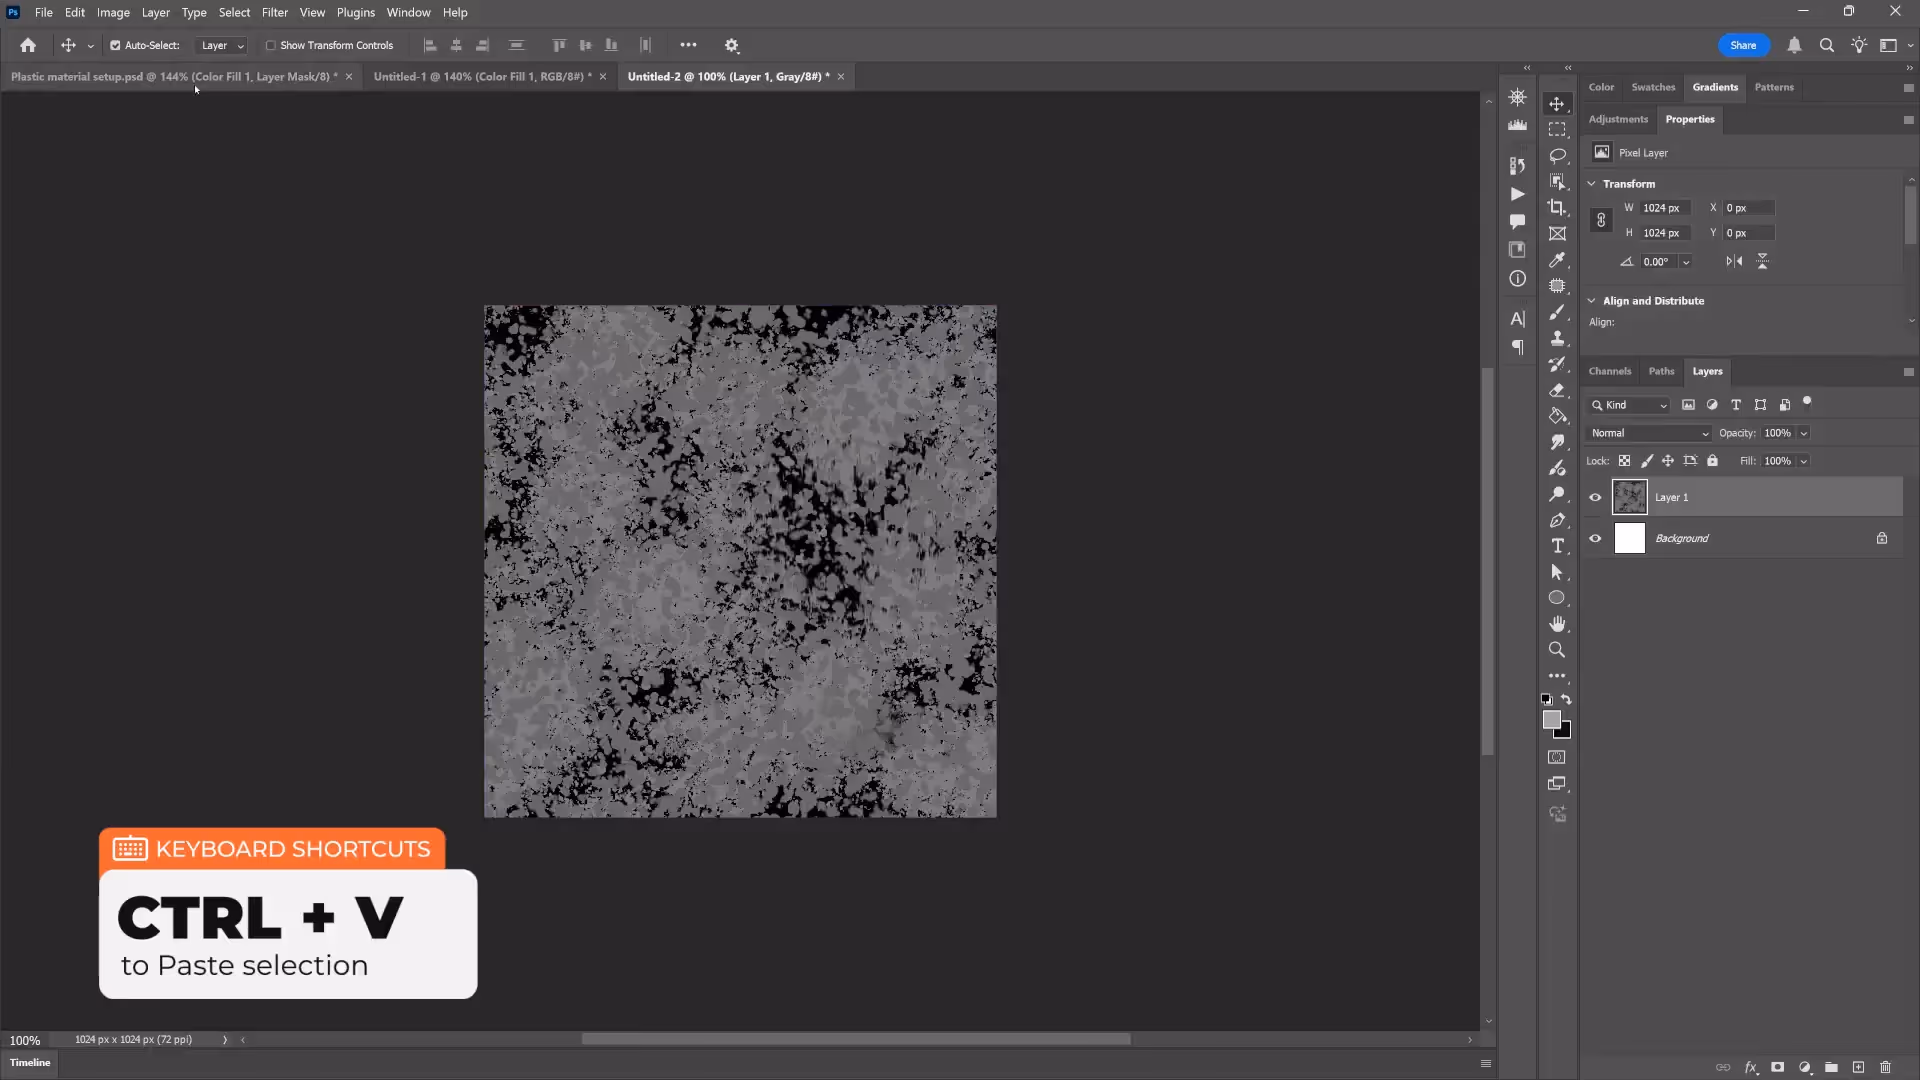
These exported masks can be created in any software you prefer — Photoshop, Procreate, even hand-drawn on an iPad. The key is that they are grayscale and ideally tileable.
Recreating the Photoshop Workflow in Substance 3D Painter
Now let’s jump into Substance 3D Painter and build the material using the same principles. Painter’s interface might look different, but the workflow is very similar.
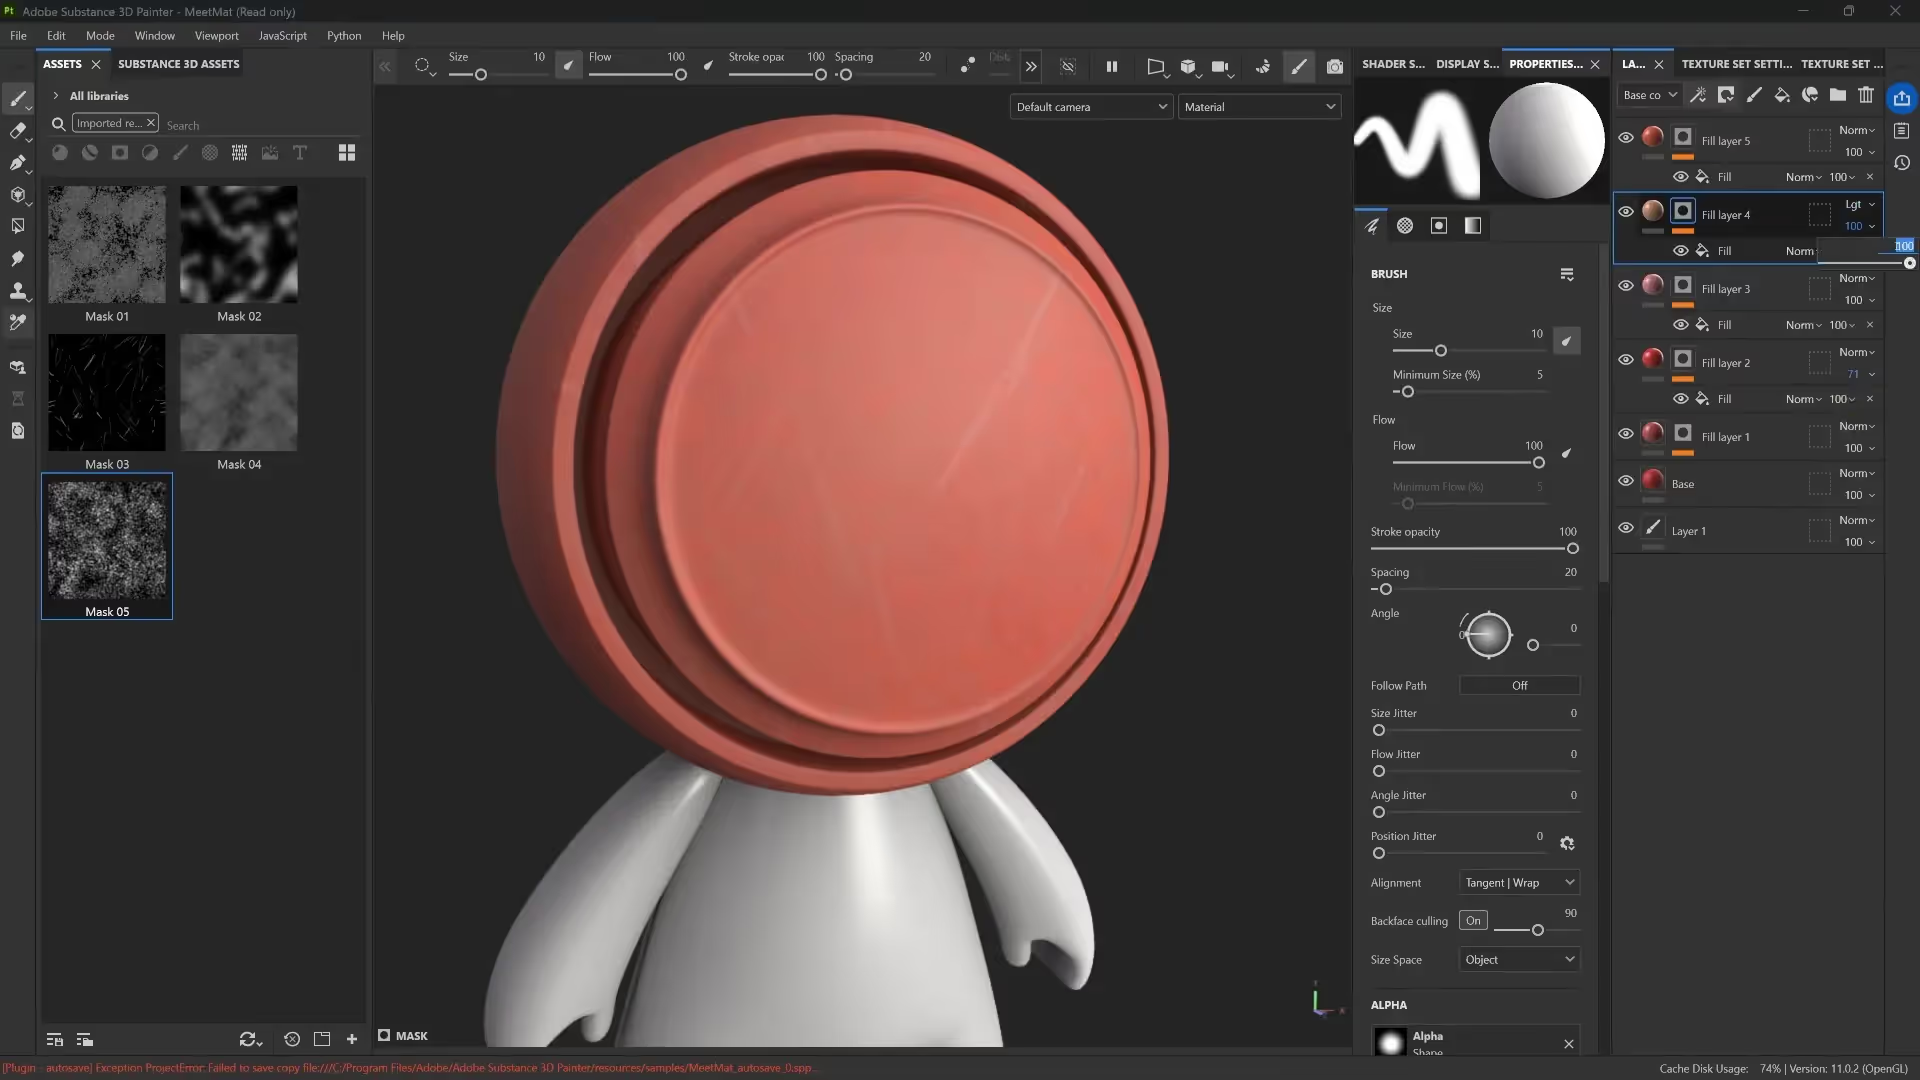
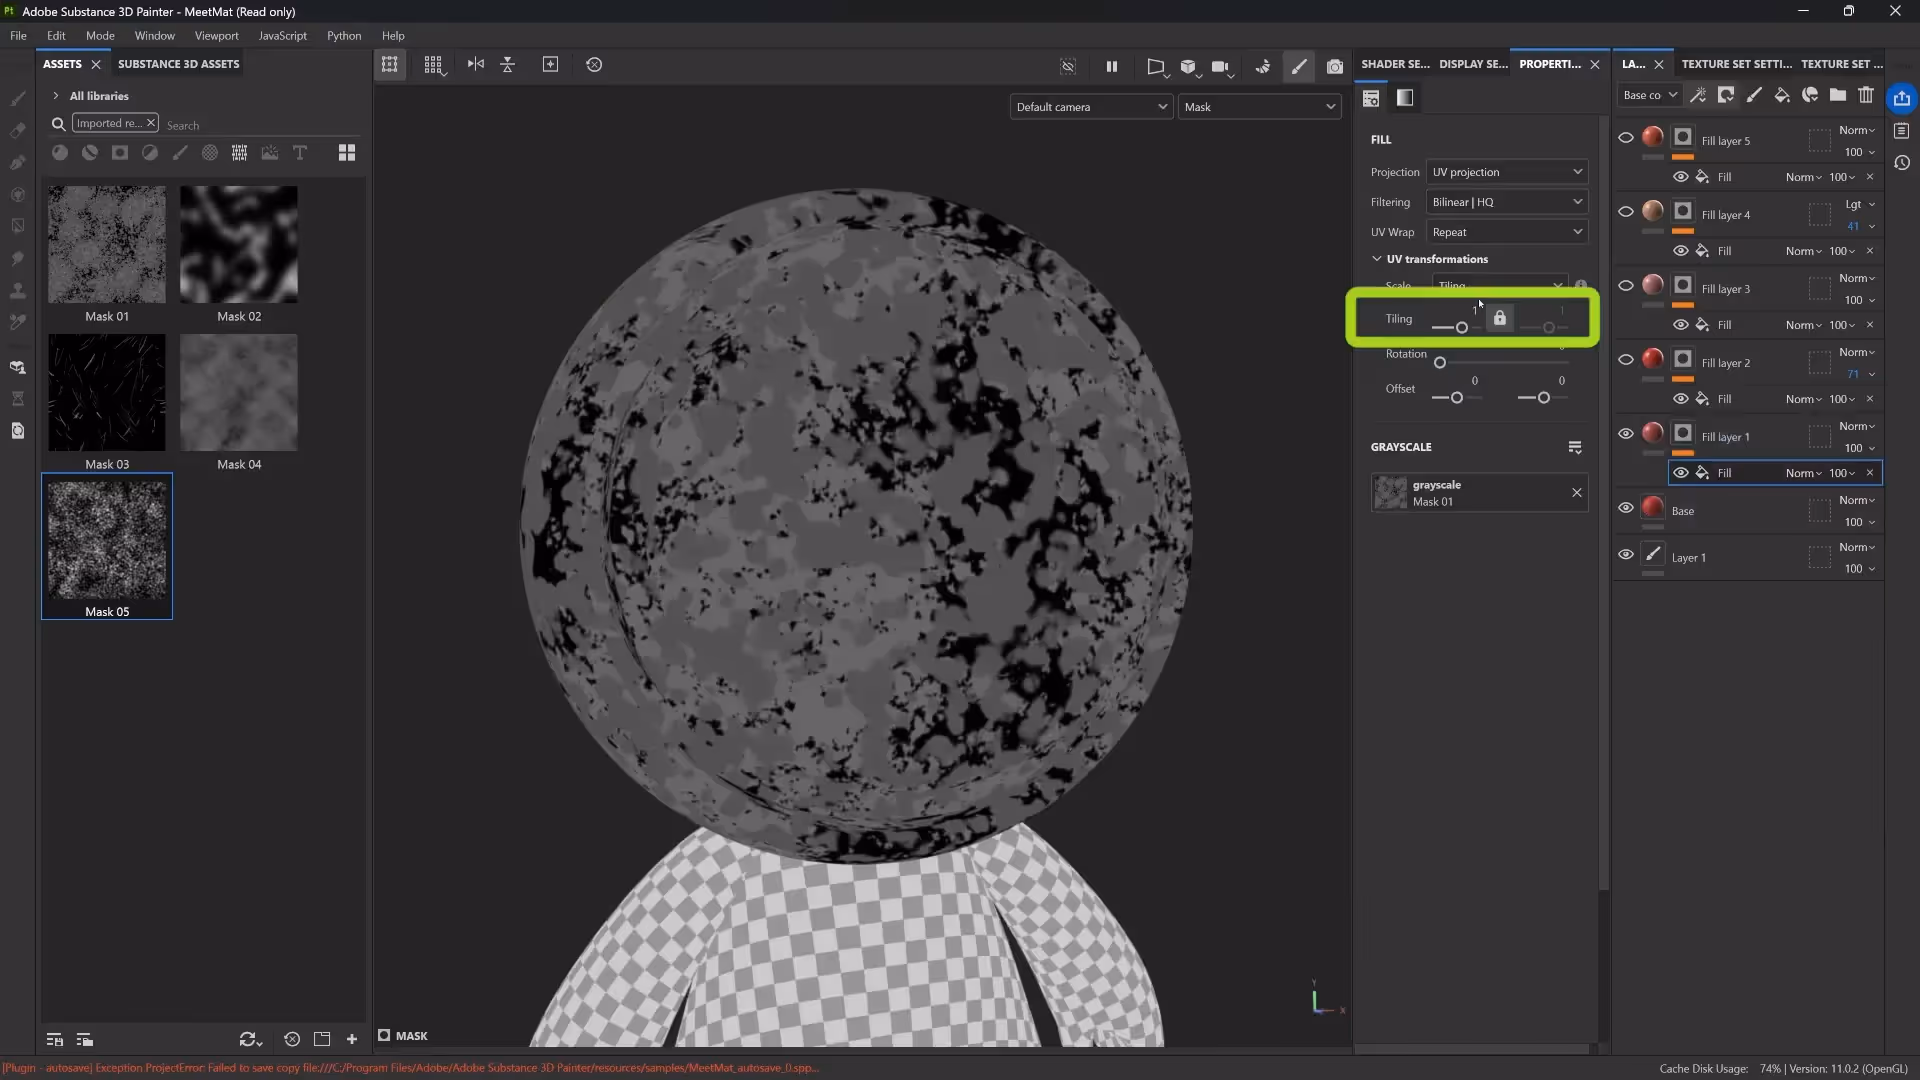
Start by deleting any default layers in your project so you have a clean slate. Then create fill layers in Painter, which are equivalent to Photoshop’s fill layers. You can pick colors just like you would in Photoshop, and each layer can have a mask controlling its visibility.
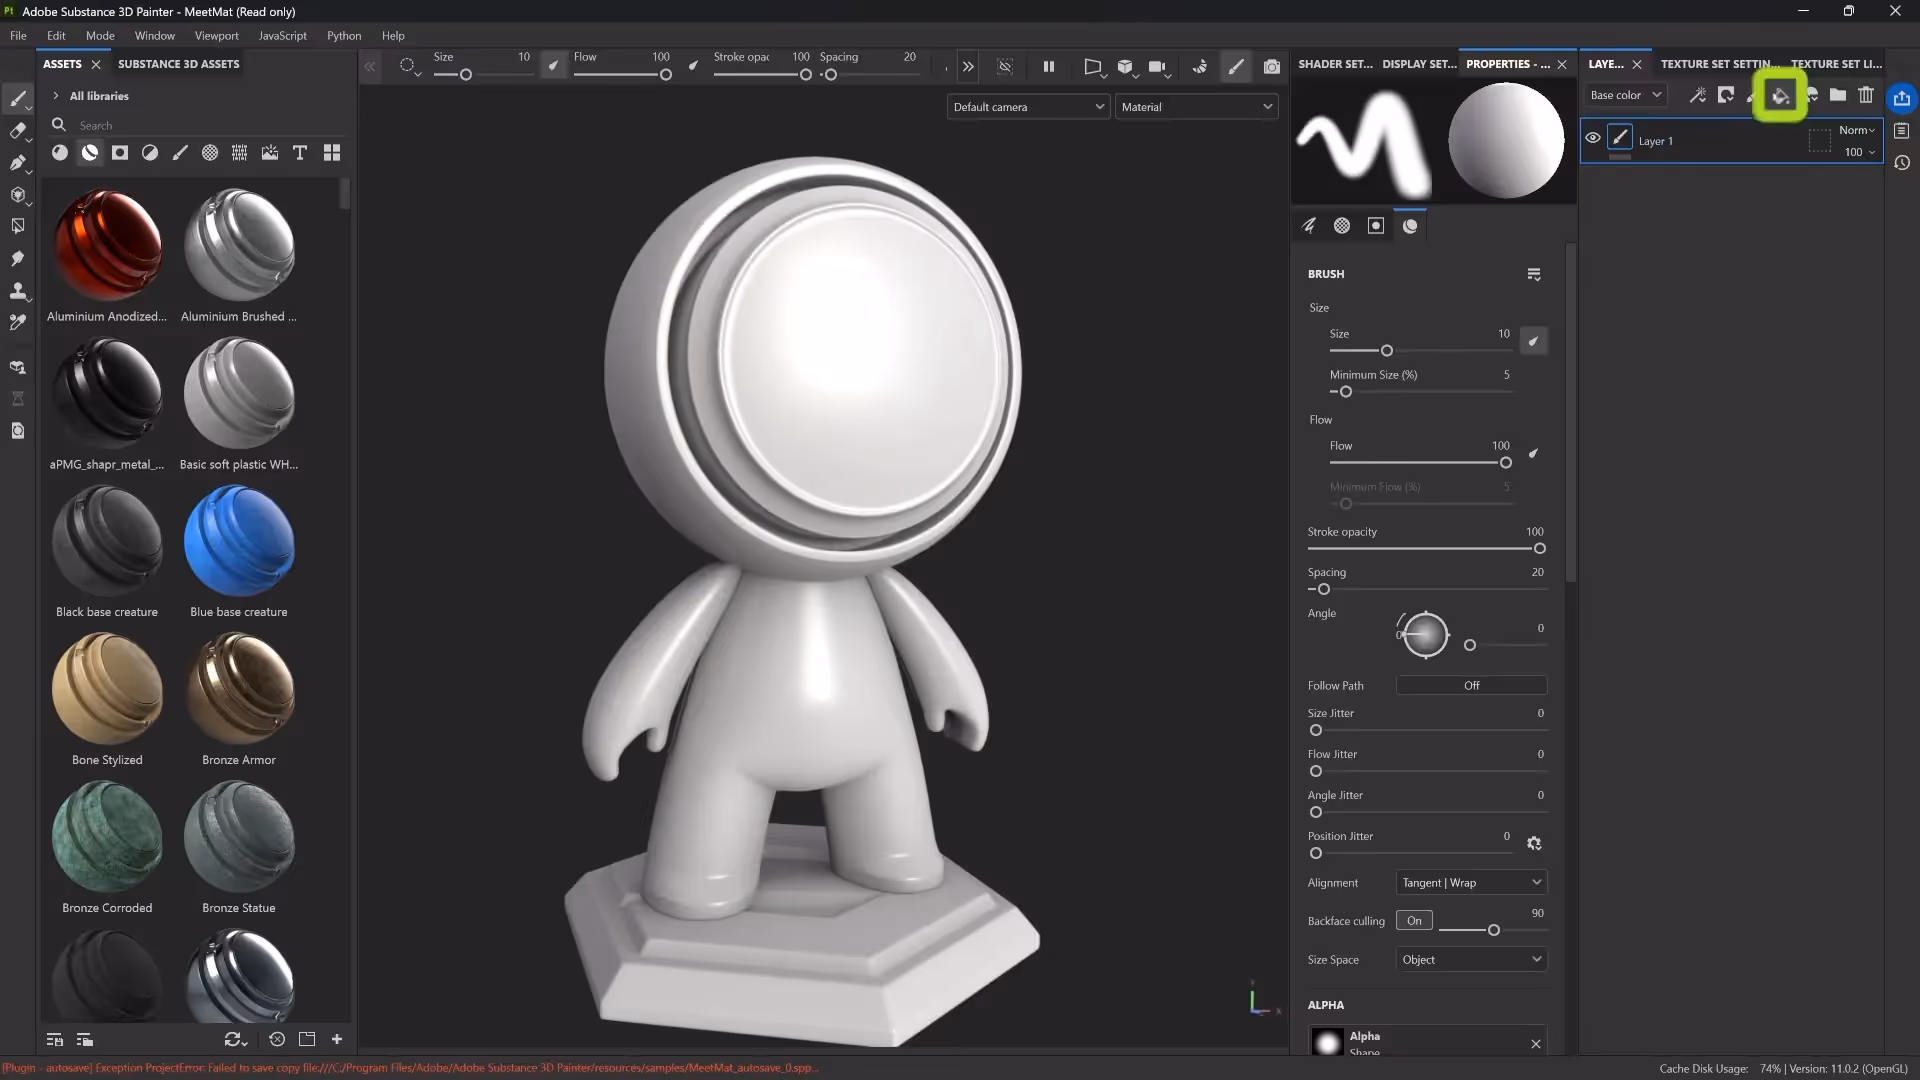
Painter also offers extra control through channels such as roughness, height, metallic, and normal maps. These allow you to adjust different physical properties of the material independently of color. For example, you can make a material shiny by lowering roughness without changing its color.
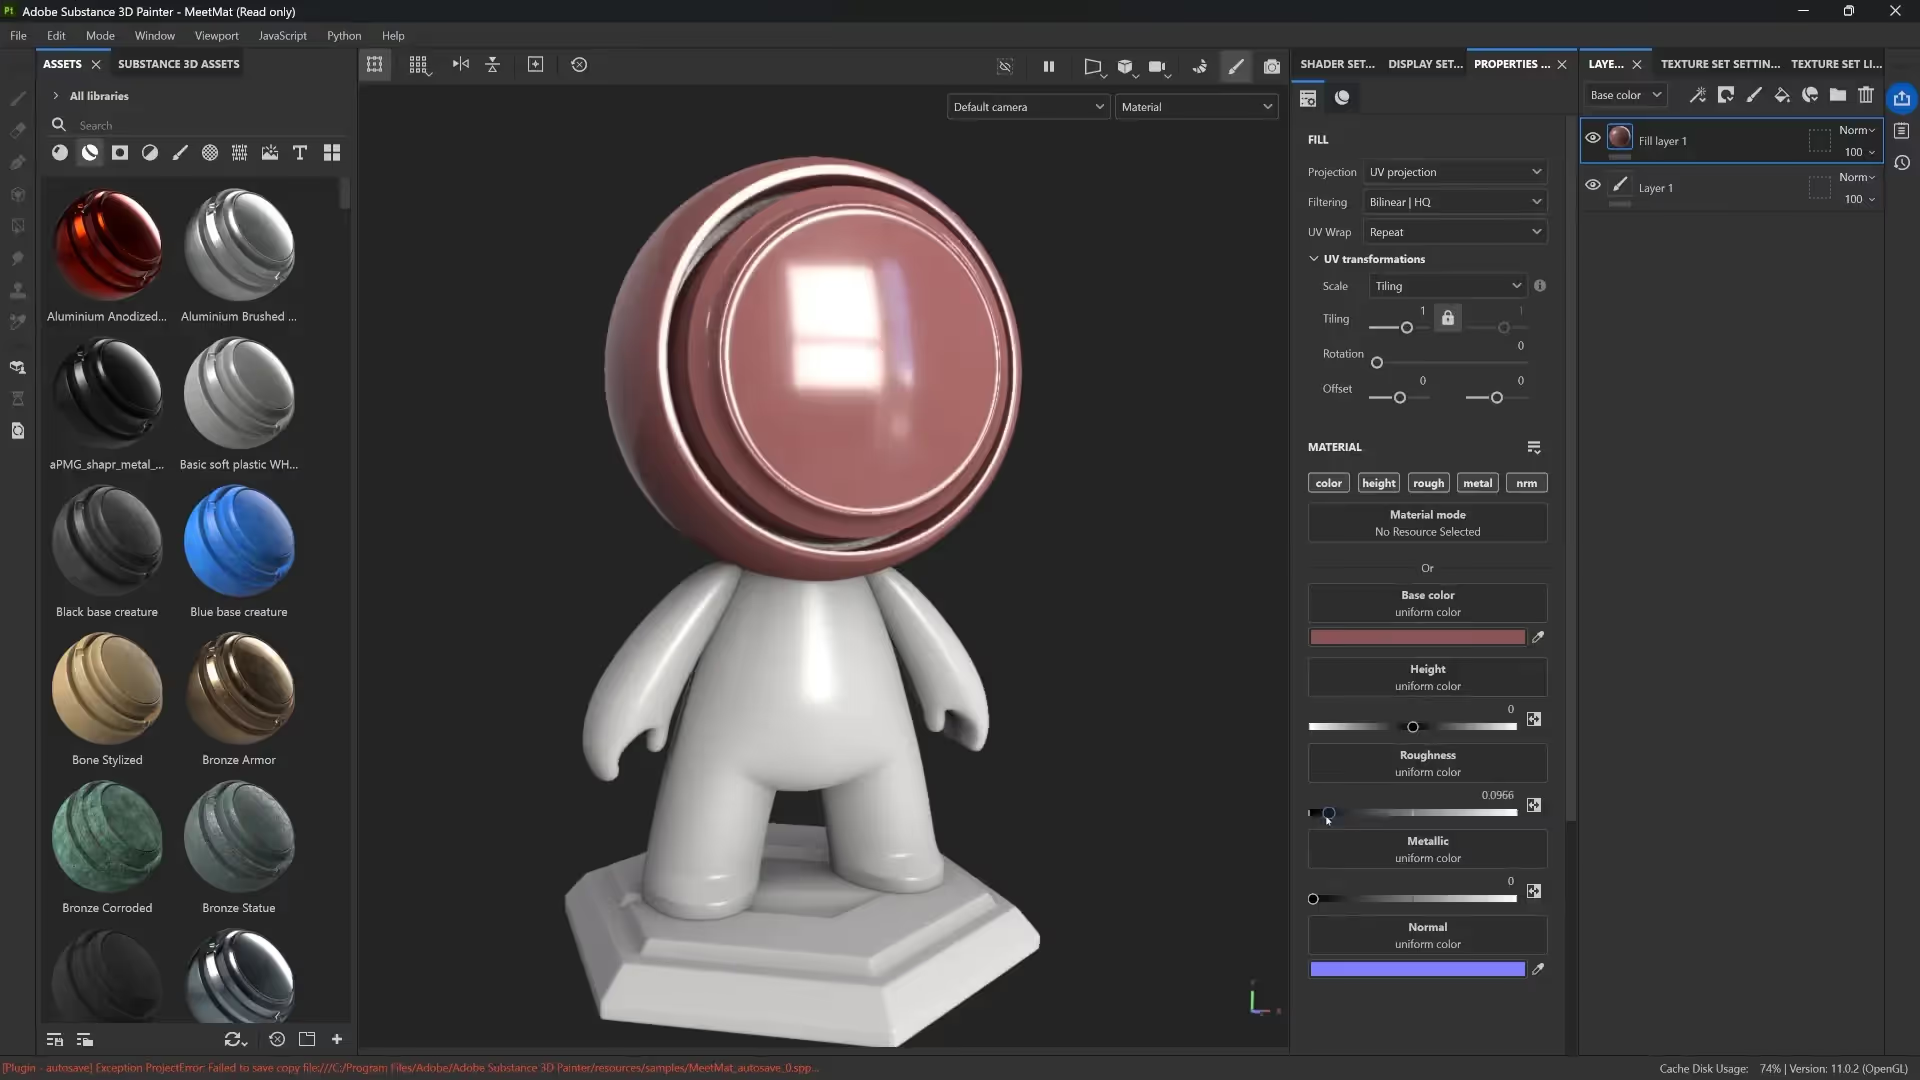
To apply your Photoshop masks in Painter, drag and drop the exported mask images into Painter’s library. Then add a black mask to your fill layer, and inside that mask, add a fill that uses your grayscale texture. This is very similar to adding a mask in Photoshop and painting or inserting an image to control visibility.

One of the things I love is how similar the shortcuts and behaviors are. For example, holding ALT and clicking on a mask to view it works the same in both Photoshop and Painter. You can also toggle masks on and off with SHIFT-click. This familiarity makes the learning curve much gentler.
Adjusting Material Properties with Layers and Masks
Once you have your layers and masks set up in Painter, you can control the intensity of each effect by adjusting layer opacity and blending modes — just like in Photoshop. For example, you might reduce the opacity of a layer with scratches or set its blending mode to lighten to make it subtly influence the material.
Since Painter is a 3D tool, you can also adjust how your masks tile over the model’s surface. This means you can shrink or enlarge your mask patterns to get finer or broader detail, which is something Photoshop’s 2D environment doesn’t directly handle.
This ability to tile and scale masks on 3D models is crucial for creating realistic materials that look good from all angles and distances.
Adding Depth and Realism with Height and Roughness Channels
One of the biggest advantages of Painter over Photoshop is how it handles material properties like height and roughness. For example, you can use your scratch mask not only to control where scratches appear but also to add physical depth by adjusting the height channel. This gives the illusion of scratches physically carved into the surface.
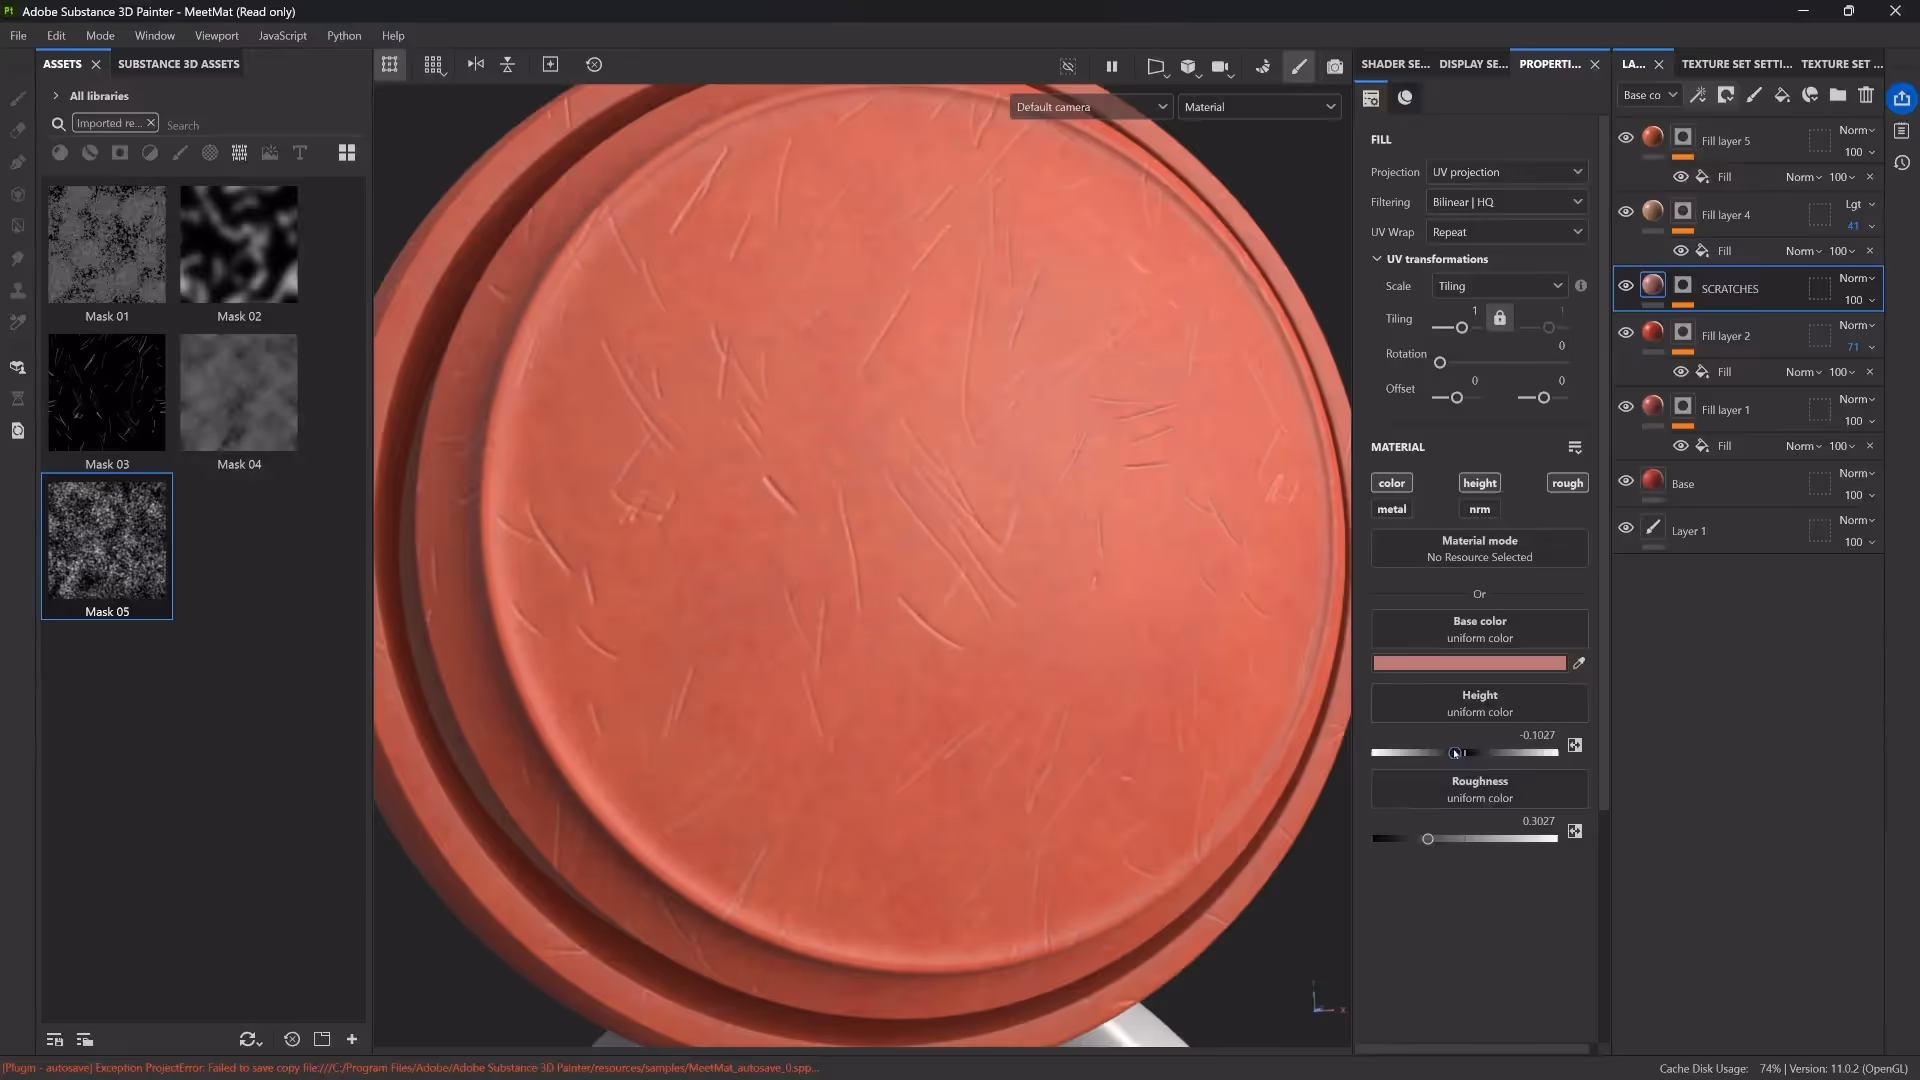
Similarly, you can add roughness variation to your layers, making some parts shinier and others more matte. This subtle variation is what makes materials look natural and believable.
The key here is to keep these effects subtle. Overdoing height or roughness can make a material look artificial. I usually push height values to very low numbers, like -0.05 to 0.01, to maintain realism.
Using Adjustment Layers and Effects Like Hue/Saturation
Just like Photoshop, Painter lets you add adjustment layers to tweak your material’s overall look nondestructively. For example, you can add an HSL (Hue, Saturation, Lightness) filter to change the color tone of your entire material without altering the underlying layers or masks.
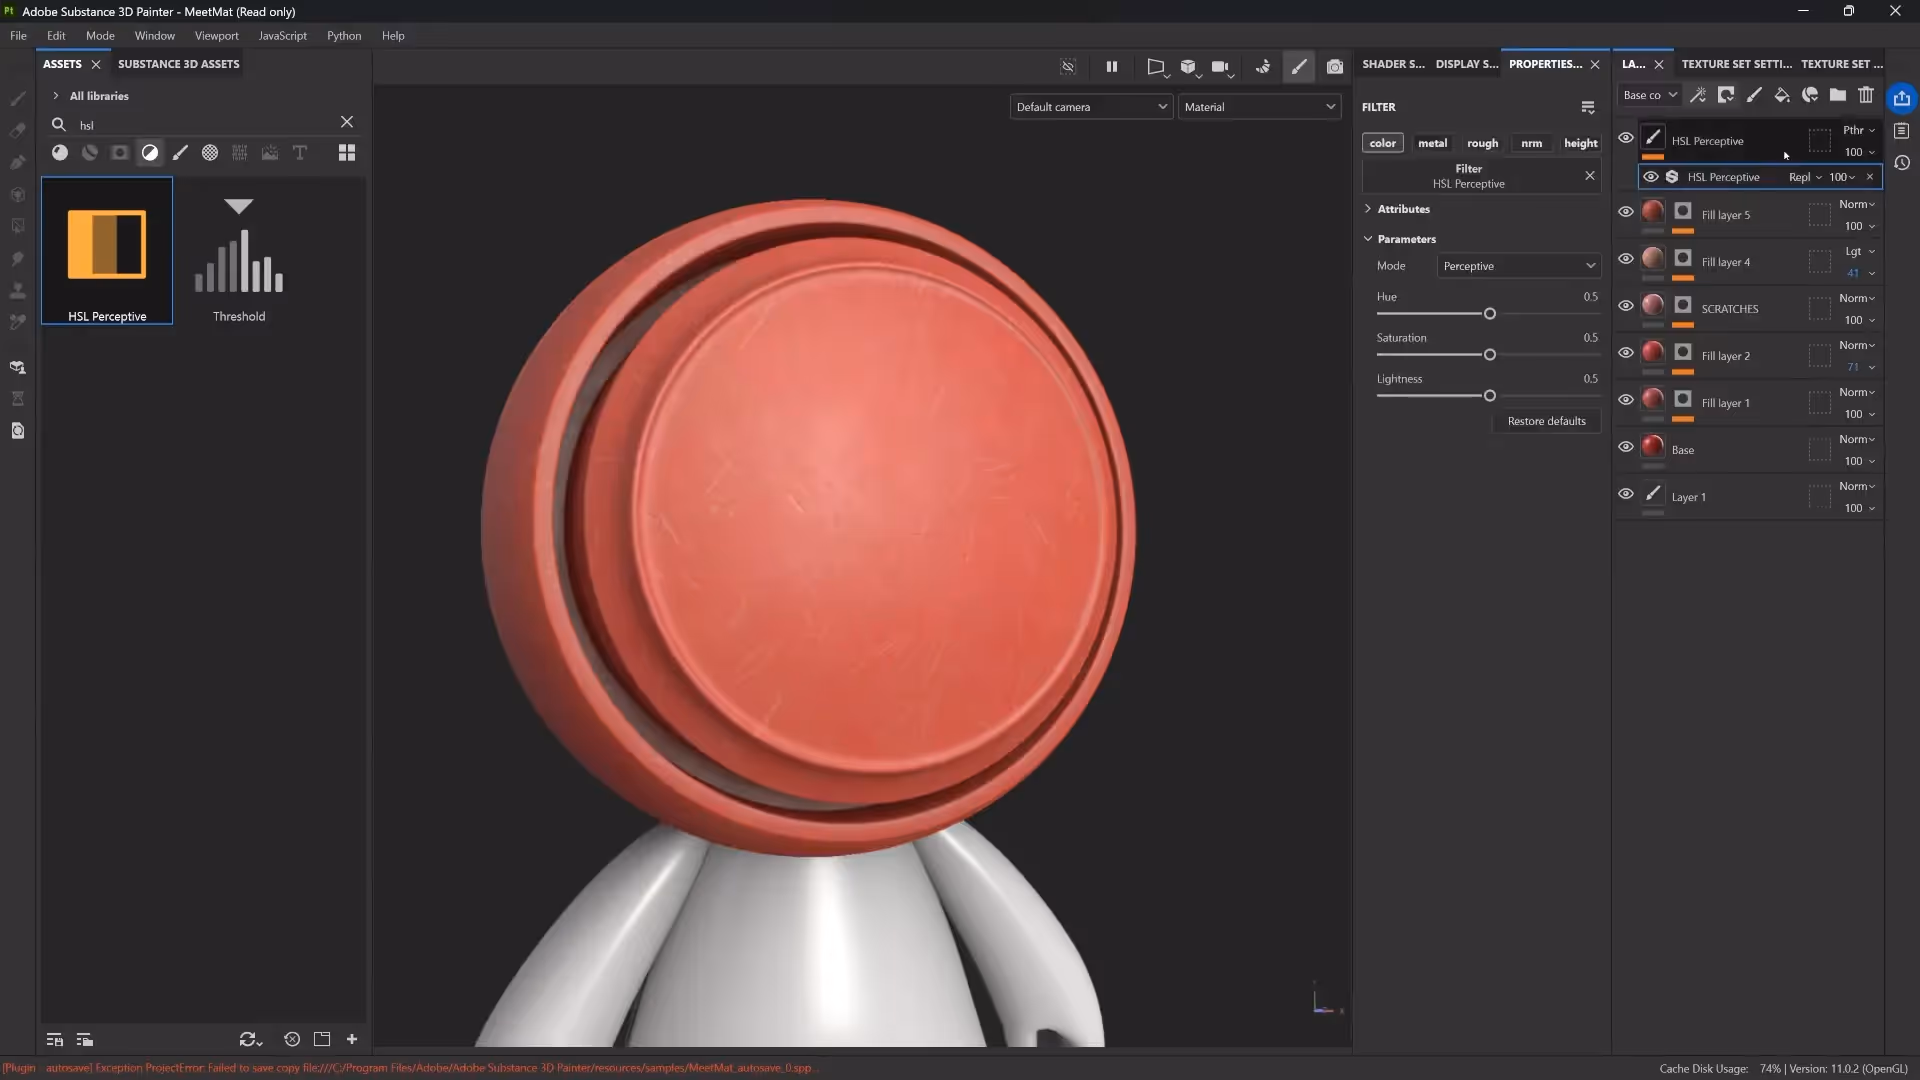
You can also add levels or contrast adjustments, and Painter lets you choose which channel to affect — color, roughness, height, etc. This granular control allows you to finesse your materials in ways that are hard to replicate in Photoshop alone.
Advanced Effects: Using Generators and Mesh Maps
One of the standout features of Painter is its Generators, which automatically create masks based on a model’s mesh maps like curvature, ambient occlusion, and position. For instance, you can create realistic edge wear effects by applying a metal layer masked by a generator that highlights edges and crevices.

These generators are incredibly powerful because they react dynamically to your model’s shape and lighting, saving you from having to paint complex masks manually.
You can also add height variation to these materials so that the metal layer has subtle bumps or dents, enhancing realism without extra manual work.
Organizing Your Material Layers and Applying Across Texture Sets
Just like grouping layers in Photoshop, you can organize your Painter layers into folders. This helps keep your material organized and makes it easy to manage complex setups.
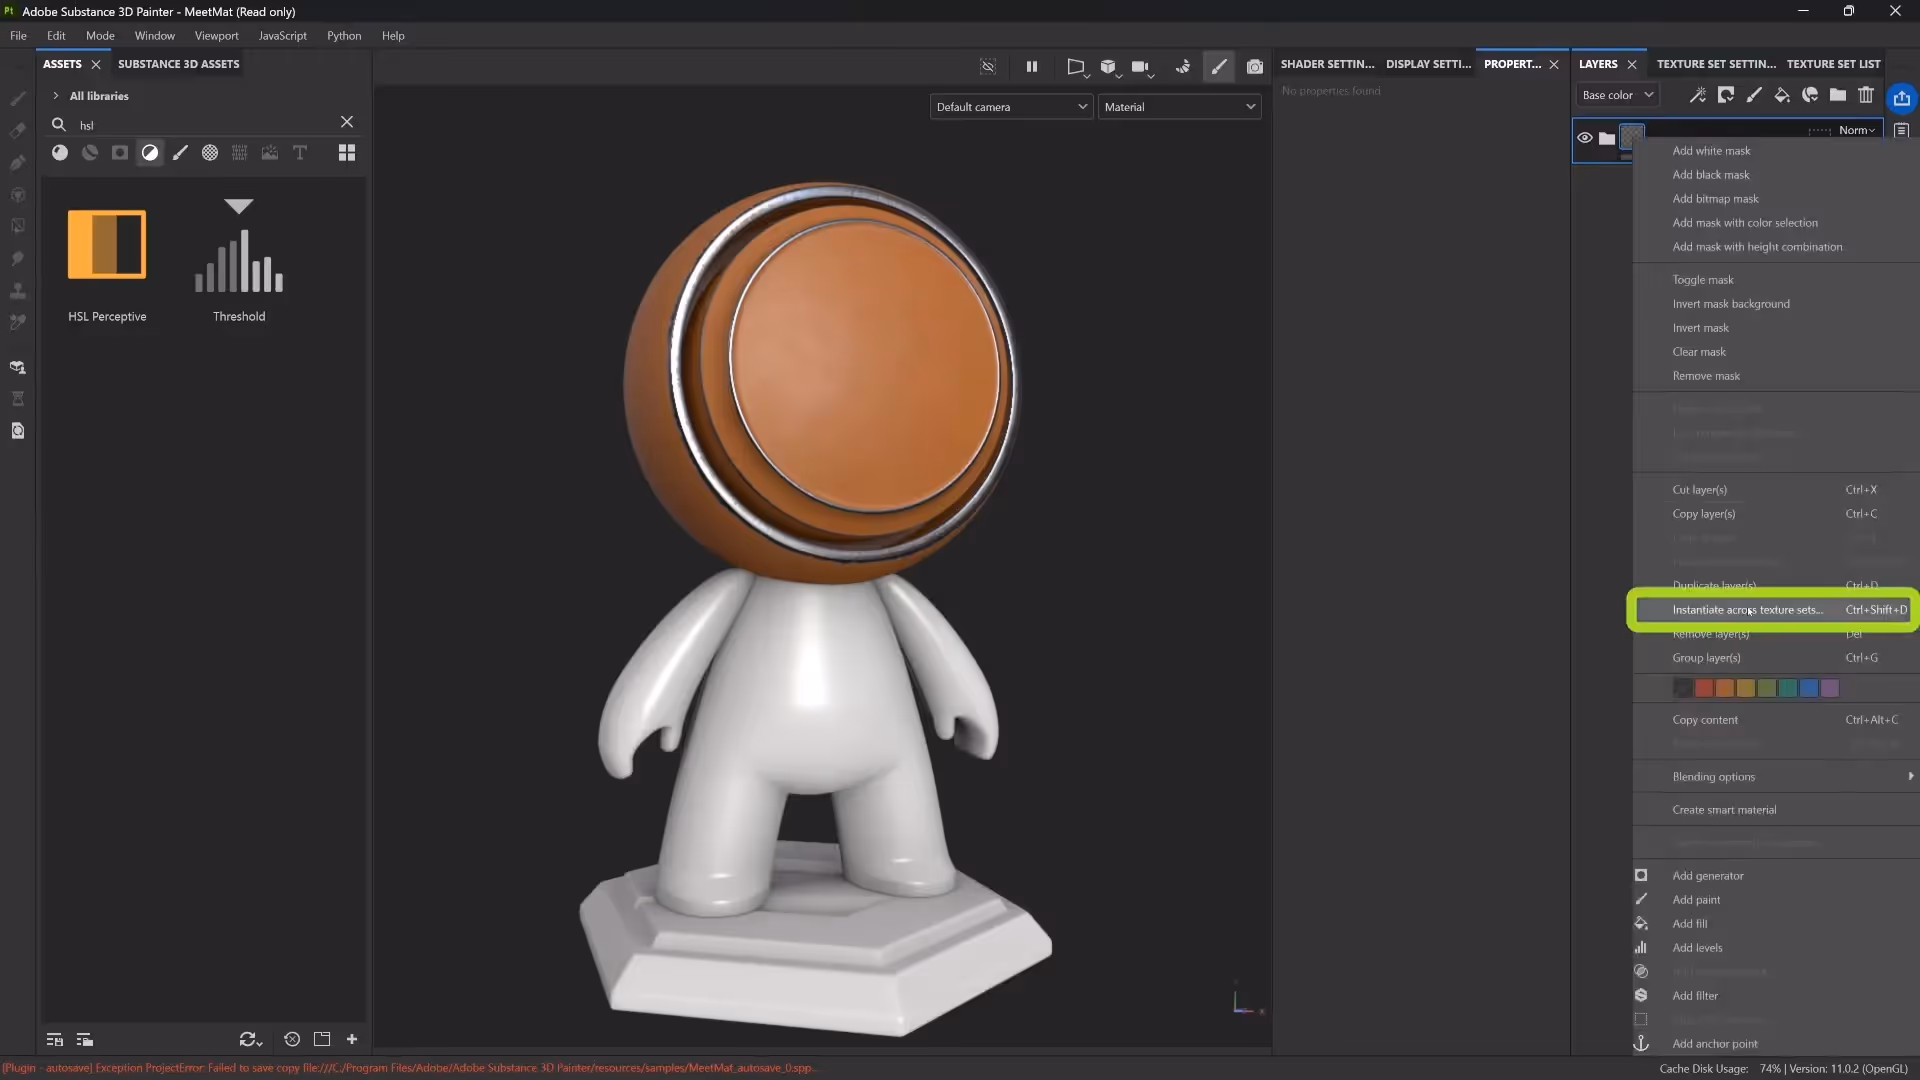
Once your material is complete, Painter lets you instantiate it across multiple texture sets or objects in your scene. For example, if you’re working on a character with separate head and body meshes, you can apply the same material setup to all parts consistently.
This feature streamlines your workflow and ensures materials remain cohesive across your entire 3D asset.
Conclusion: Photoshop Skills Translate Directly to Substance 3D Painter
To sum it up, if you know how to use layers, masks, and adjustment layers in Photoshop, you’re already halfway to mastering Substance 3D Painter. The principles are the same: build your material with layers, control visibility with masks, and use adjustment layers for nondestructive tweaking.
Painter adds more advanced controls with channels like roughness, height, metallic, and powerful features like generators that respond to your model’s geometry. But the foundational workflow remains very familiar to Photoshop users, making the transition much easier than you’d expect.
So if you’ve been hesitant to dive into 3D Painter because it looks complex, remember: your Photoshop knowledge is your best friend. Start simple, experiment with layers and masks, and soon you’ll be creating stunning 3D materials with confidence.
Happy texturing!
Plasticine Smart Materials
This is a small library of 20 smart materials for Adobe 3D Painter to recreate the look and feel of plasticine in 3D. The resources in this mini-pack are pretty simple but totally customizable so would be able to change the face of the plasticine types very easily when texturing.I have also put together a step-by-step video tutorial where I show you how to create a custom plasticine Smart Material in 3D Painter and you can check it out in the related tutorials.
Get resource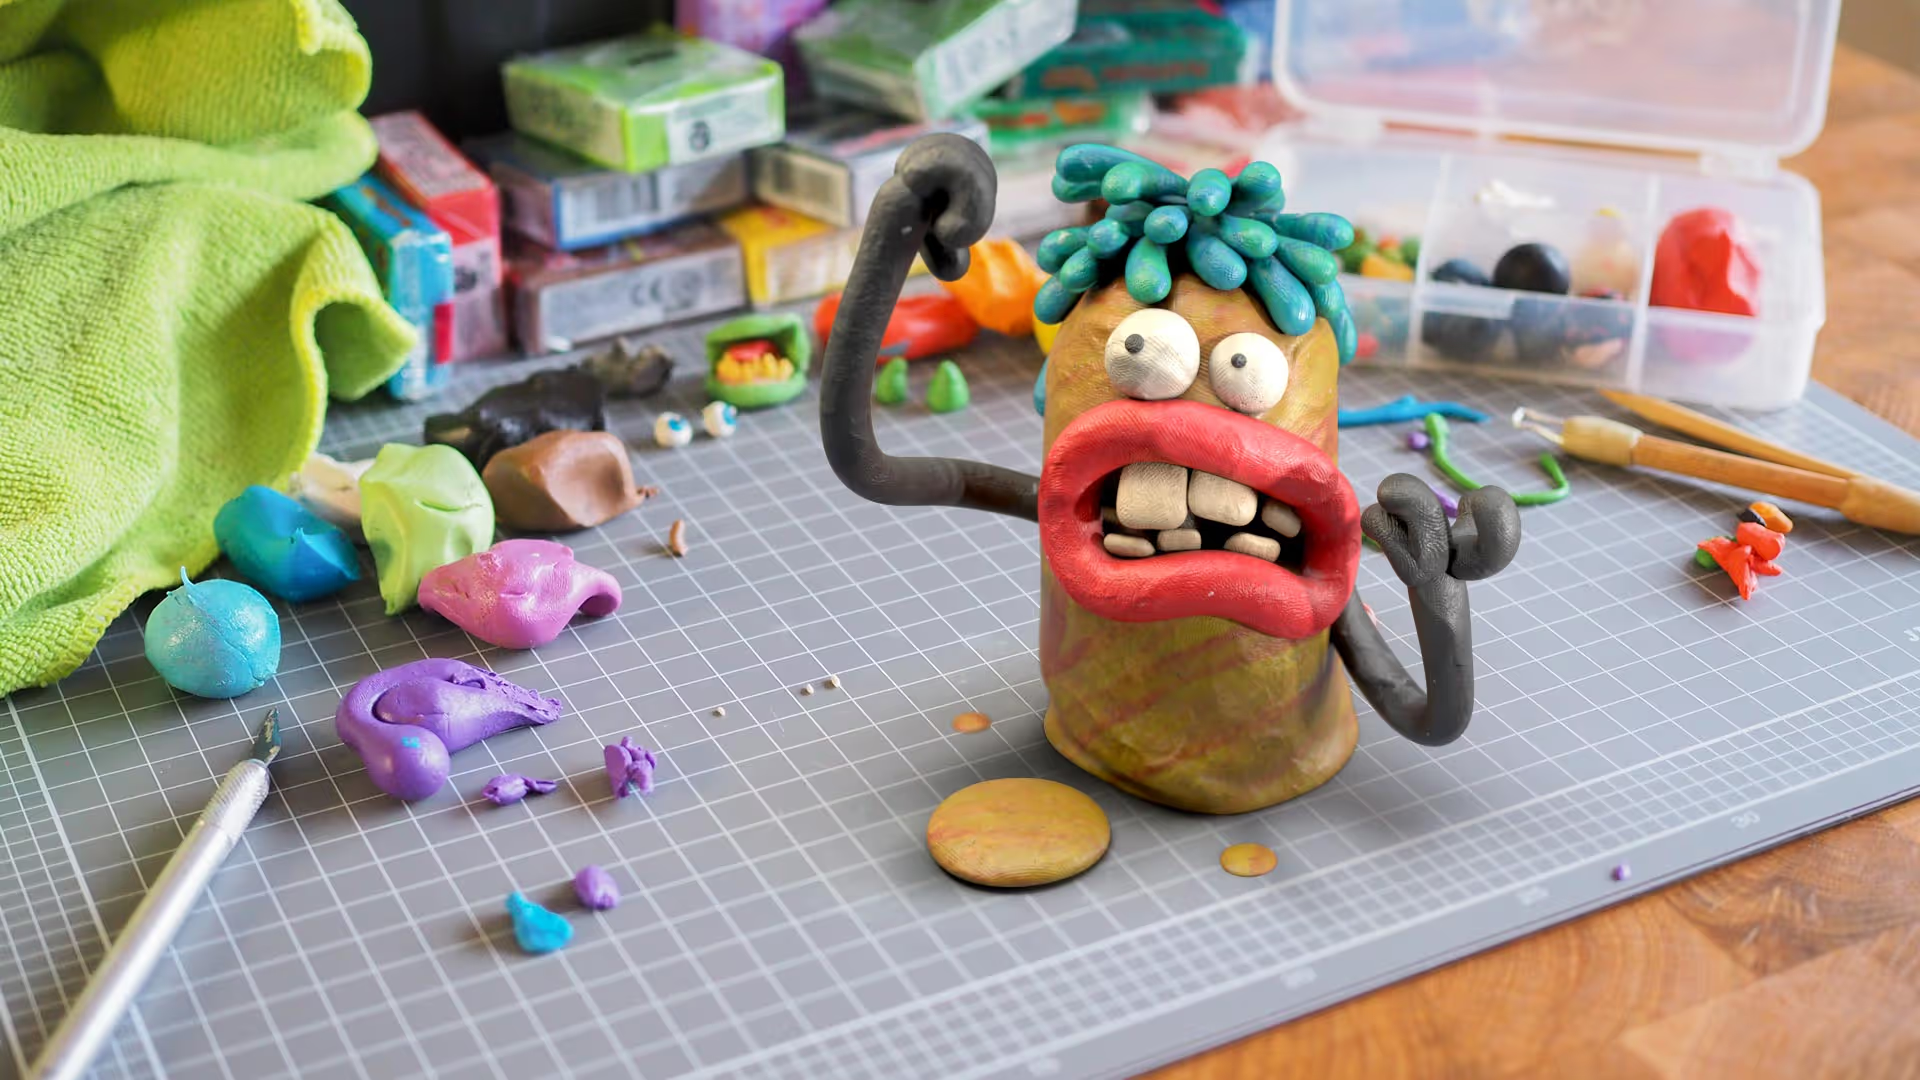
What's the Secret Behind Anchor Points?
If you want to dive deeper into texturing, check out this video about anchor points
Check it out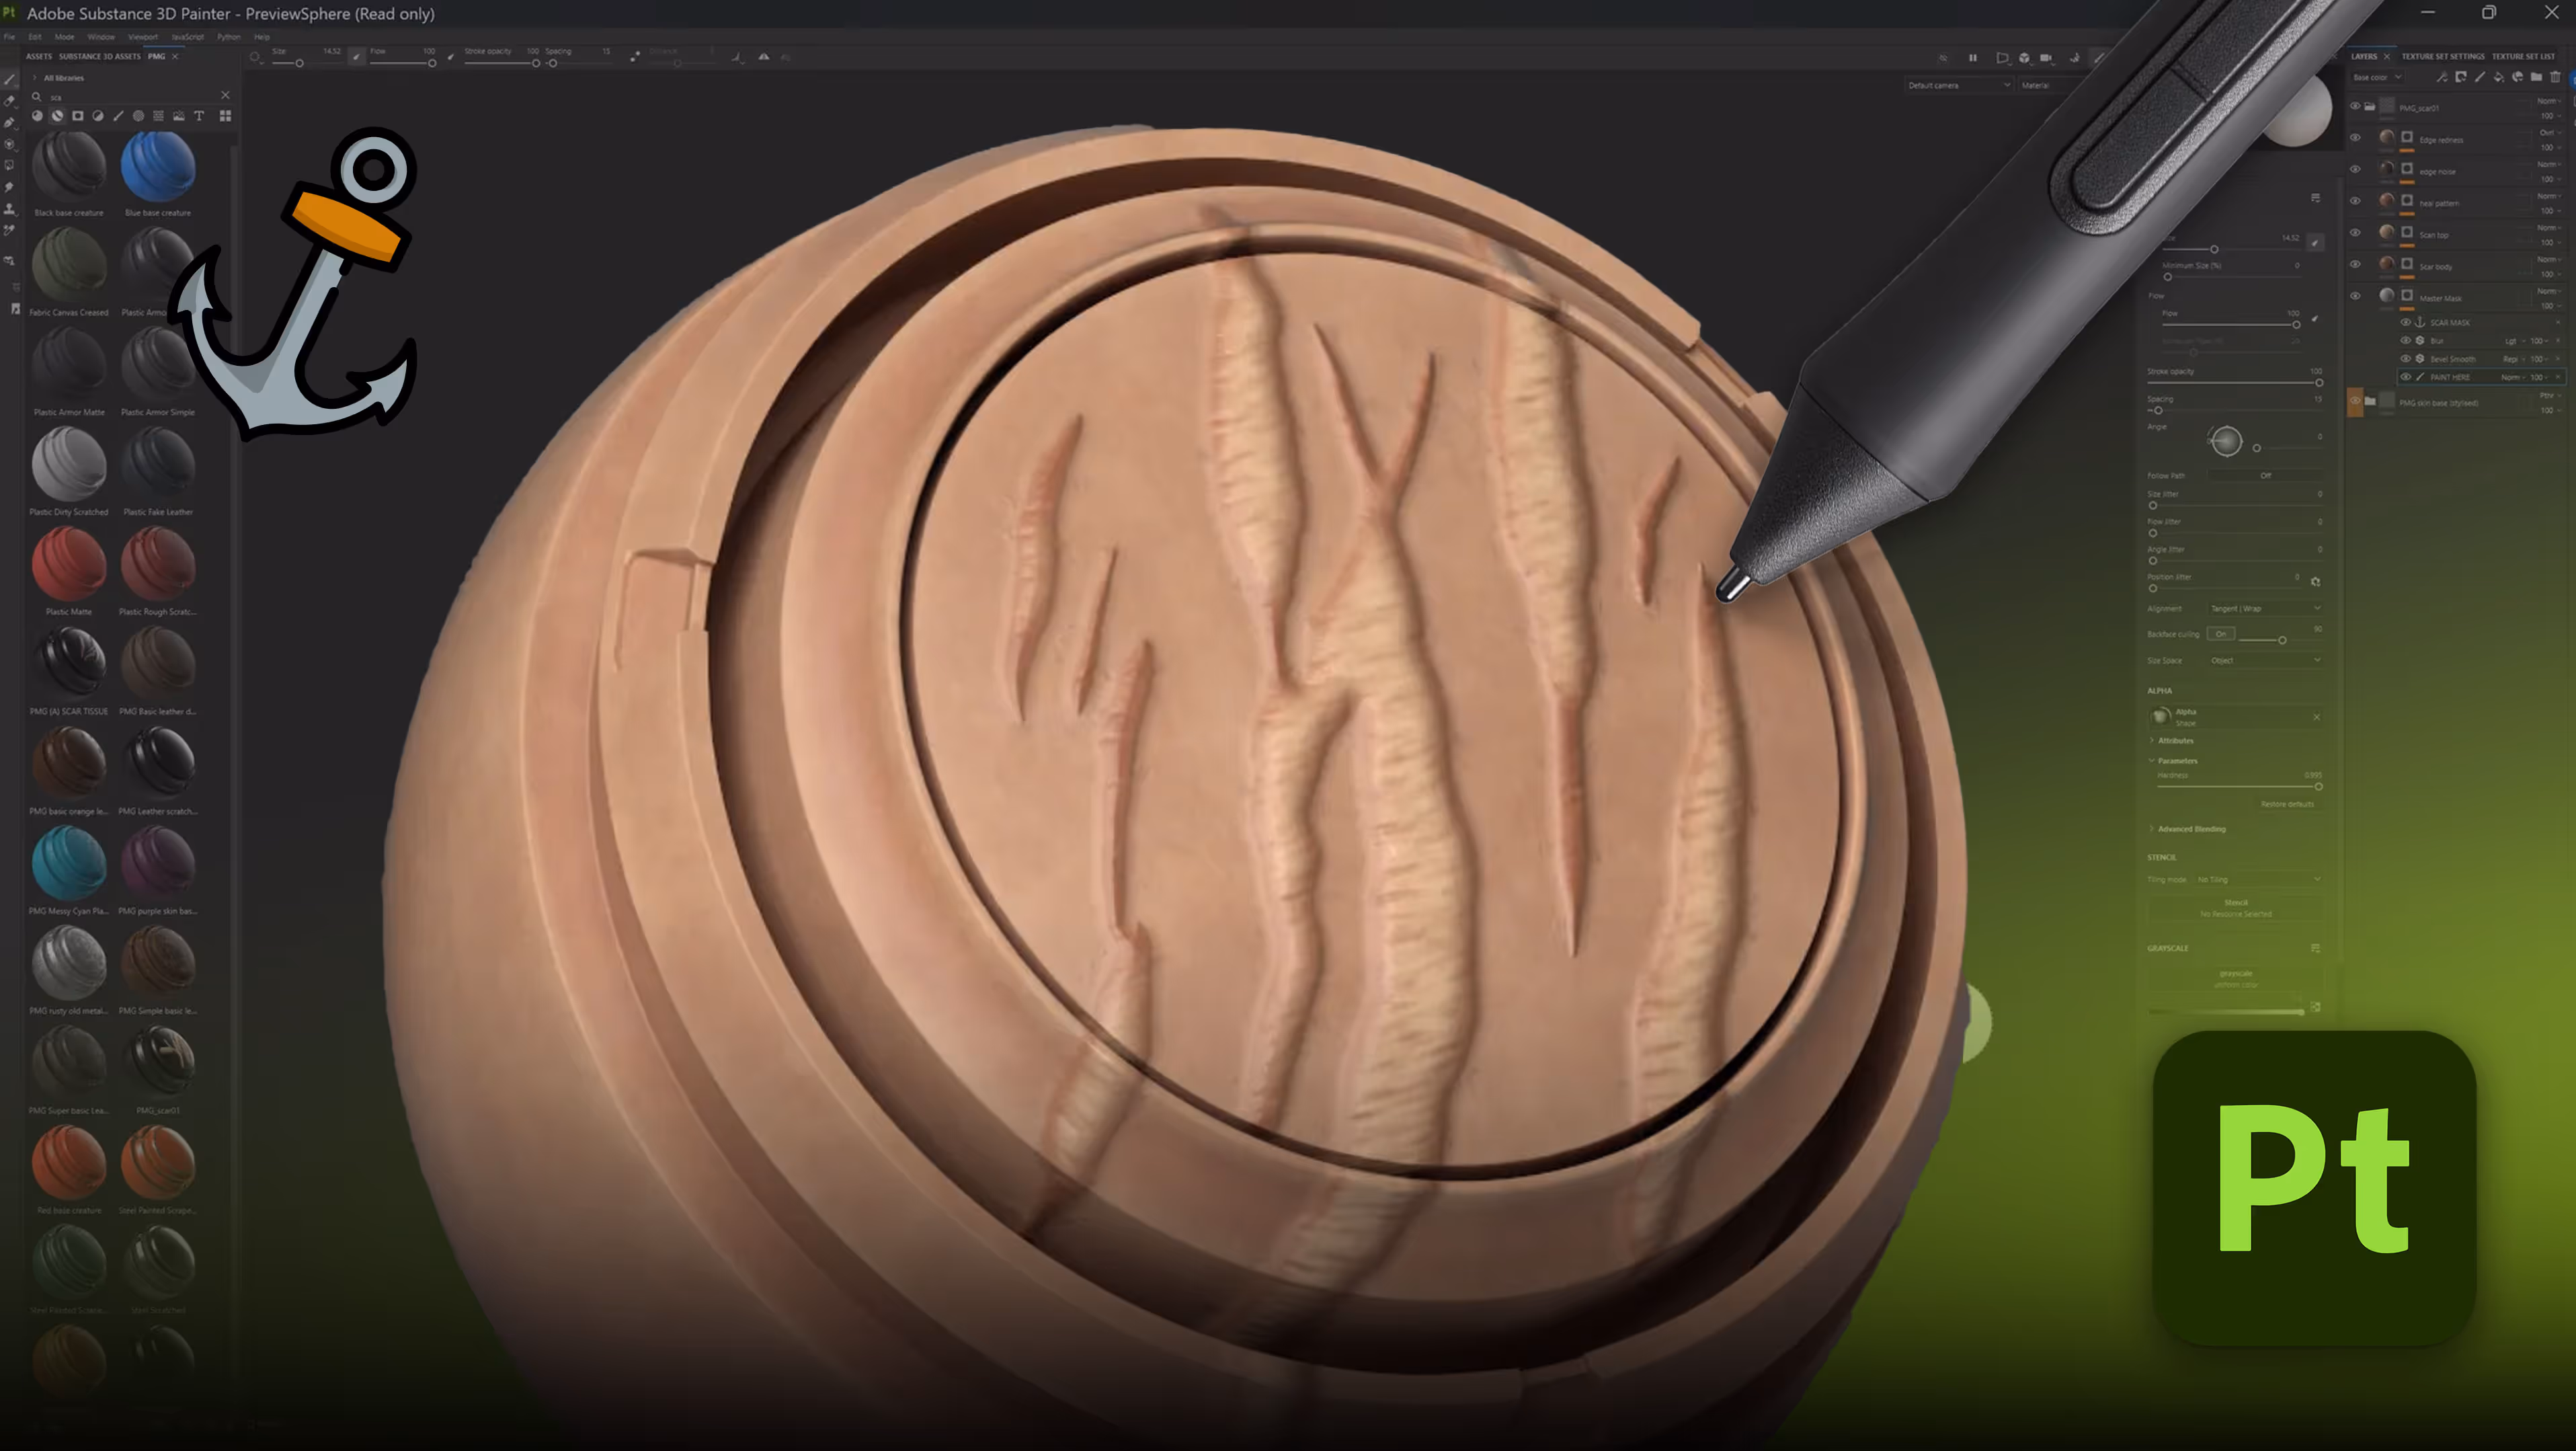


.webp)

