Published
February 17, 2023

Posing characters in ZBrush with ‘AccuRig’

In this free tutorial series, I’m going to take you through the entire process from sketching an idea in Krita (2D) and turning it into a full 3D character in ZBrush that we can then pose using ‘AccuRig’ from Reallusion’s Character Creator 4. The focus of the series is in the setup of a humanoid character in ZBrush so that it can be rigged and easily posed (potentially animated) using CC4.

Posing characters in ZBrush with ‘AccuRig’Posing characters in ZBrush with ‘AccuRig’
Posing characters in ZBrush with ‘AccuRig’
Play Icon
Posing characters in ZBrush with ‘AccuRig’
Play Icon
Posing characters in ZBrush with ‘AccuRig’
Play Icon
Posing characters in ZBrush with ‘AccuRig’
Play Icon
Posing characters in ZBrush with ‘AccuRig’
Play Icon
Posing characters in ZBrush with ‘AccuRig’
Play Icon
Posing characters in ZBrush with ‘AccuRig’
Play Icon
Posing characters in ZBrush with ‘AccuRig’
Play Icon
Posing characters in ZBrush with ‘AccuRig’
Play Icon
Posing characters in ZBrush with ‘AccuRig’
Play Icon
Posing characters in ZBrush with ‘AccuRig’
Play Icon
Posing characters in ZBrush with ‘AccuRig’
Play Icon
Posing characters in ZBrush with ‘AccuRig’
Play Icon
Posing characters in ZBrush with ‘AccuRig’
Play Icon
Posing characters in ZBrush with ‘AccuRig’
Play Icon
Posing characters in ZBrush with ‘AccuRig’
Play Icon

Installing a ZBrush Plugin

Installing the CC Pose Manager plugin is easy. You can just follow the steps that you would usually follow to install any other plugin in ZBrush... So there is no 'installation' as such, you can just copy and paste the contents of the ZIP file into the right folder and that's it.

Here is how you can do it on a Windows PC:

  1. Make sure that ZBrush is closed
  2. Find the installation folder of ZBrush, in my case: 'C:\Program Files\Pixologic\ZBrush 2022'
  3. Find the ZPlugs64 folder within the ZStartup folder (something like: 'C:\Program Files\Pixologic\ZBrush 2022\ZStartup\ZPlugs64'
  4. unzip the files from the download file (link at the bottom of this post).
  5. Copy and paste the 'PoseManagerData' folder and the 'PoseManager.zsc' files into the ZPlugs64 folder.

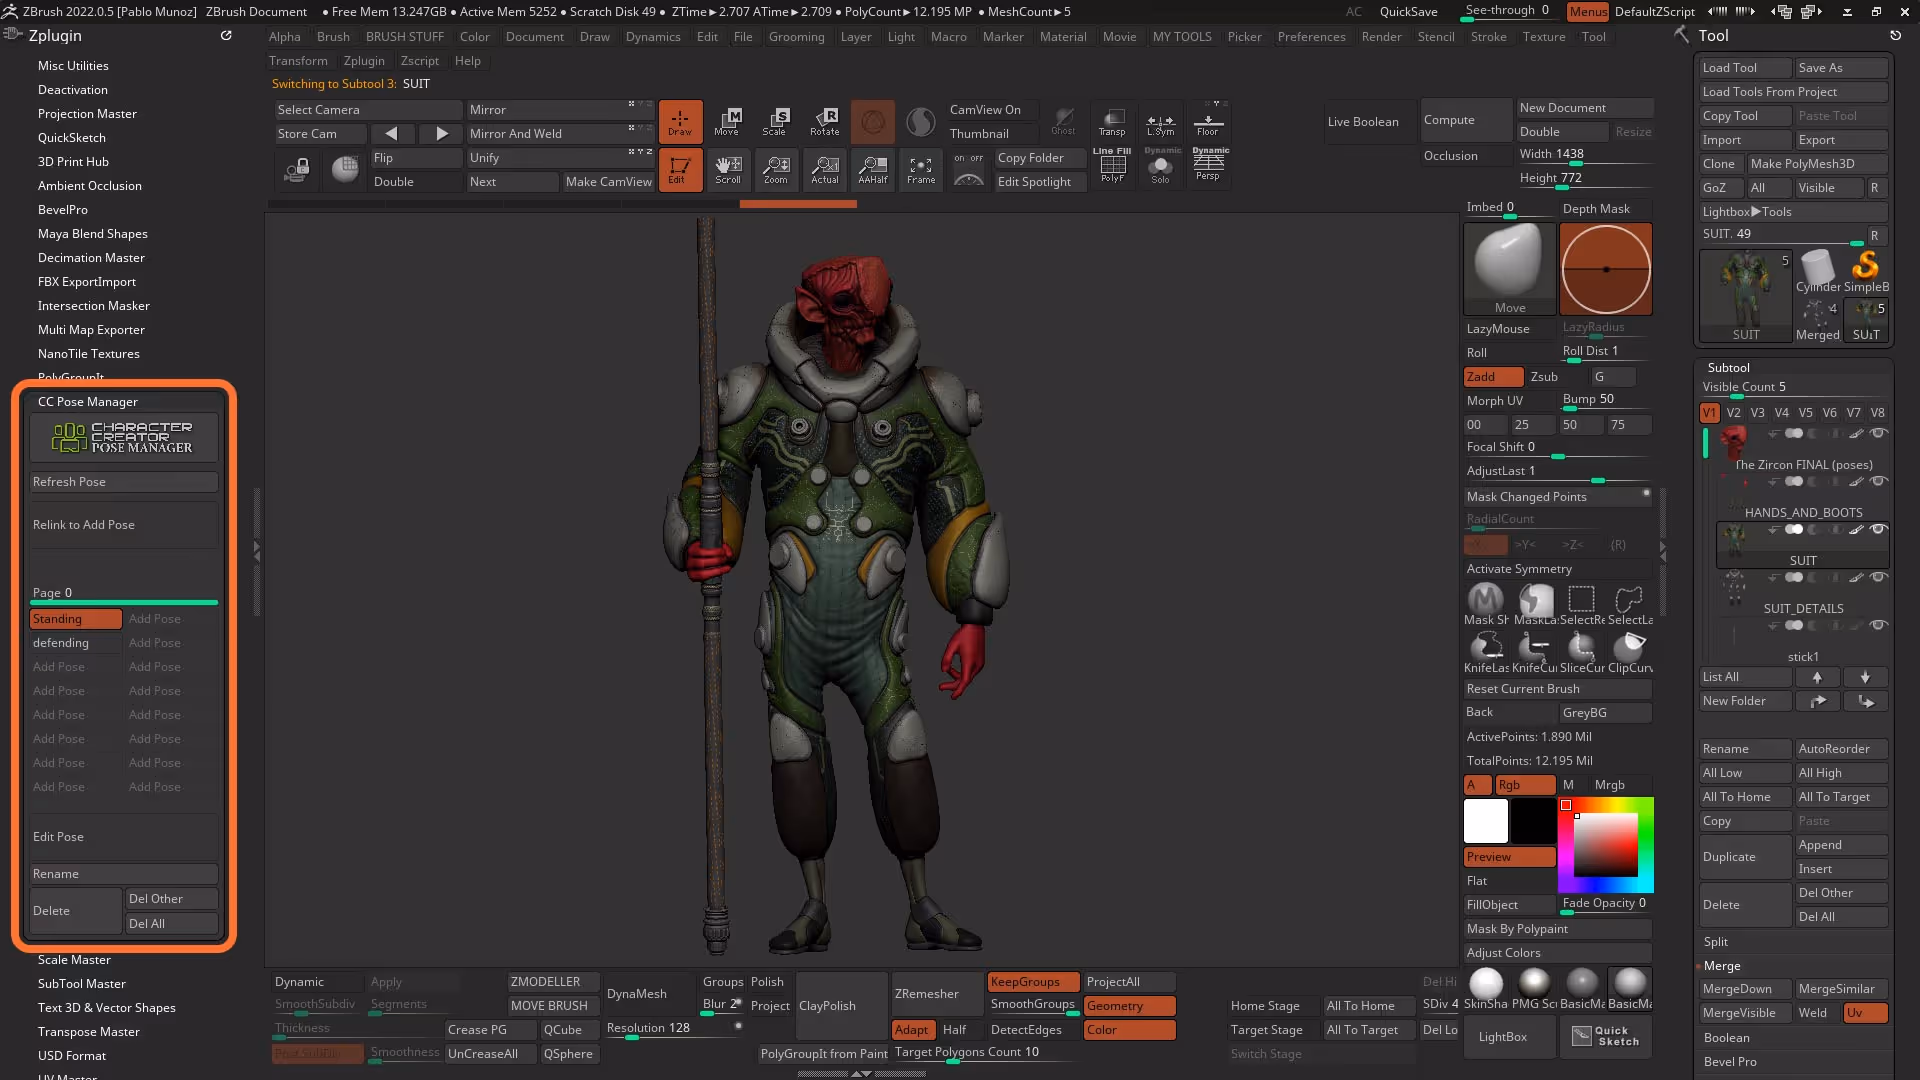
That's it really... open ZBrush and the plugin should be in the ZPlugin palette.
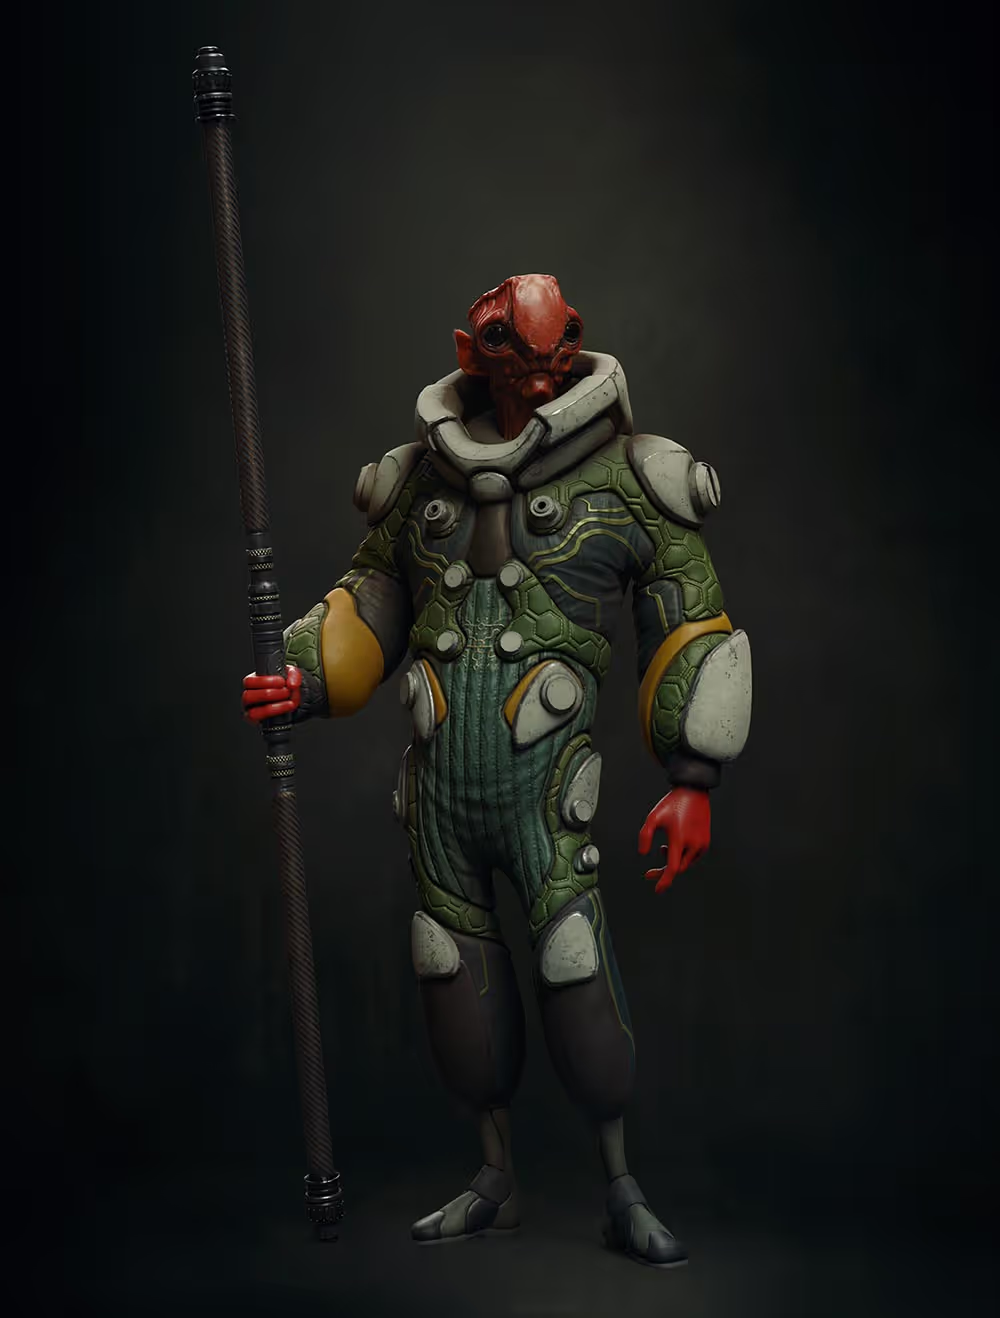
Final concepts!

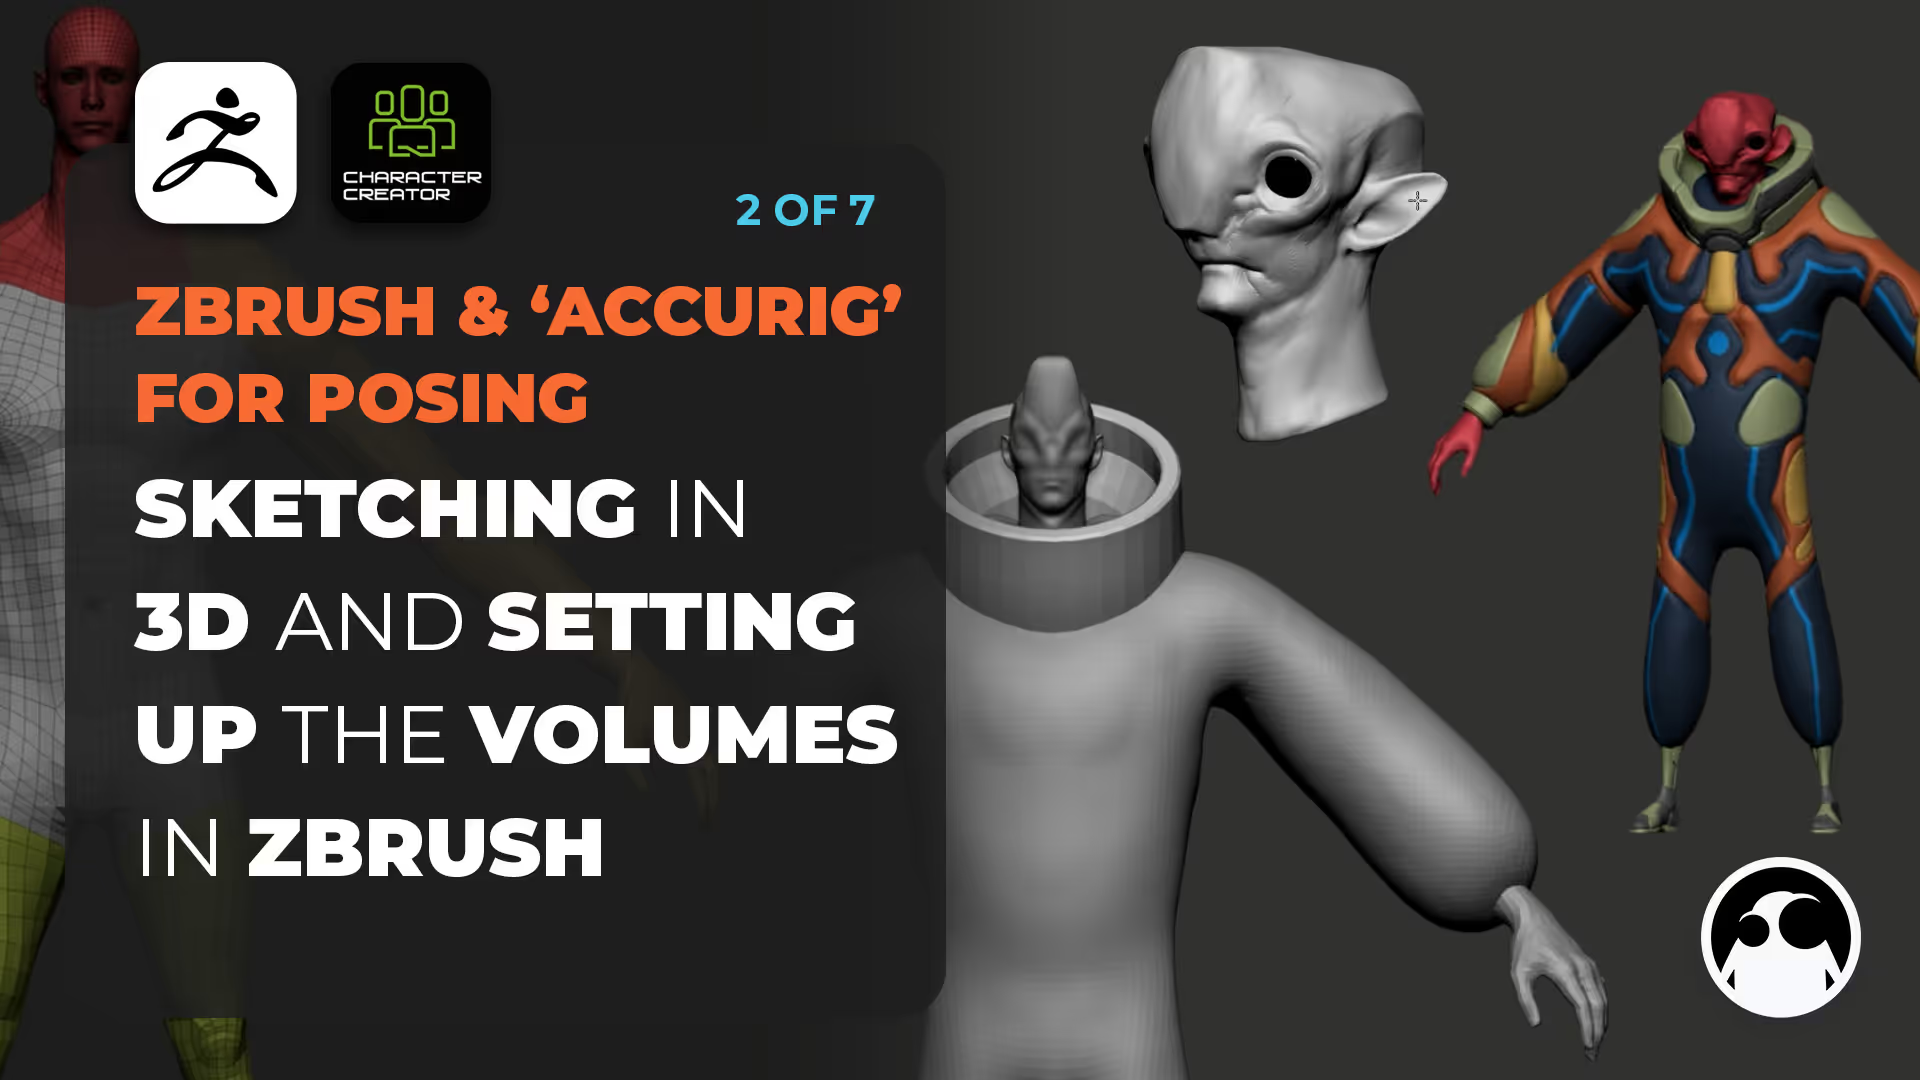
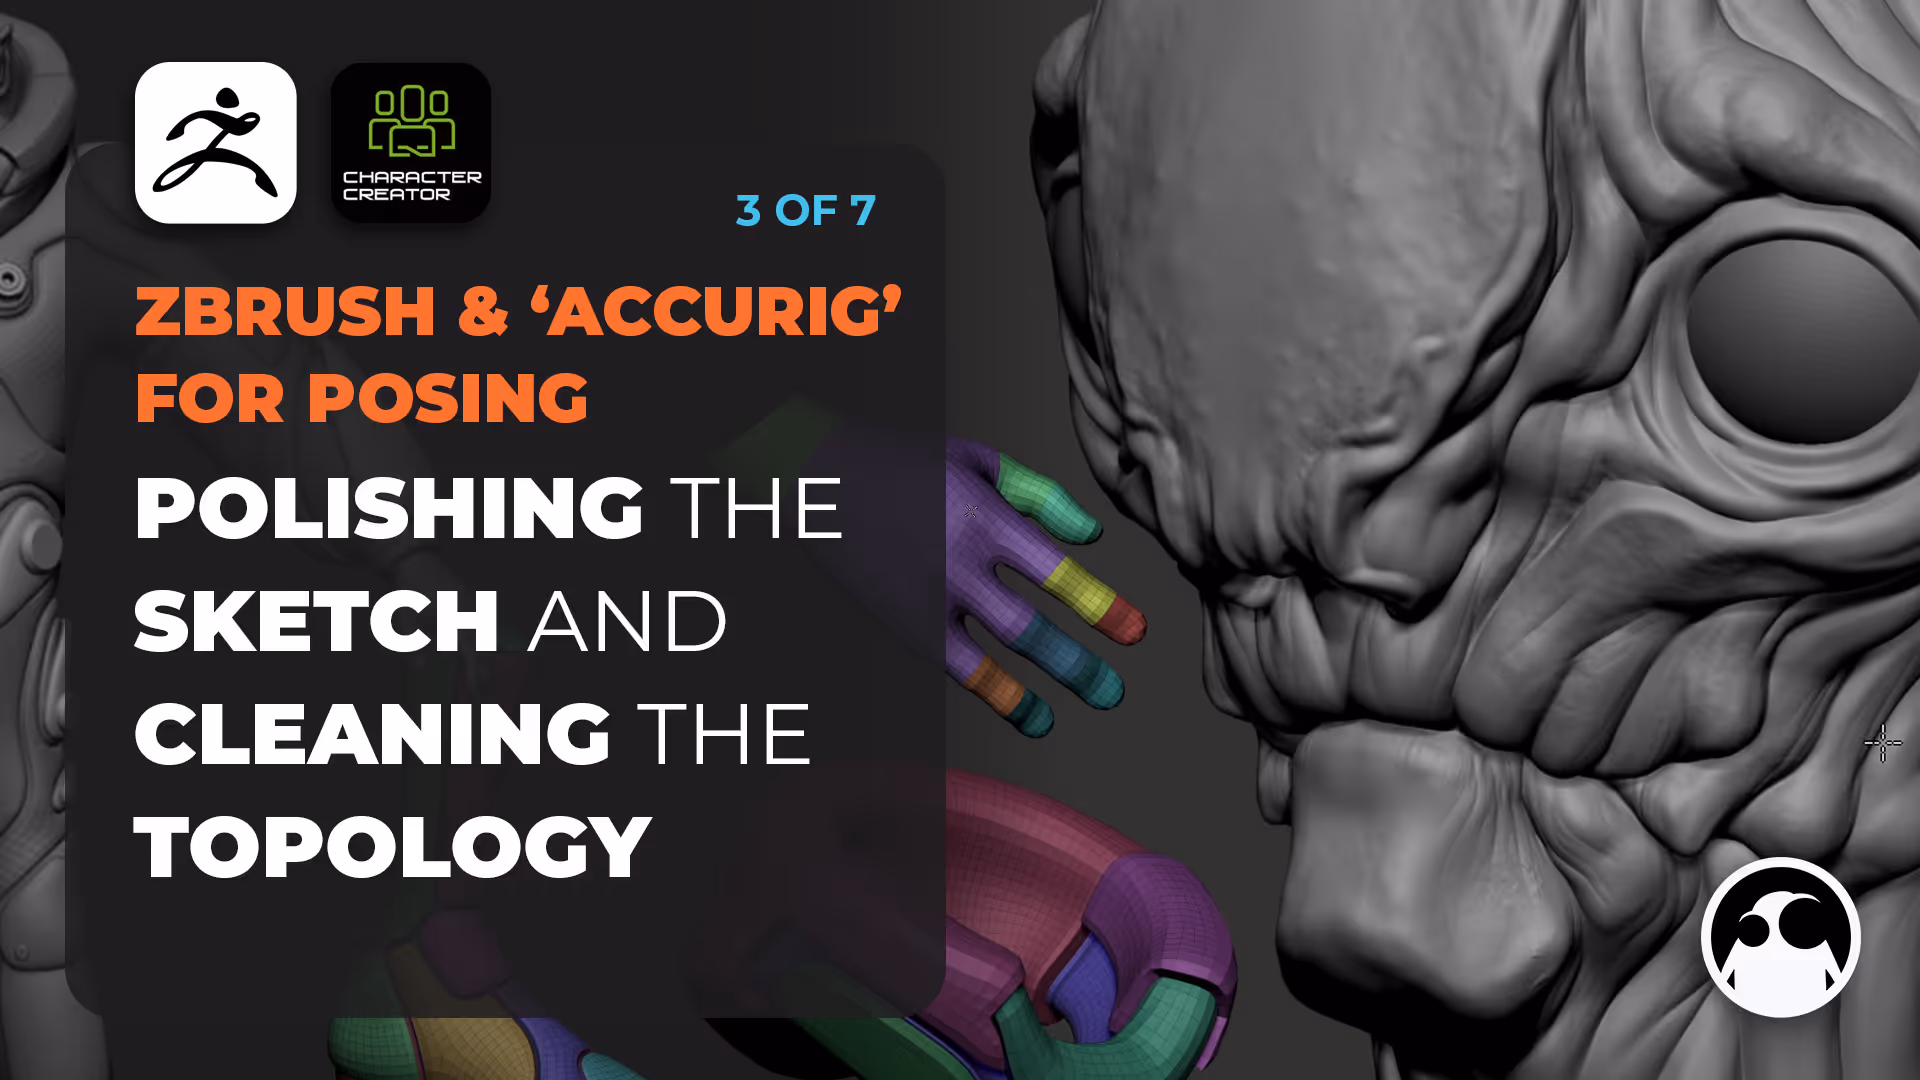
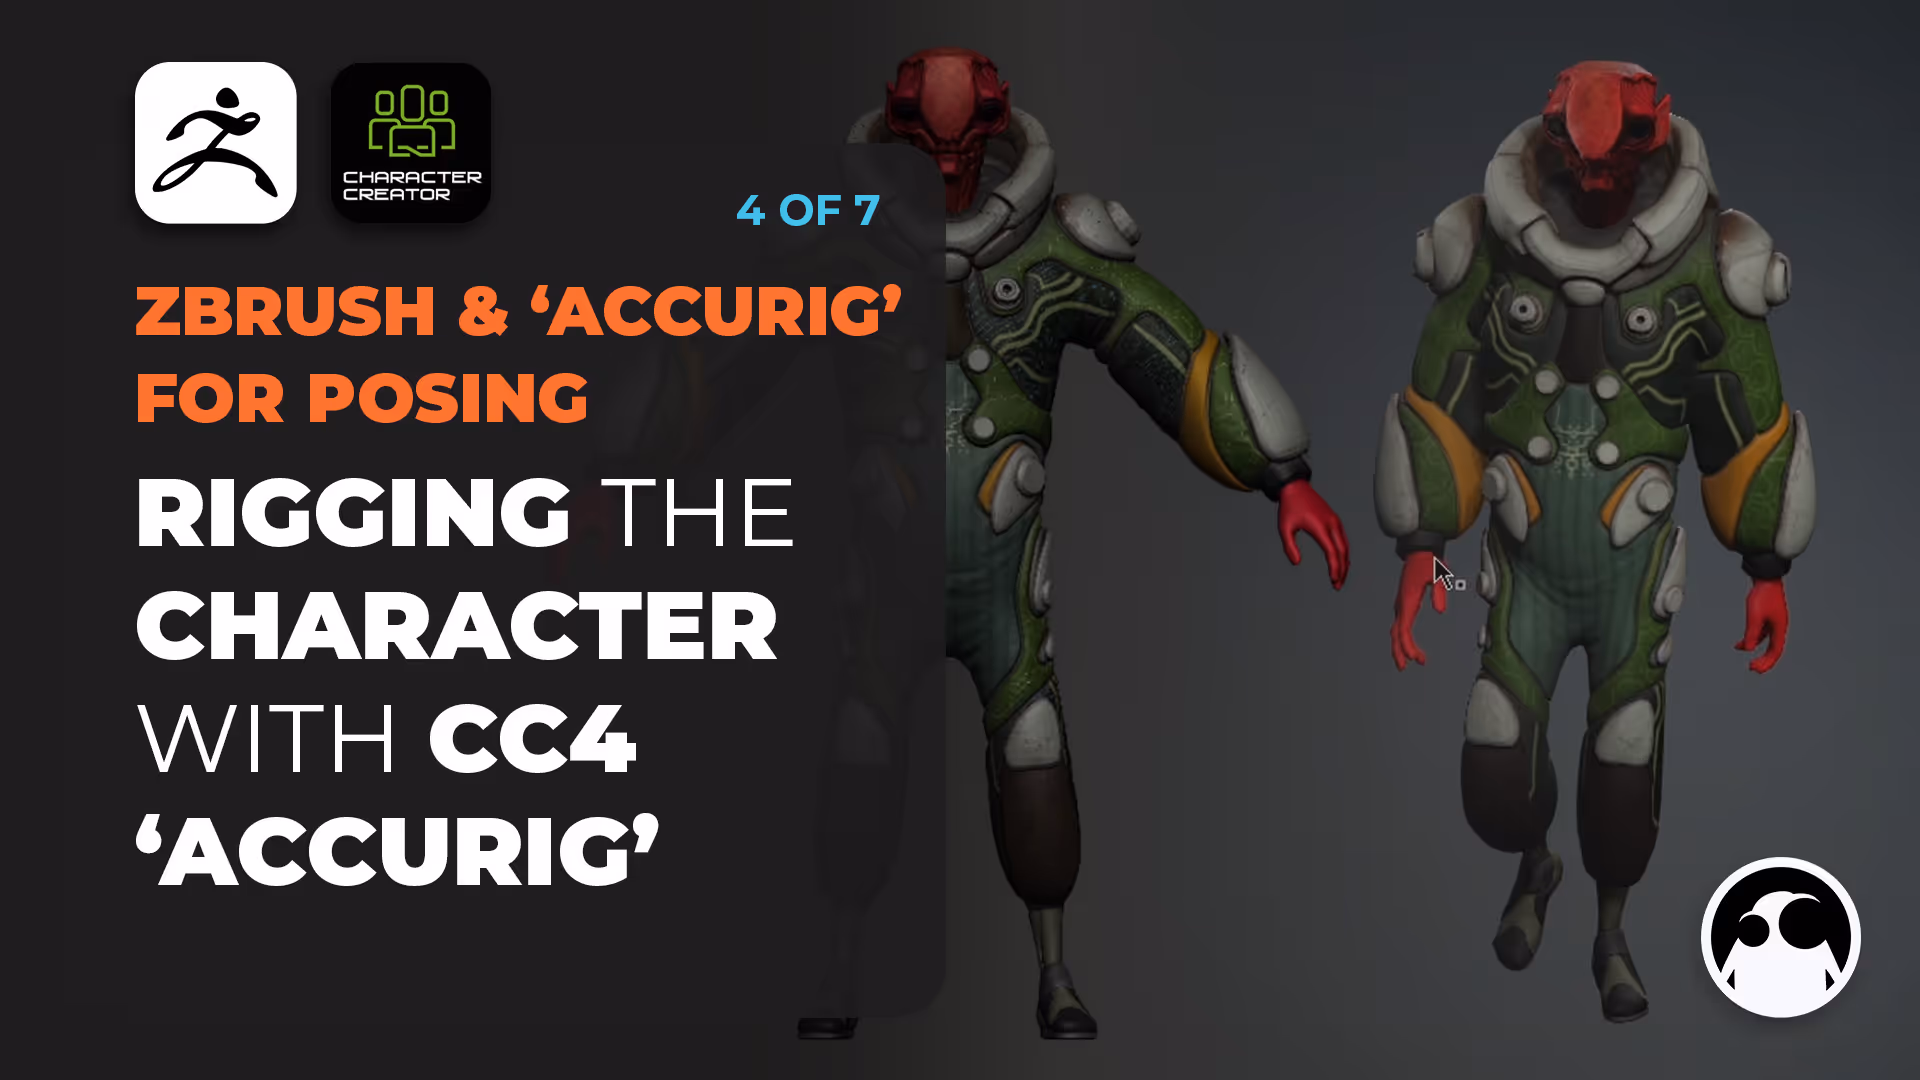
These are two of the final concepts I created from the poses I covered in the tutorial series

AFFILIATE DISCLOSURE: This tutorial may contain affiliate links which means if you decide to make a purchase through a link, I may earn a small commission at no additional cost to you.
Related Resource

Get resource
Related Video

CC4 to ZBrush workflow with the Face Tools Plugin

In this in-depth tutorial series, I’m going to take you through the entire process of creating a custom set of expressions with dynamic wrinkles for your character using Character Creator 4 to setup the project and the ZBrush Face Tools plugin from Reallusion to adjust all your expression morphs and high-frequency details inside ZBrush.

Check it out
CC4 to ZBrush workflow with the Face Tools Plugin