Why is Blender with Vulcan better?
At a high level, Vulkan is a modern graphics backend, and the easiest way I explain it is with an analogy: OpenGL is like handwriting a message, passing it through multiple steps before it reaches the destination, lots of procedures and overhead. Vulkan is more like fiber‑optic internet: low latency, high throughput, and able to push large batches of work more directly to the GPU.
.jpg)
Put simply, Vulkan reduces the overhead in the graphics stack, uses better multi-threading, and avoids frequent shader rebuilds that used to slow down viewport redraws. For sculpting, where you interact with millions of polygons in real time, that reduction in overhead is exactly what you want.
How I enable Vulkan in Blender 4.5
If you install Blender 4.5, the default display driver is still OpenGL, so you need to switch it manually. Go to Edit > Preferences > System, and under display graphics, change the backend to Vulkan. Restart Blender so the new backend is active. It’s a small, one-time tweak that unlocks the performance improvements I’m about to show.
My test scene and hardware
I load a character project that I'm using as a stress test: multiple objects, Multires subdivisions, and lots of polygons. In the viewport, I enable statistics and see the number I expected to be painful 24 million polygons in the viewport. That’s one of those numbers that used to make Blender stutter. With Vulkan, it becomes interactive.
.jpg)
Quick context on my hardware: I run an NVIDIA RTX 4090. That obviously helps, but prior to Vulkan, I still saw noticeable lag and mini‑freezes even with that card. Vulkan changes that behavior significantly.
Smooth navigation and why my SpaceMouse helps
Part of what makes the whole experience feel so smooth is a device I always use: the 3Dconnexion SpaceMouse Pro (wireless in my case). It’s not a Vulkan feature, it just gives much smoother panning, rotating, and dollying compared to a regular mouse, especially when working with huge meshes.
.jpg)
If you use one of these, a small setting tweak is required in Blender 4.5 due to a change in input behavior. Go to Edit > Preferences > Input > NDOF, disable 'Low horizon', and under ADVANCED make sure 'Invert Pan' and 'Invert Rotate' are off. Save preferences so the device behaves naturally. This avoids the awkward inverted feeling that used to show up after upgrading Blender.
Sculpting at 24 million polygons, how does it feel
I jump into sculpt mode with a single object selected and immediately notice how snappy the switch is. No long waits to load sculpt mode, no long pauses as Blender rebuilds buffers. I select the Grab brush, remembering I’m working on roughly 23–24 million vertices.
.jpg)
Brushes respond as expected in ZBrush: clay strips feel tactile, pinch and dam standard equivalents are crisp, and smoothing works instantly. I’m using symmetry, the F key to resize brushes, Shift to smooth, and CTRL as the inverse modifier to push geometry outwards, all of the usual sculpting idioms, but without the old friction.
What surprised me most was the consistent frame rate while making many strokes. Previously, Blender tended to hiccup under heavy geometry; Vulkan keeps things much more fluid, so I can focus on shaping, not waiting for redraws.
Making subdivision workflows workable
I use Multires modifier (Blender’s equivalent to ZBrush subdivision levels) and have the body set to level 5. That’s why the full display reads in the millions. When I need to adjust forms or silhouettes, I temporarily drop the viewport level to a lower subdivision. Switching between level 1 and level 5 is now instantaneous, a big quality‑of‑life improvement.
.jpg)
For example, dropping to level 1 reduces the working set to ~300k verts. Using the Grab tool with that reduced density allows me to adjust silhouette and proportions quickly; switching back to level 5 instantly shows the changes at full detail. Before Vulkan, that mode switching felt sluggish, but now it’s immediate, which keeps the creative flow.
Mode switching: sculpt/object/edit
I also test switching between Sculpt Mode, Object Mode, and Edit Mode on heavy meshes (hairpiece with 6M polys, body with 18M). Hitting Tab to jump into Edit Mode is responsive. Moving a vertex with proportional editing, using G and the mouse wheel to adjust influence, these are actions that used to incur a wait, but with Vulkan, they’re effectively instant.
That responsiveness removes the friction of alternating between high‑poly sculpting and targeted mesh edits, which is crucial for iterative workflows where you constantly toggle modes.
Real-time rendering with Cycles: the other big win
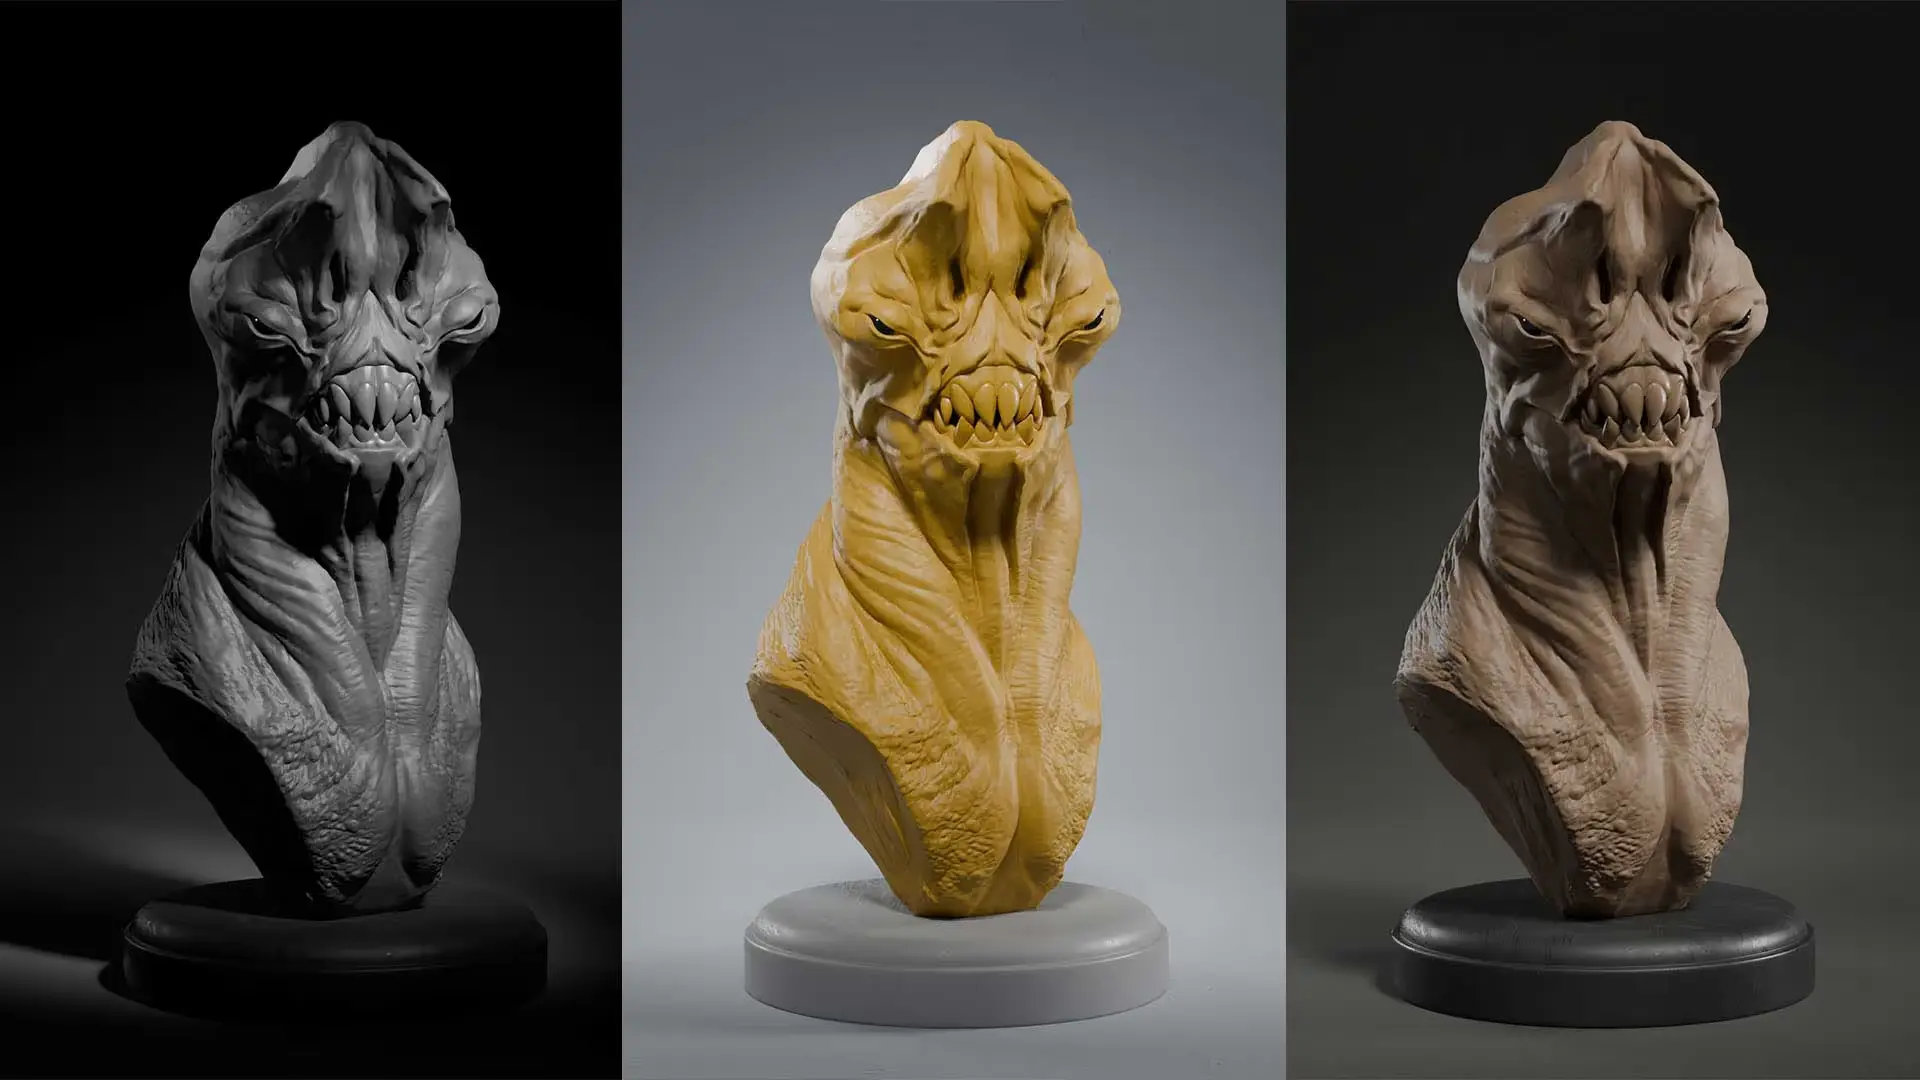
While sculpting is the primary highlight, the rendering side blew me away. I set up Cycles with GPU compute and use the denoiser, then switch to the render preview. I’m effectively rendering the full 24M polygon scene in real time. The combination of Vulkan’s viewport improvements and Cycles denoising makes interactive lighting checks practical.
.jpg)
Because I can instantly toggle to a rendered view with my single key light, I catch sculpting choices that only show up under realistic lighting, crisp planes, silhouettes, and the way the zygomatic arcs catch highlights. I can fine‑tune the light intensity and immediately see how forms read.
As a stress test, I crank render samples from 1024 up to 4096. The viewport keeps up; denoising converges quickly. Rotating the model shows the update of the sample, which re-render almost instantly when I let go. That makes lighting‑driven sculpt decisions practical inside Blender itself, no awkward export/preview cycle needed.
.jpg)
Practical impressions and where Blender fits in my workflow
Let me be blunt: Vulkan does not make Blender a drop‑in replacement for ZBrush for everything I do. I still love ZBrush for the way I naturally sculpt and the specific toolset I’ve shaped over the years. However, Vulkan makes Blender sculpting something I actually enjoy and can consider using in real projects.
Key practical takeaways:
- Vulkan fixes the old friction mode switches, and interaction with millions of polys is fast enough to be creative instead of waiting around.
- Sculpting brushes are usable. Clay, Grab, Pinch, and DamStandard equivalents behave responsively and predictably.
- Multires modifier workflow is fast, toggling subdivisions for silhouette edits is instantaneous, making hybrid low/high frequency workflows practical.
- Real-time Cycles preview changes the game by allowing you to check lighting and materials on the sculpt without long render times, which speeds up decisions and iterations.
Small tips from my tests
Here are a few concise tips if you want to try this yourself:
- Switch Blender to Vulkan under Edit > Preferences > System and restart.
- If you use a SpaceMouse, adjust NDOF settings: disable Low horizon, and set Invert Pan/Rotate to off. Save preferences.
- Use Multires modifier and keep a low viewport level when manipulating silhouette — it’s faster and less noisy.
- Enable GPU compute and the Cycles denoiser to make rendered previews practical.
- Don’t assume you must replace ZBrush; think of Blender+Vulkan as another very capable tool in the pipeline.
Final thoughts, am I replacing ZBrush?
No. ZBrush remains my go‑to for many tasks, and I’m more comfortable and faster in it for the majority of the work I do. But Vulkan has finally made Blender sculpting fun and usable for me. The brushes respond, the UI is snappy, and I can focus on the creative decisions instead of software limitations. That alone makes Blender worth reconsidering as part of a hybrid workflow.
If you’ve been curious about trying Blender sculpting, or you already use Blender but haven’t enabled Vulkan yet, it’s worth flipping the switch. For me, it turns an interesting curiosity into a tool I might include anywhere from early blocking to final lighting checks.
If you want to see how I built this character from scratch, I teach a blocking method in a full ZBrush series that translates well into Blender, too. For now, I’m excited to keep exploring how Vulkan fits into the creative process, and I’ll be experimenting with more Blender sculpting sessions.
Cheers and happy sculpting.

How to present your 3D characters in a simple and effective way
In this video, I'll show you how to present your 3D characters effectively, even if they're unfinished, using ZBrush and Blender. Learn practical tips for lighting, materials, and contrast to create professional-looking renders.
Check it out


