So the idea with the technique I’m about to show you is to keep things simple and don’t ‘overdo’ steps. We are just going to generate FiberMesh over FiberMesh over FiberMesh! Here is how it works:
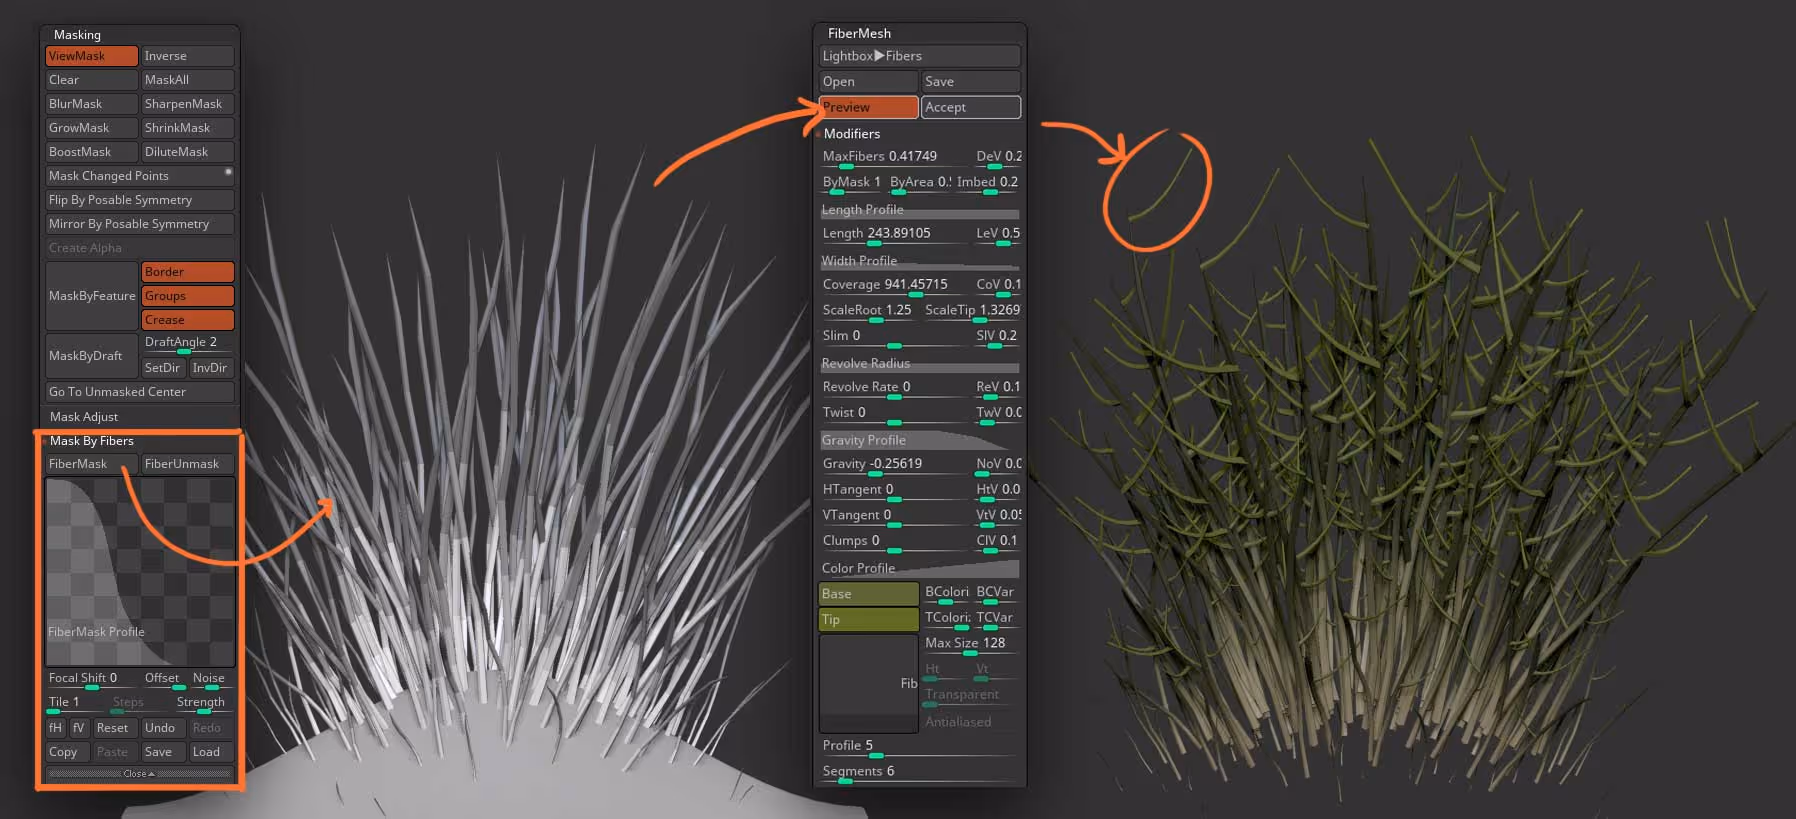
First take a mesh, mask an area and click the preview of FiberMesh. I choose a deformed plane to give it a natural grow to the fibers and then change the settings to a lower the amount of fibers and add a Profile of 5 so that it generates thick tubes:

Step two is where the first trick comes into play… With the FiberMesh selected, go to the masking palette and exapand the ‘Mask by Fibers’ this is an awesome way to automatically mask the fibers from the tip or the root.
Use something similar to what I have in the image below and grow new fibers from the fibers!
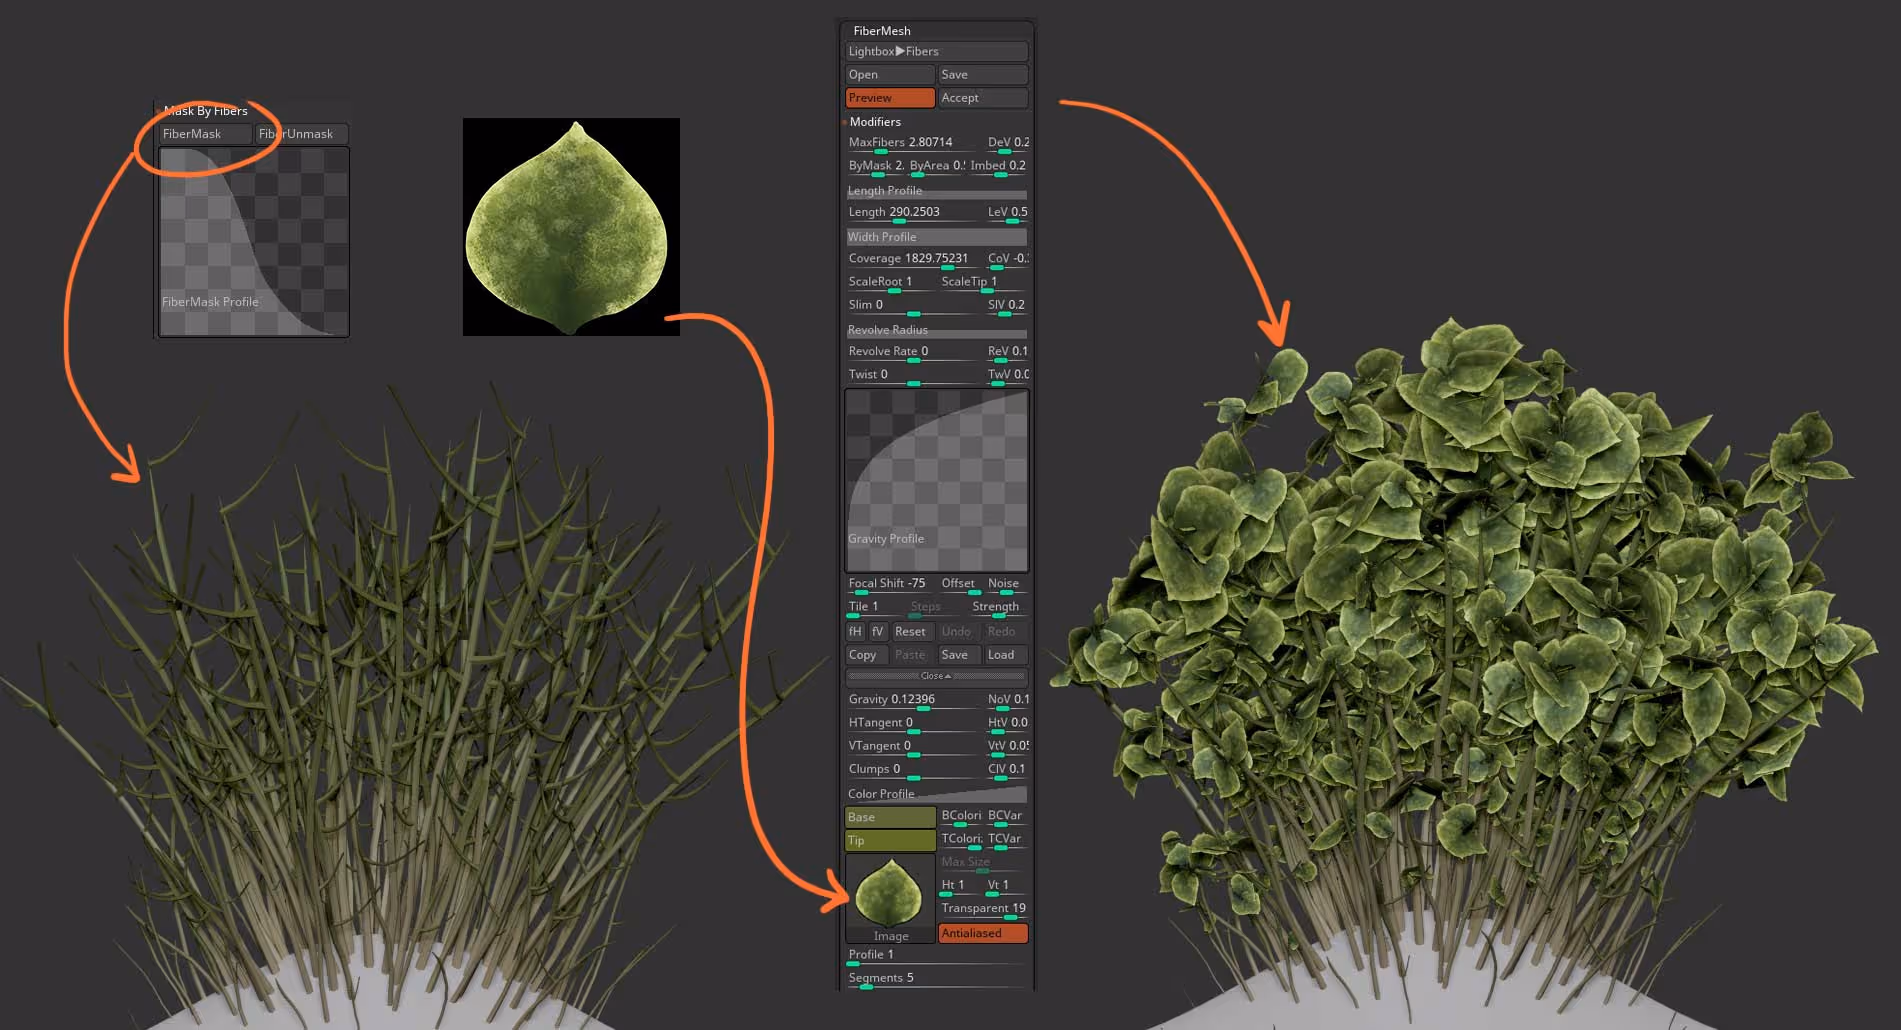
The third and final step is where the magic happens. You can do anything you want here but I’ll keep it simple and we are going to use a quick sketch of a green leaf over a black background (you can totally use a photograph if you want something more realistic). I mine in Krita:

Once you have the image, you can go ahead and repeat the second step but on the second set of fibers. Mask the tip area and grow new fibers with a Profile of 1 (flat polygon) and use the image of the leaf.
To make the image transparent, take the ‘transparency’ slider to a value of 20 where ZBrush will interpret the black background as transparent. Also enable the Antialiased switch on to get a nicer result… you’re done:
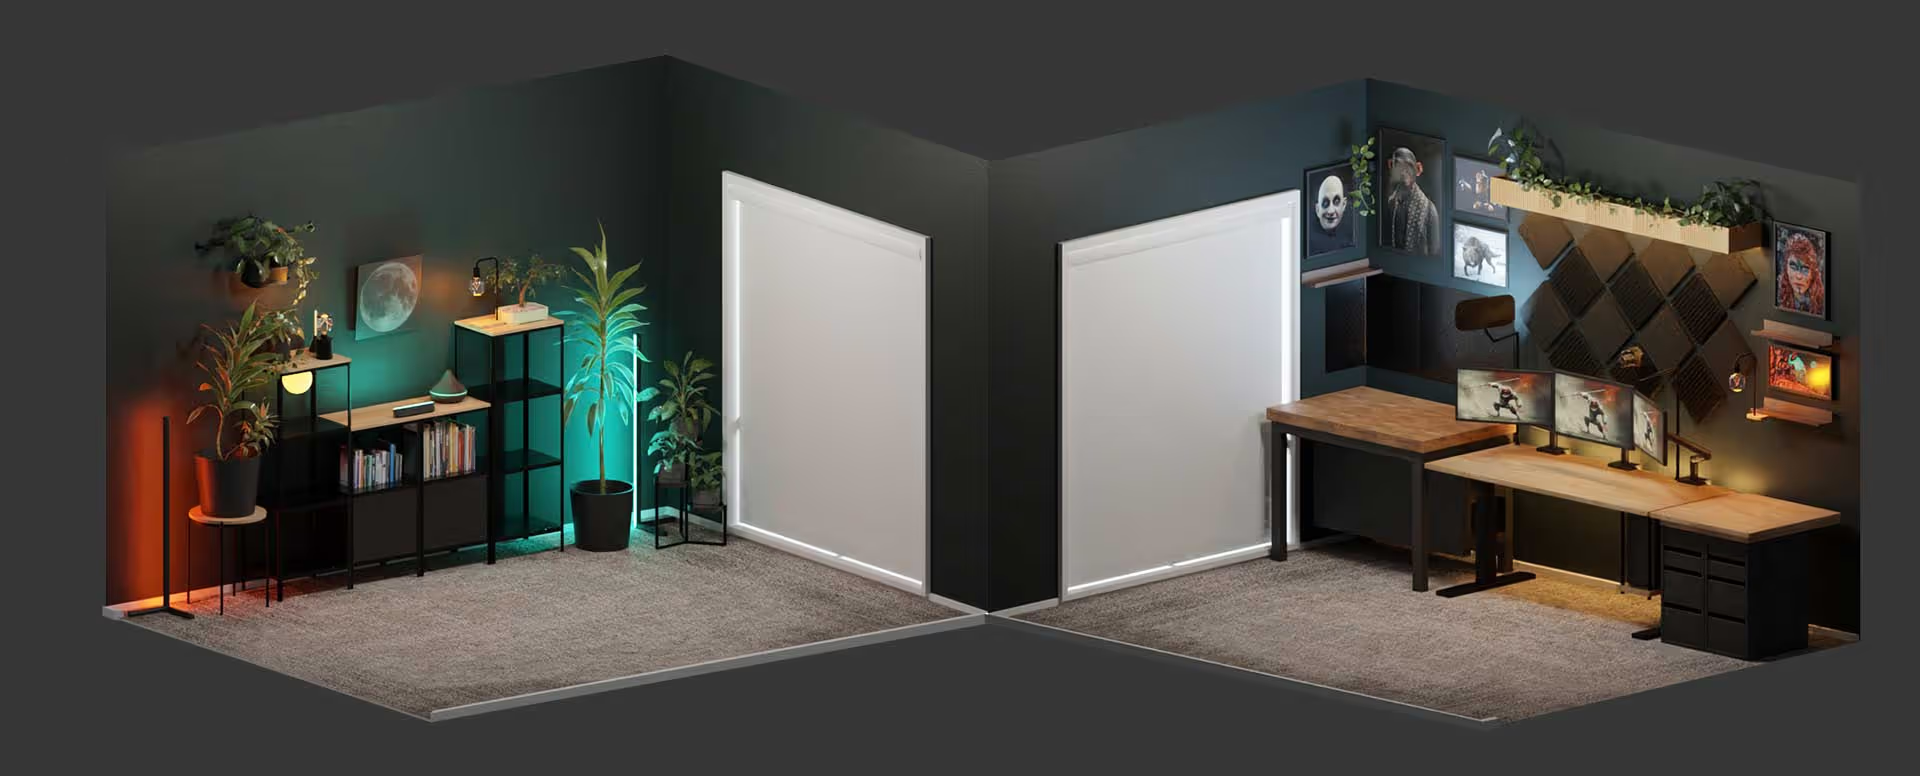
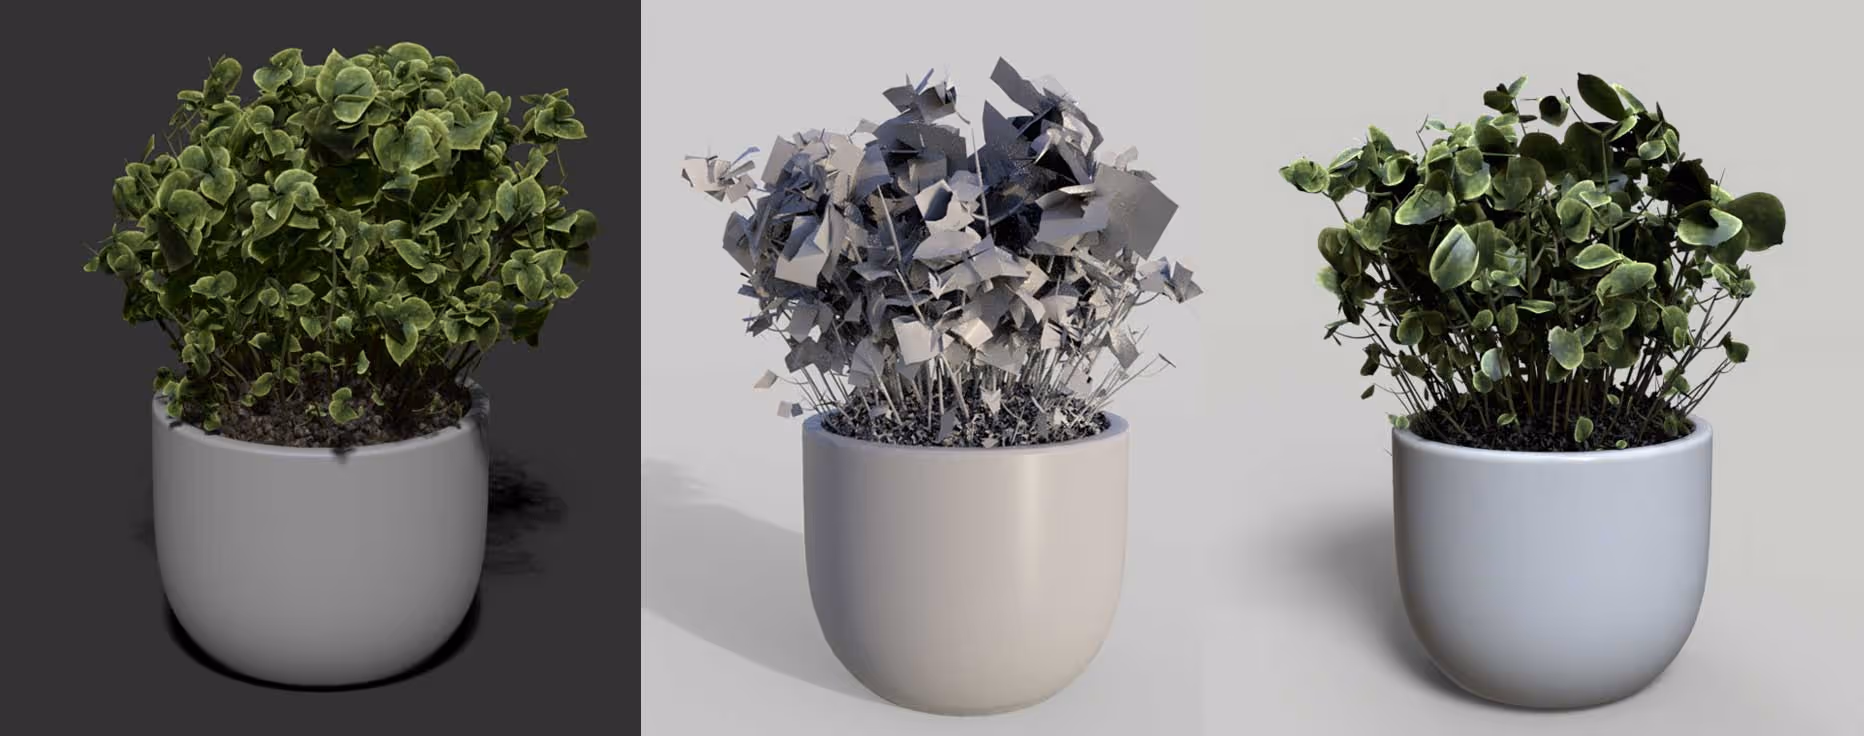
Here is the final plant on a pot and rendered with BPR. I also exported it as an FBX and rendered in Marmoset TB4 just to show you that you can use this somewhere else not just ZBrush


.webp)

.webp)