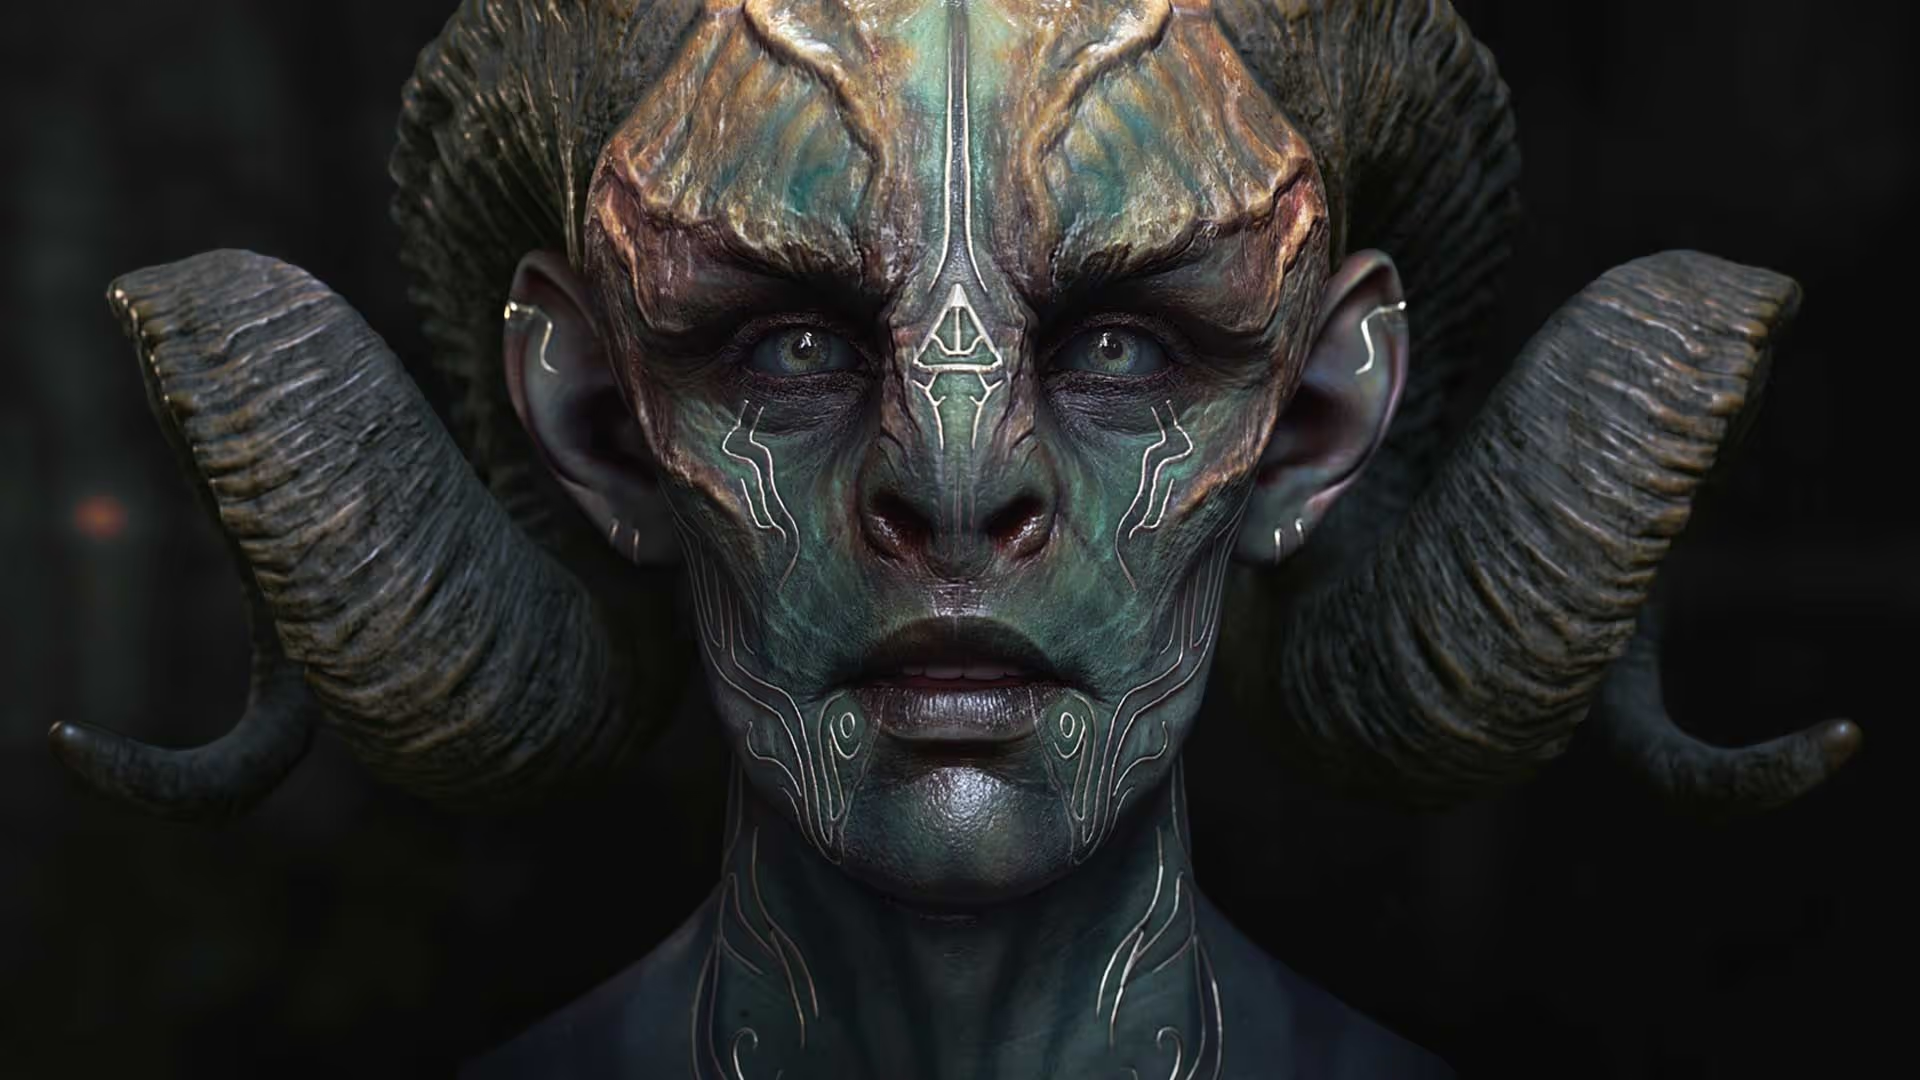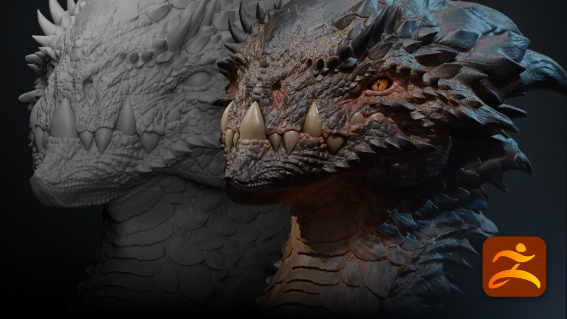




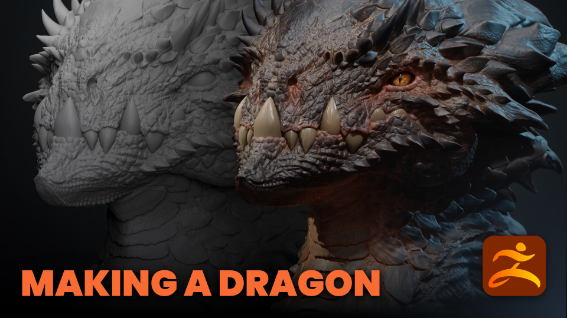



This approach is especially useful for creature artists who want to sketch ideas fast, explore variations, and still end up with something polished enough for presentation.
Why this workflow works
A lot of creature sculpts become difficult not because the design is inherently complicated, but because the process gets rushed in the wrong places. The most common issue is jumping into detail before the silhouette, proportions, and form transitions are working.
This workflow keeps things in the right order:
- Start with very simple geometry
- Establish primary volumes first
- Merge and unify forms before detailing
- Use custom brushes as support, not as a shortcut
- Add color in broad passes before small accents
- Finish with a simple lighting setup that supports the sculpt
The result is a process that stays fast without feeling sloppy.
What you'll need
- ZBrush
- Marmoset Toolbag 5
- A basic understanding of Dynamesh, ZRemesher, subdivision levels, and PolyPaint
- Optional custom VDM and detailing brushes for scales, folds, horns, or reptilian skin
Custom brushes help speed things up, but the core workflow does not depend on them.
Quick Overview: The Steps
- Block out the dragon using basic primitives.
- Shape the silhouette with move brushes and gizmo deformers.
- Merge forms and refine transitions with a limited brush set.
- Add eyes early to anchor the character.
- Introduce secondary forms with VDM brushes or manual sculpting.
- Create a cleaner base mesh with ZRemesher and subdivision levels.
- Build details in layers from large to small.
- Refine all brush-based detail manually so it feels integrated.
- PolyPaint from broad color blocking to smaller variation.
- Export the sculpt as FBX and render it in Marmoset Toolbag 5.
- Light the piece simply, render with transparency, and finish with a quick composite.
Step 1: Block out the dragon with the simplest geometry possible
The process starts with very basic shapes. A sphere is enough for the head. A stretched cylinder works for the neck. For the rest of the head structure, another squashed cylinder can establish a rounded cranium or flat facial base, and a duplicated version of that shape can be adjusted into the jaw.
This stage can feel almost too simple, but that is exactly why it works. Primitive-based blockouts are easy to read, easy to adjust, and very reliable for judging proportion.
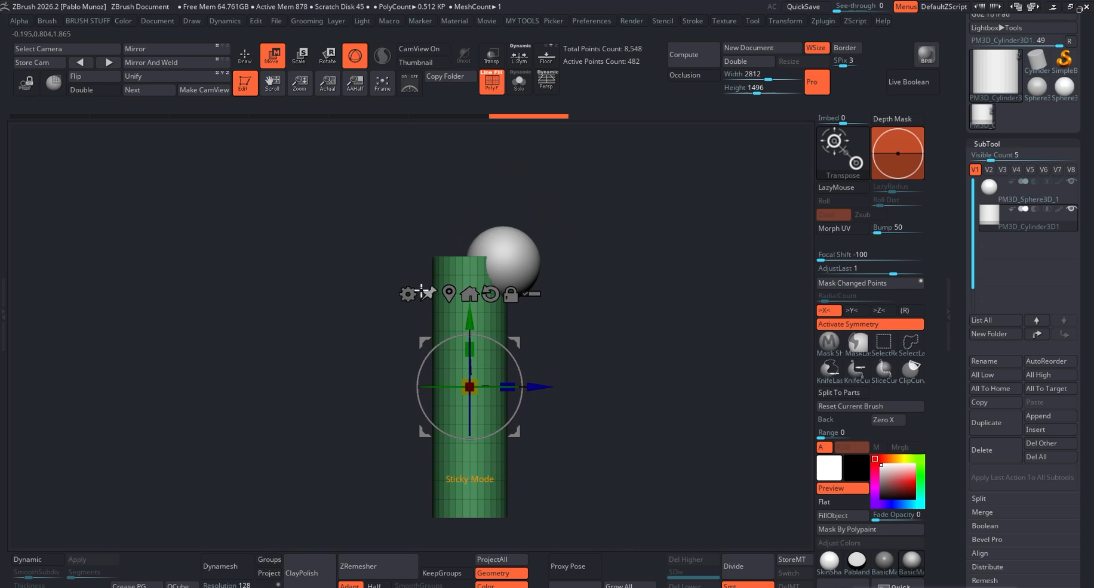
For the neck, gizmo deformers do a lot of the heavy lifting. A bend curve deformer is particularly useful for tubular shapes because it allows broad directional changes without manually fighting the surface. The individual orange control points can also be scaled independently, which makes it much easier to change the thickness and proportion of different neck sections.
At this point, precision is not the priority. Readability is.
Step 2: Use curve-based volume tools to break the silhouette early
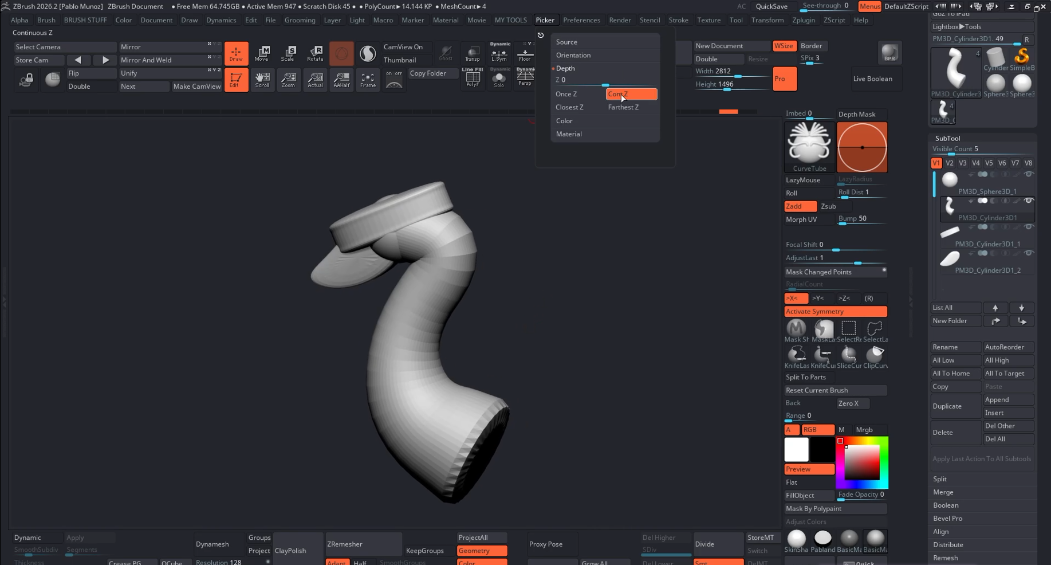
Once the basic head and neck are in place, additional volume can be introduced with the Curve Tubes brush. This is useful for breaking up an otherwise straight or boring silhouette.
One practical setup detail here is enabling Continuous Z in the Depth section of the Picker palette. That helps the inserted tube follow the visible surface more predictably, which makes it much easier to add secondary masses that sit naturally on top of the blockout.
At this stage, keeping elements as separate subtools is actually helpful. It allows fast adjustments to each piece without committing too early.
Step 3: Merge the forms when it is time to push the silhouette
Separate pieces are useful early on, but there is a point where the sculpt needs to start behaving like a single creature rather than a stack of parts. That is when merging becomes useful.
Once the main masses are in place, combine them into one object so the move brush can affect the overall silhouette more freely. This is one of the key stages in the workflow, because it is where the design becomes more interesting.
It is also the point where many artists rush into detail too early. That is usually a mistake. If the proportions and primary forms are not convincing here, surface detail will not solve the underlying problem.
Even after merging, there are still ways to work selectively:
- Use selection tools to isolate sections
- Mask parts of the sculpt to protect them
- Use the Move Topological brush to respect the continuity of the original pieces
That combination gives freedom without losing control.
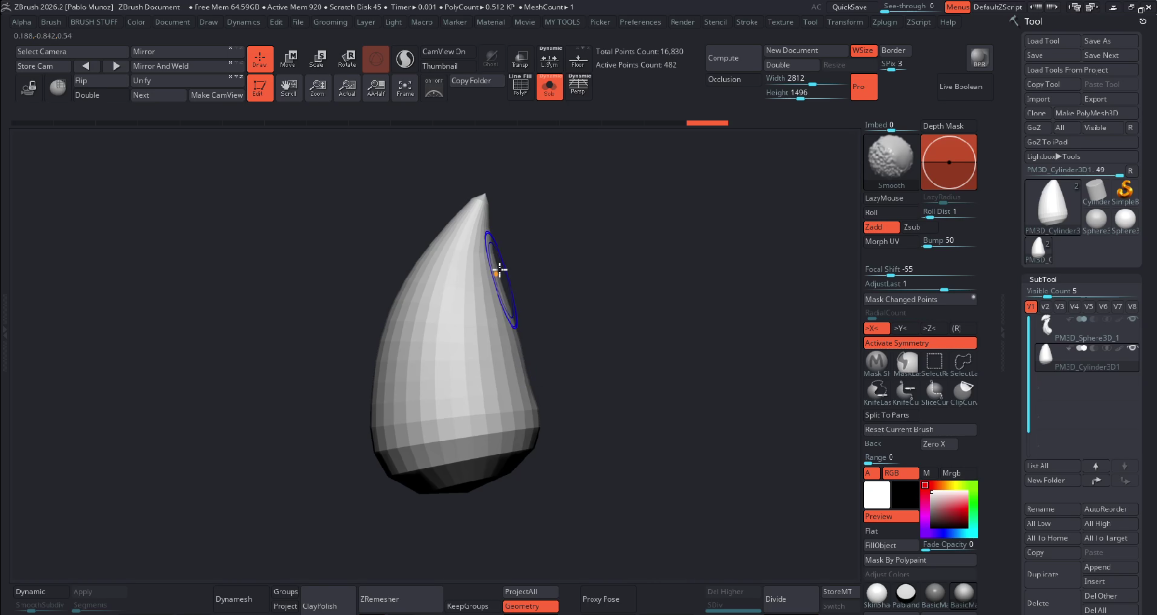
Once one tooth is working, duplicate it with the gizmo, vary the scale, and adjust the shape slightly so the row does not feel too mechanical. Then mirror and weld to the opposite side.
A quick PolyPaint color can also help at this stage. Even a simple material or flat color pass improves readability and makes it easier to judge the forms.
Step 5: Dynamesh at a resolution that stays flexible
After the primary volumes are established, the sculpt can move into a more unified sculpting stage. In this case, splitting the head from the neck makes the process more comfortable while still hiding the separation along a natural break line.
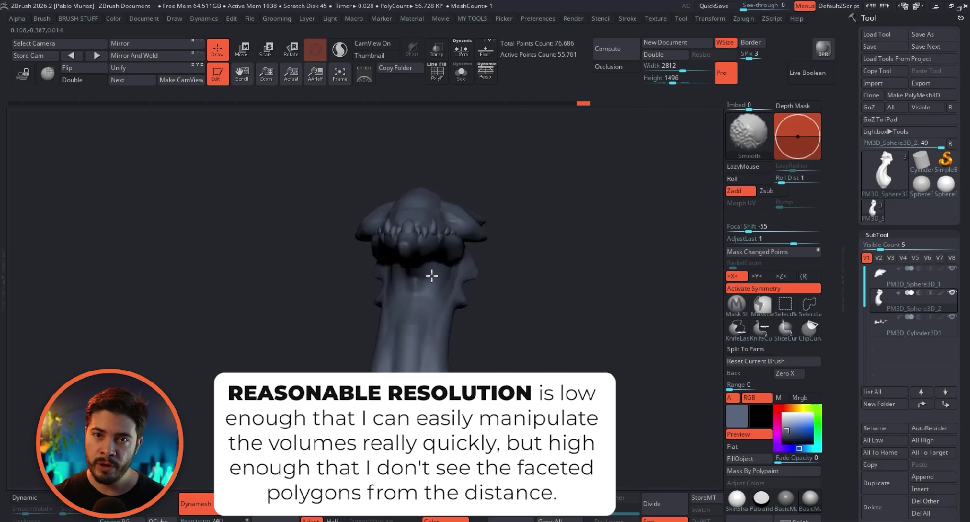
Then Dynamesh is used at a “reasonable” resolution. In practical terms, that means:
- Low enough to manipulate forms quickly
- High enough that the mesh does not visibly appear faceted from a normal working distance
That is a very good rule of thumb for this stage. If the resolution is too high, form work becomes sluggish. If it is too low, it becomes hard to judge the surface properly.
Step 6: Refine transitions with a limited set of brushes
Once the Dynamesh stage begins, the priority is not detail. It is transitions.
This is where the separate blockout pieces need to be blended into something that feels anatomical, intentional, and cohesive. A limited brush set helps keep that focus clear. In this workflow, clay brushes and smooth brushes do most of the work.
The idea is simple:
- Build and adjust volume with clay-like brushes
- Smooth the intersections and keep the forms clean
- Avoid introducing unnecessary brush variety too early
Manually integrating forms here makes the later detailing stage much easier.
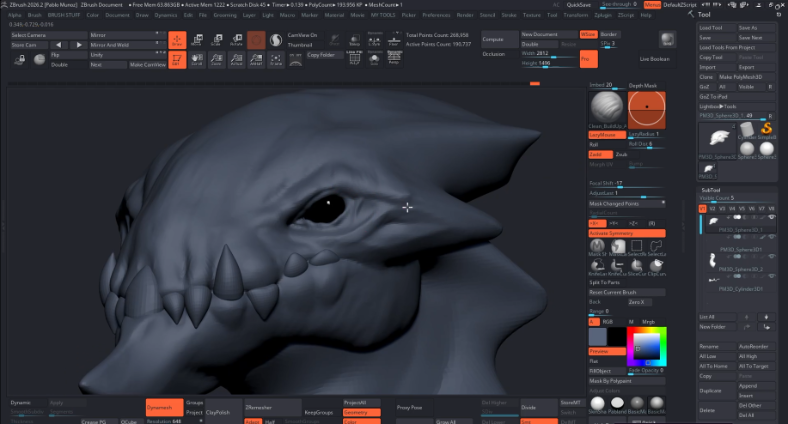
Step 7: Add the eyes early to create an anchor point
Before moving too far into surface work, it helps to place the eyes. A quick way to do that is with the Append Eye macro in ZBrush, which drops in a pair of spheres with a basic material.
This is not about final eye rendering. It is about giving the sculpt a focal point and a visual anchor. Once the eyes are there, the rest of the face becomes easier to judge, especially the brow, eyelids, cheek structure, and snout proportions.
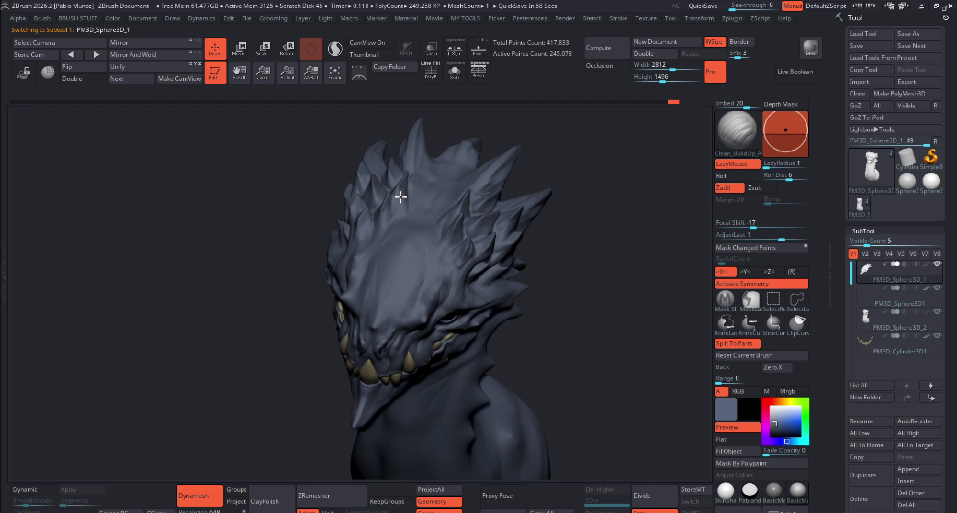
Step 8: Use VDM brushes to sketch secondary forms before real detailing
Custom VDM brushes can accelerate the process, but they are most effective when used to establish secondary forms first rather than jumping straight into tiny surface detail.
For this dragon, larger scale-like spikes are introduced with a VDM brush pack. At this point, they are treated as design masses, not final polish. The workflow is the same as with the blockout:
- Add a shape
- Smooth and integrate it
- Judge how it supports the silhouette and design flow
That is one of the strengths of VDMs. They are not only for finishing. They can also be very effective sketching tools.
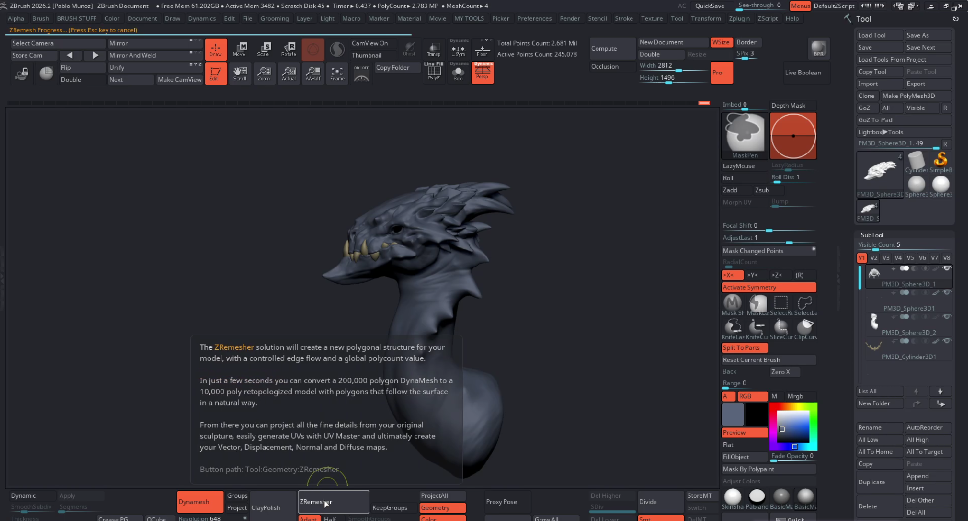
Step 9: Create a clean base with ZRemesher and subdivision levels
Once the sculpt sketch is working, it is worth moving into subdivision levels so detail can be added more cleanly.
The workflow here is straightforward:
- Store a point in the timeline or history
- Run ZRemesher to generate a cleaner base mesh
- Subdivide the new mesh
- Project back from the stored history point to recover the sculpted information
This gives a cleaner structure for the rest of the sculpt while preserving the work already done.
It also creates a much better foundation for layered detail, because subdivision levels make it easier to move up and down between broad refinement and fine surface treatment.
Step 10: Detail in levels, large first, then medium, then high frequency
Once the mesh has subdivision levels, the detailing stage can begin properly. The key idea here is to think of detail in layers.
A practical order is:
- Large details that define the flow and readability of the design
- Secondary details that support the larger forms
- Tertiary or high frequency detail that adds surface interest and texture
This ordering matters because large details control the visual rhythm of the design. If those are added last, they often fight with the smaller texture work that is already on the surface.
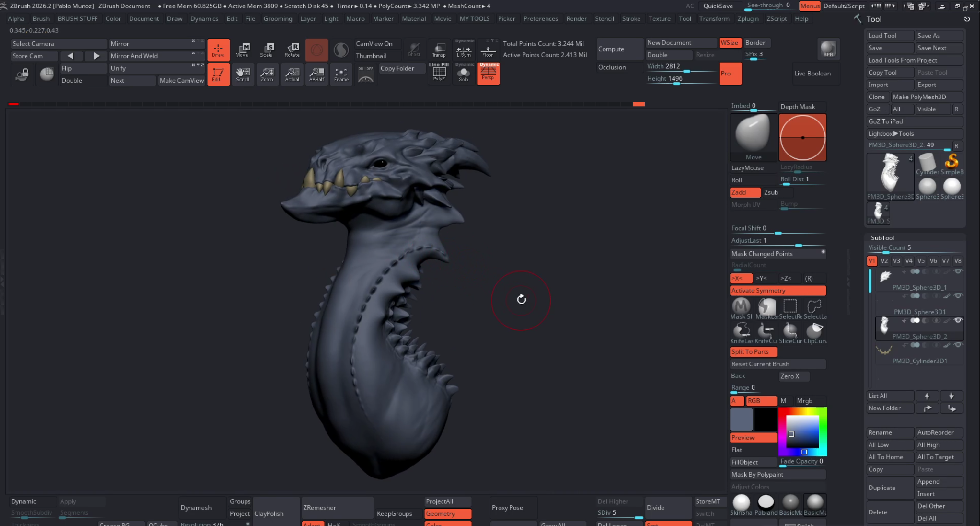
Even if there is no fixed design in mind, this layered approach still keeps experimentation readable and controlled.
Step 11: Use Mask by Changed Points to place VDM detail cleanly
One of the most useful tricks in this workflow is storing a history state before adding new VDM detail, then using Mask by Changed Points.
This isolates only the areas that were altered by the new stroke. In practice, that means:
- Newly added detail can be selected instantly
- Overlapping between neighboring VDM strokes becomes much easier to control
- The rest of the model is already masked, which speeds up cleanup
This can even be repeated after each stroke if needed. For workflows that rely on custom VDM detail, it is a major time saver.
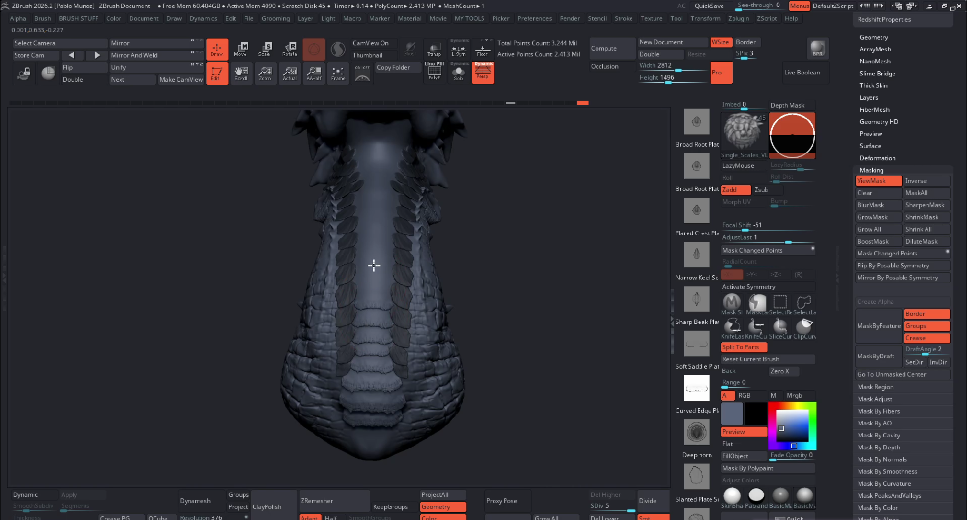
Step 12: Use custom detail brushes to guide flow, then smooth selectively
Once the main detail structure is in place, more directional skin information can be added with custom brushes that behave similarly to Dam Standard but produce richer variation. Brushes designed for torn crevices or flowing fold cuts are particularly useful because they suggest irregular reptilian skin without looking too repetitive.
For more manual detailing, scale or step-based brushes can speed up repetitive texturing, especially across broad areas of skin.
When smoothing, a standard blur can flatten too much of the surface. A better option for preserving internal definition is Smooth Peaks, which helps soften transitions while keeping the crevices and cuts more intact.
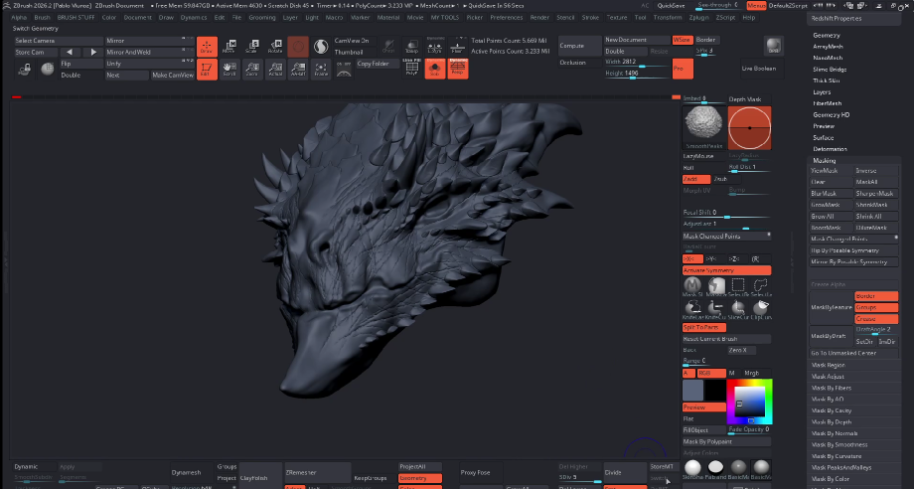
Around the eyes, a pattern can be created with a capsule ridge type brush and then refined manually with Dam Standard.
The guiding principle here is controlled noise. Variation is good, but too much random detail quickly makes the sculpt unreadable.
Step 13: Refine all custom-brush detail manually so it feels sculpted, not stamped
This is one of the most important parts of the process.
Custom brushes are great for speed, but they are not the final result. They provide a starting point. After that, the details still need to be sculpted into the model manually so they feel connected to the larger forms.
A practical refinement pass might include:
- Using the Standard brush to rebuild or reinforce volume
- Using Dam Standard to sharpen pores, wrinkles, and skin separations
- Pushing some accidental brush marks further if they suggest something interesting
- Cleaning up transitions so repeated patterns do not look pasted on
This is the same logic used during blockout integration. Surface detail also needs integration. If it does not feel like part of the same object, it will read as an effect rather than a sculpted design.
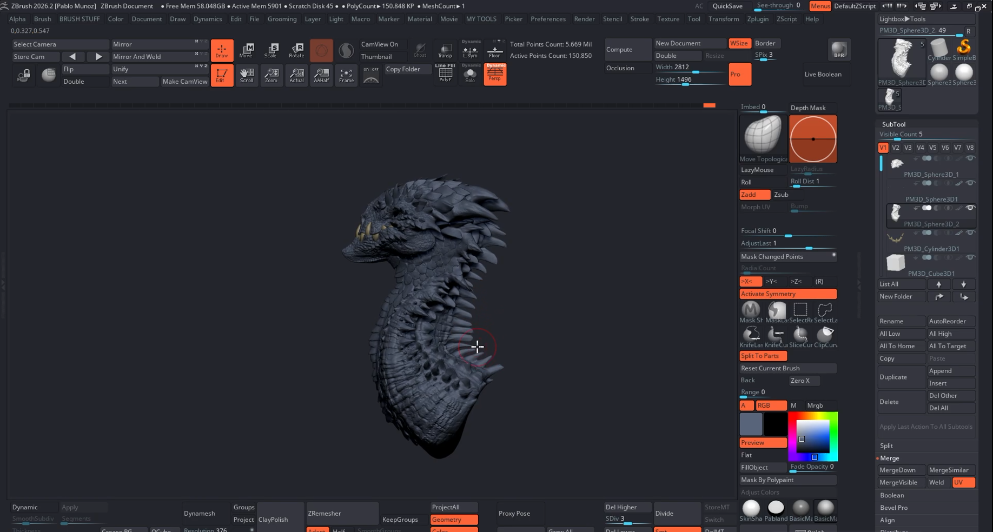
Step 14: PolyPaint the same way you sculpt: broad passes first
The PolyPaint stage follows the exact same mindset as the sculpting stage: block out first, refine later.
Start with a broad local color. In this case, a light brown establishes the overall base for the dragon. Then add depth and variation with masks rather than painting every color change by hand from the beginning.
A very effective early pass is using an ambient occlusion mask from the official ZBrush plugin to darken recessed areas. That immediately adds depth to the color without requiring a complex texture workflow.
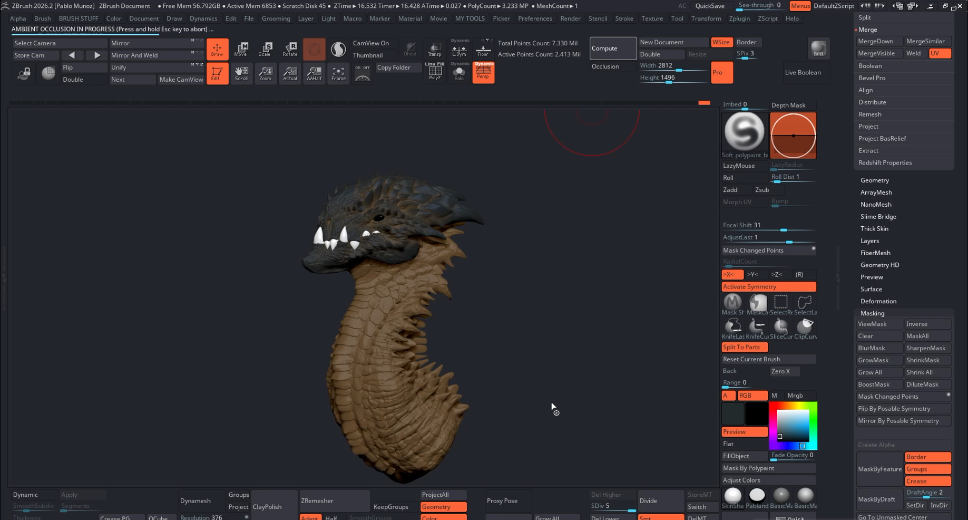
From there, color variation can be built with masking tools such as:
- Invert Mask
- Mask by Smoothness
- Curvature-based masks
- Mask by Peaks and Valleys
Instead of manually painting every selected region, a fast method is to use Adjust Colors in the PolyPaint palette and shift brightness or contrast in the RGB channels. Used together with masks, this creates subtle and believable variation across the model very quickly.
Two especially useful mask types for this kind of color breakup are smoothness and peaks/valleys.
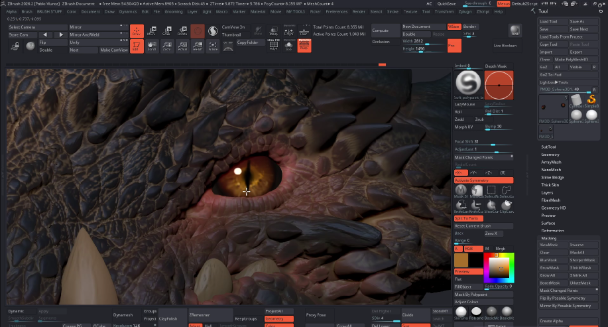
Step 15: Paint the eyes manually with a simple layered approach
The eyes are handled a little differently, but the structure is still simple. Start with a base color, establish the iris with a brighter orange-red tone, and then refine with smaller brushes.
There is no heavy shader setup here and no complicated texture trick. Just straightforward manual painting. That simplicity works well for concept presentation, especially when the eyes are mainly there to give life and focus to the piece.
Step 16: Export the high poly mesh and set up the scene in Marmoset Toolbag 5
Once the sculpt and PolyPaint are working, export the dragon as an FBX and bring it into Marmoset Toolbag 5.
In this case, the full high poly model is around 8 million polygons across all subtools. For a quick concept render, that is still perfectly workable on a decent machine, and Marmoset can handle millions of polygons without issue for this kind of presentation workflow.
The first setup steps are simple:
- Change the HDR image
- Use a darker background to keep focus on the character
- Enable ray tracing for better render quality
- Set the camera to a vertical layout if that suits the composition better
- Split the view so framing and lighting can be adjusted more comfortably
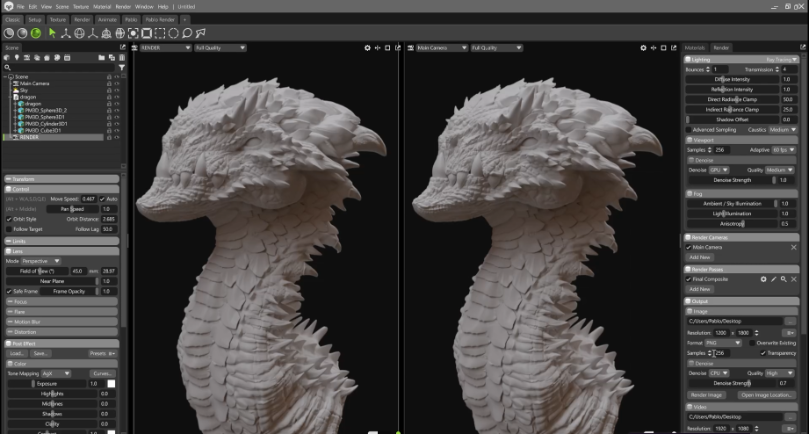
To bring the PolyPaint into Marmoset, select the material and switch the albedo input to vertex color. That is all that is needed.
It is also worth checking the scene scale after import, since models coming from ZBrush do not always arrive at the most practical rendering scale. Material tweaks such as subsurface scattering and roughness can then be adjusted to improve the look.
Step 17: Keep the lighting setup simple and readable
The lighting setup stays intentionally minimal. The HDR image already provides a useful ambient base, so only a few additional lights are needed.
The main light is a spotlight used as a key light. One very handy feature in Marmoset is switching the viewport to the light's perspective. That allows the camera controls to position the light directly, making placement much more intuitive because it becomes easy to see exactly what the light is hitting and what remains hidden.
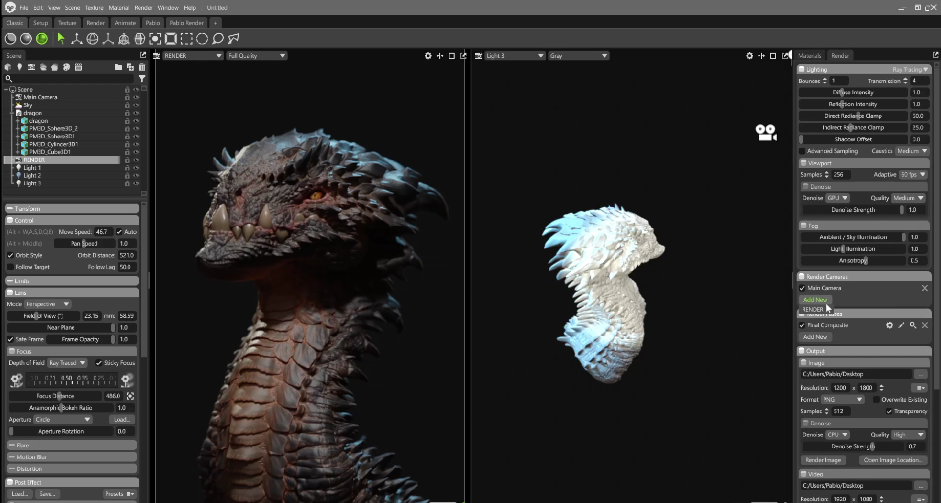
After the key light, two rim lights are added:
- A blue rim light from behind to separate the silhouette from the background
- A warmer rim light from the upper left to support the same separation and add a bit of color contrast
That is enough to create a clean presentation without overcomplicating the setup.
Step 18: Render with transparency and finish with a quick composite
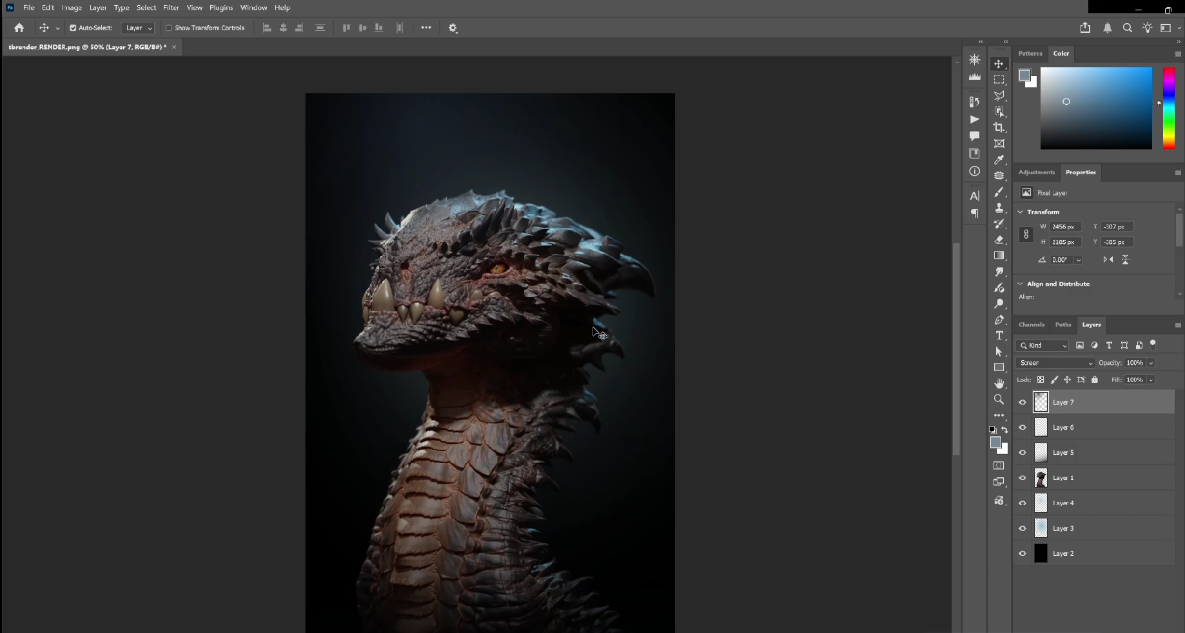
For the final presentation, the render is exported with a transparent background and brought into Photoshop for a very simple composite.
The compositing pass does not need much:
- A soft gradient background
- A bit of color that echoes the rim lights
- Minor presentation polish to improve readability
The goal is not to transform the image in post. It is simply to support the sculpt and lighting that are already doing most of the work.
Step 19: Use the same workflow to generate fast design variations
One of the strongest arguments for this approach is how easy it is to explore alternate versions once the base concept is established.
Because the process relies on simple forms, modular additions, and layered detailing, it becomes very fast to test variations such as:
- Adding hair
- Trying oversized horns
- Pushing different silhouette directions
- Testing different surface rhythms
This is where the workflow becomes especially powerful for concept work. It is not just about finishing one dragon. It is about creating a system that allows multiple good-looking creature ideas to happen relatively quickly.
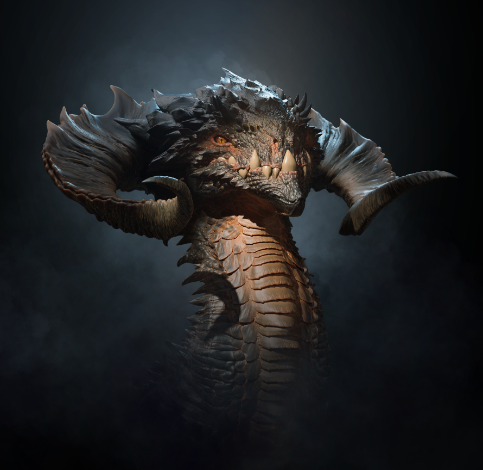
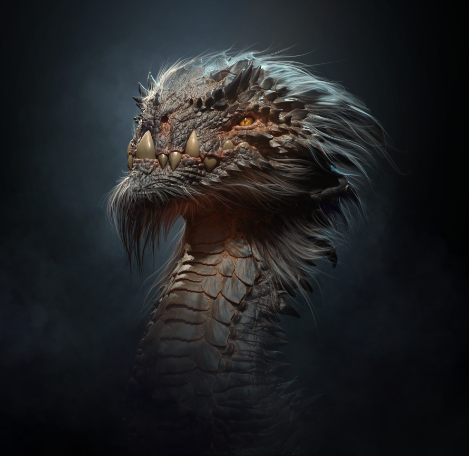
Common mistakes this workflow helps avoid
1. Do not confuse detail with design
A dragon covered in scales and skin noise can still feel weak if the head shape, silhouette, jaw structure, and larger secondary forms are not working. The early stages matter more than the detail pass.
2. Do not let custom brushes replace sculpting decisions
Brush packs can speed things up, but they are only useful when the artist still controls the hierarchy, placement, and integration of the forms. Without the manual cleanup pass, the result often looks procedural instead of intentional.
3. Do not paint small color accents before the main palette is established
Color works better when it follows the same structure as sculpting: large decisions first, then variation, then accents. Starting with small color details too early usually leads to a noisy result.
4. Do not over-light the final render
A simple key and a couple of supporting rim lights are often enough. Too many lights tend to flatten the read or make the presentation feel less controlled.
Summary: why this dragon workflow is effective
This workflow works because each stage has a clear job.
- The blockout defines proportion and silhouette
- Dynamesh and clay work unify the forms
- ZRemesher and subdivisions create a stable detailing base
- Large-to-small detailing keeps the design readable
- PolyPaint adds quick depth and variation without a full texture pipeline
- Marmoset provides a fast way to present the sculpt cleanly
Nothing here depends on a single magic brush or trick. The strength of the process comes from the order of operations.
Final thought
If the goal is to create creature concepts that feel polished without spending forever on each one, this is a very solid structure to follow. Start simple, spend more time than expected on the primary forms, treat custom brushes as tools rather than shortcuts, and keep the final presentation clean. That combination is what turns a rough dragon sketch into something that reads as a finished concept.
Scales Brushes Pack
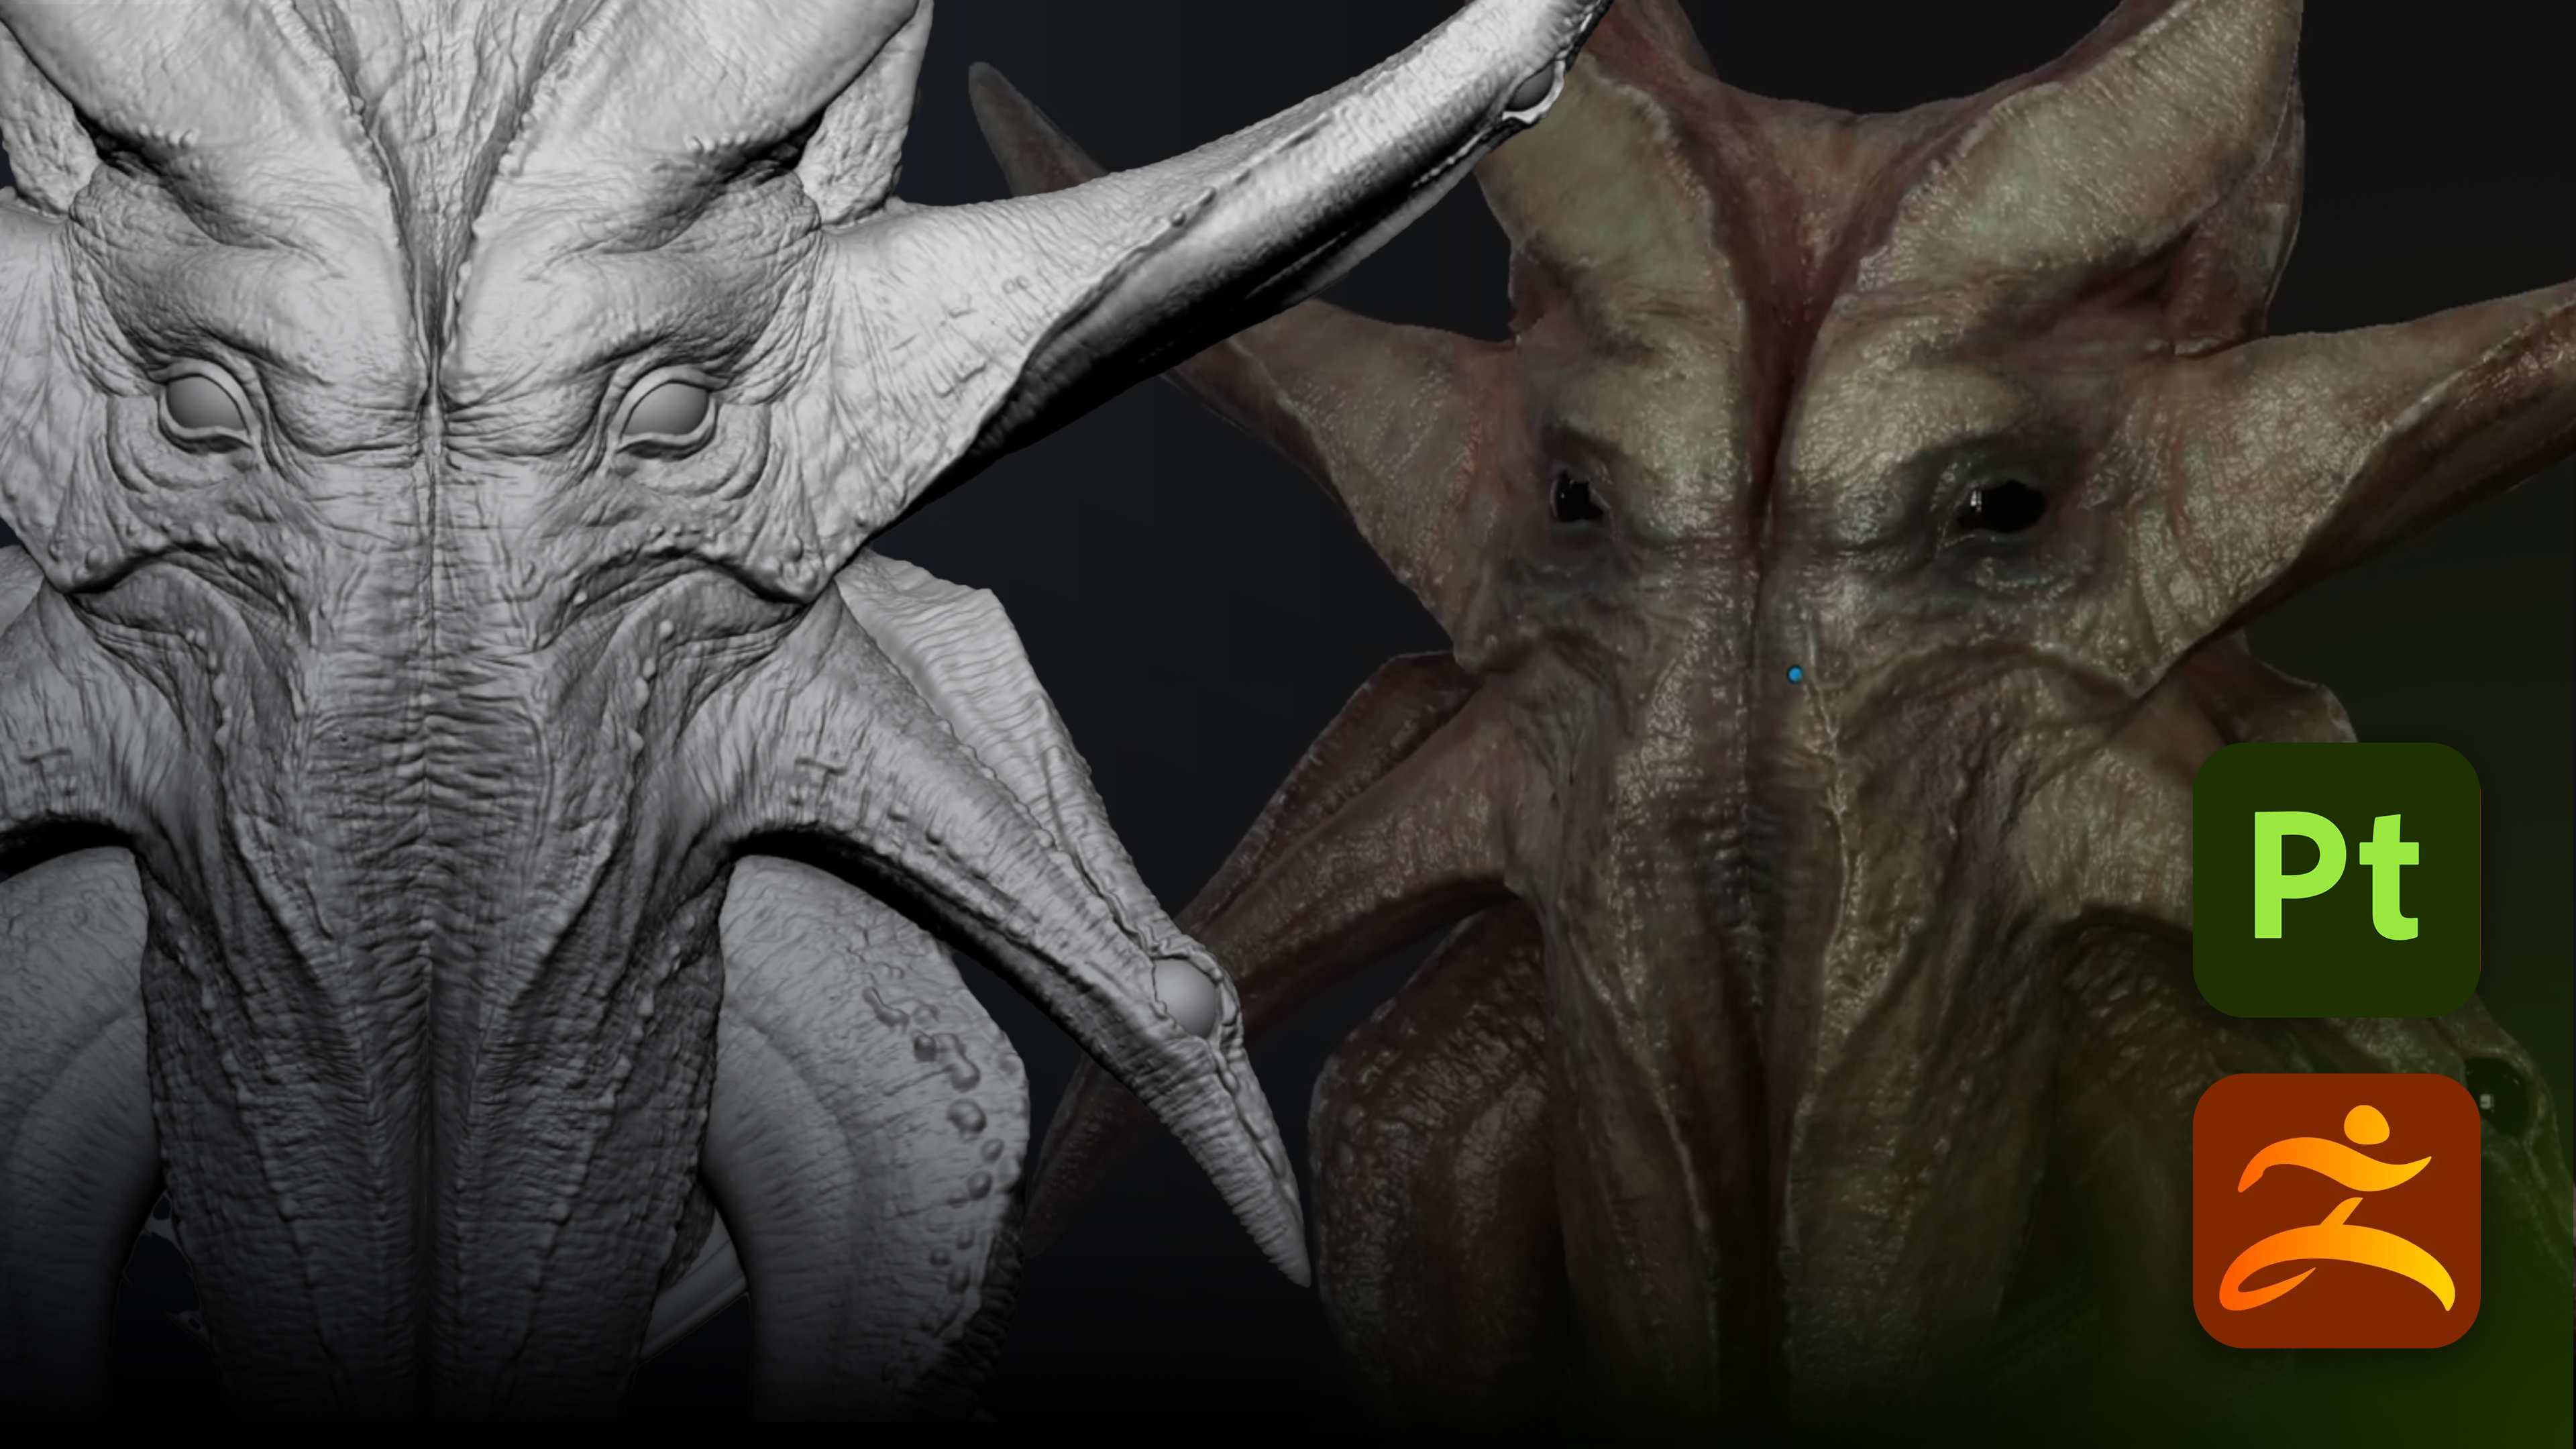
This is a collection of brushes designed to simplify the sculpting and detailing process for scales, scutes and reptilian skin patterns in ZBrush, allowing you to quickly establish convincing scale structures and surface variation on your meshes. The brushes in this pack are built to give you control over the placement and rhythm of scales, whether you're creating tight reptile skin, large armored plates, or subtle textured surfaces.
Get resource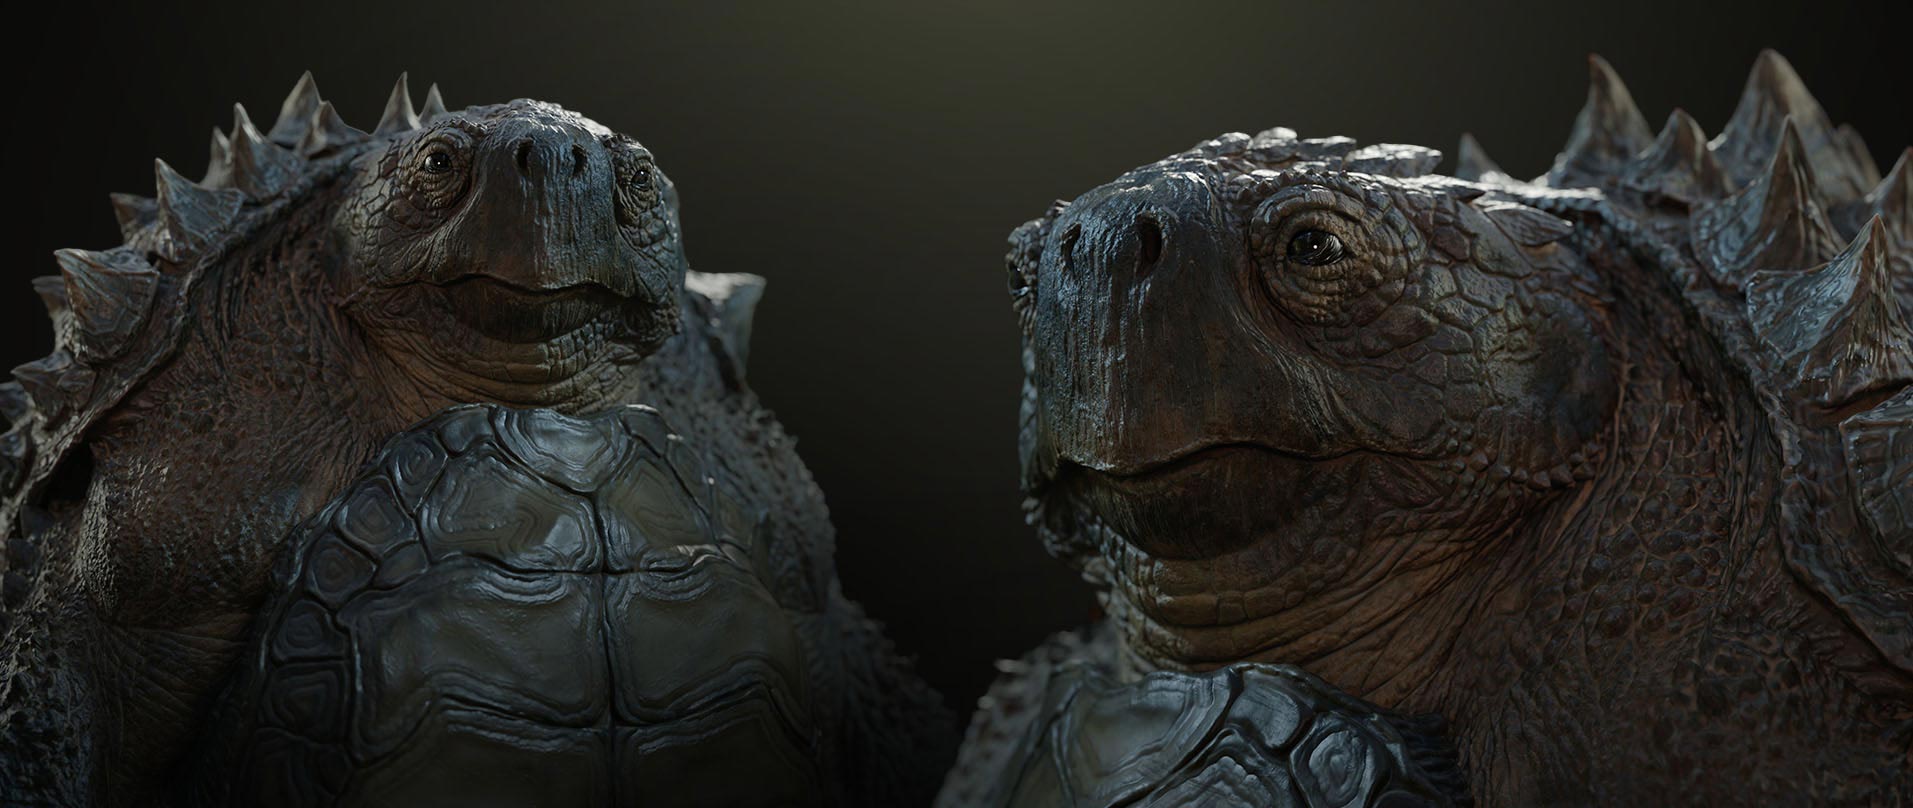
The Quick Eye Trick That Makes Any Sculpt Look Finished
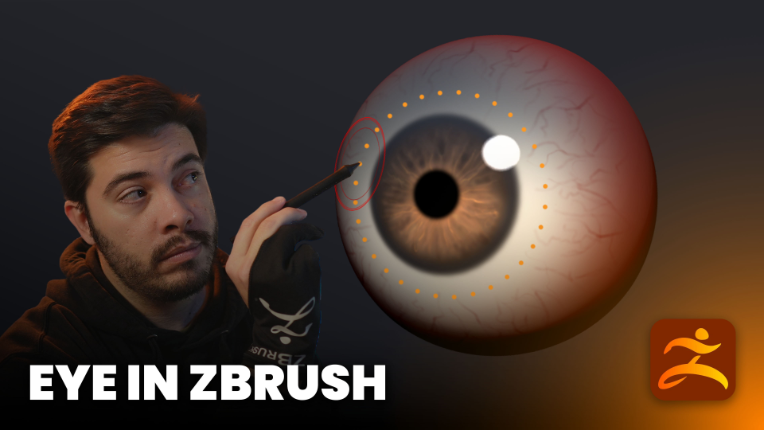
If you think about it, the eyes are the first point of contact between your character and your audience. That is why I want to share a quick ZBrush workflow to craft convincing eyes without any complicated geometry setups.
Check it out