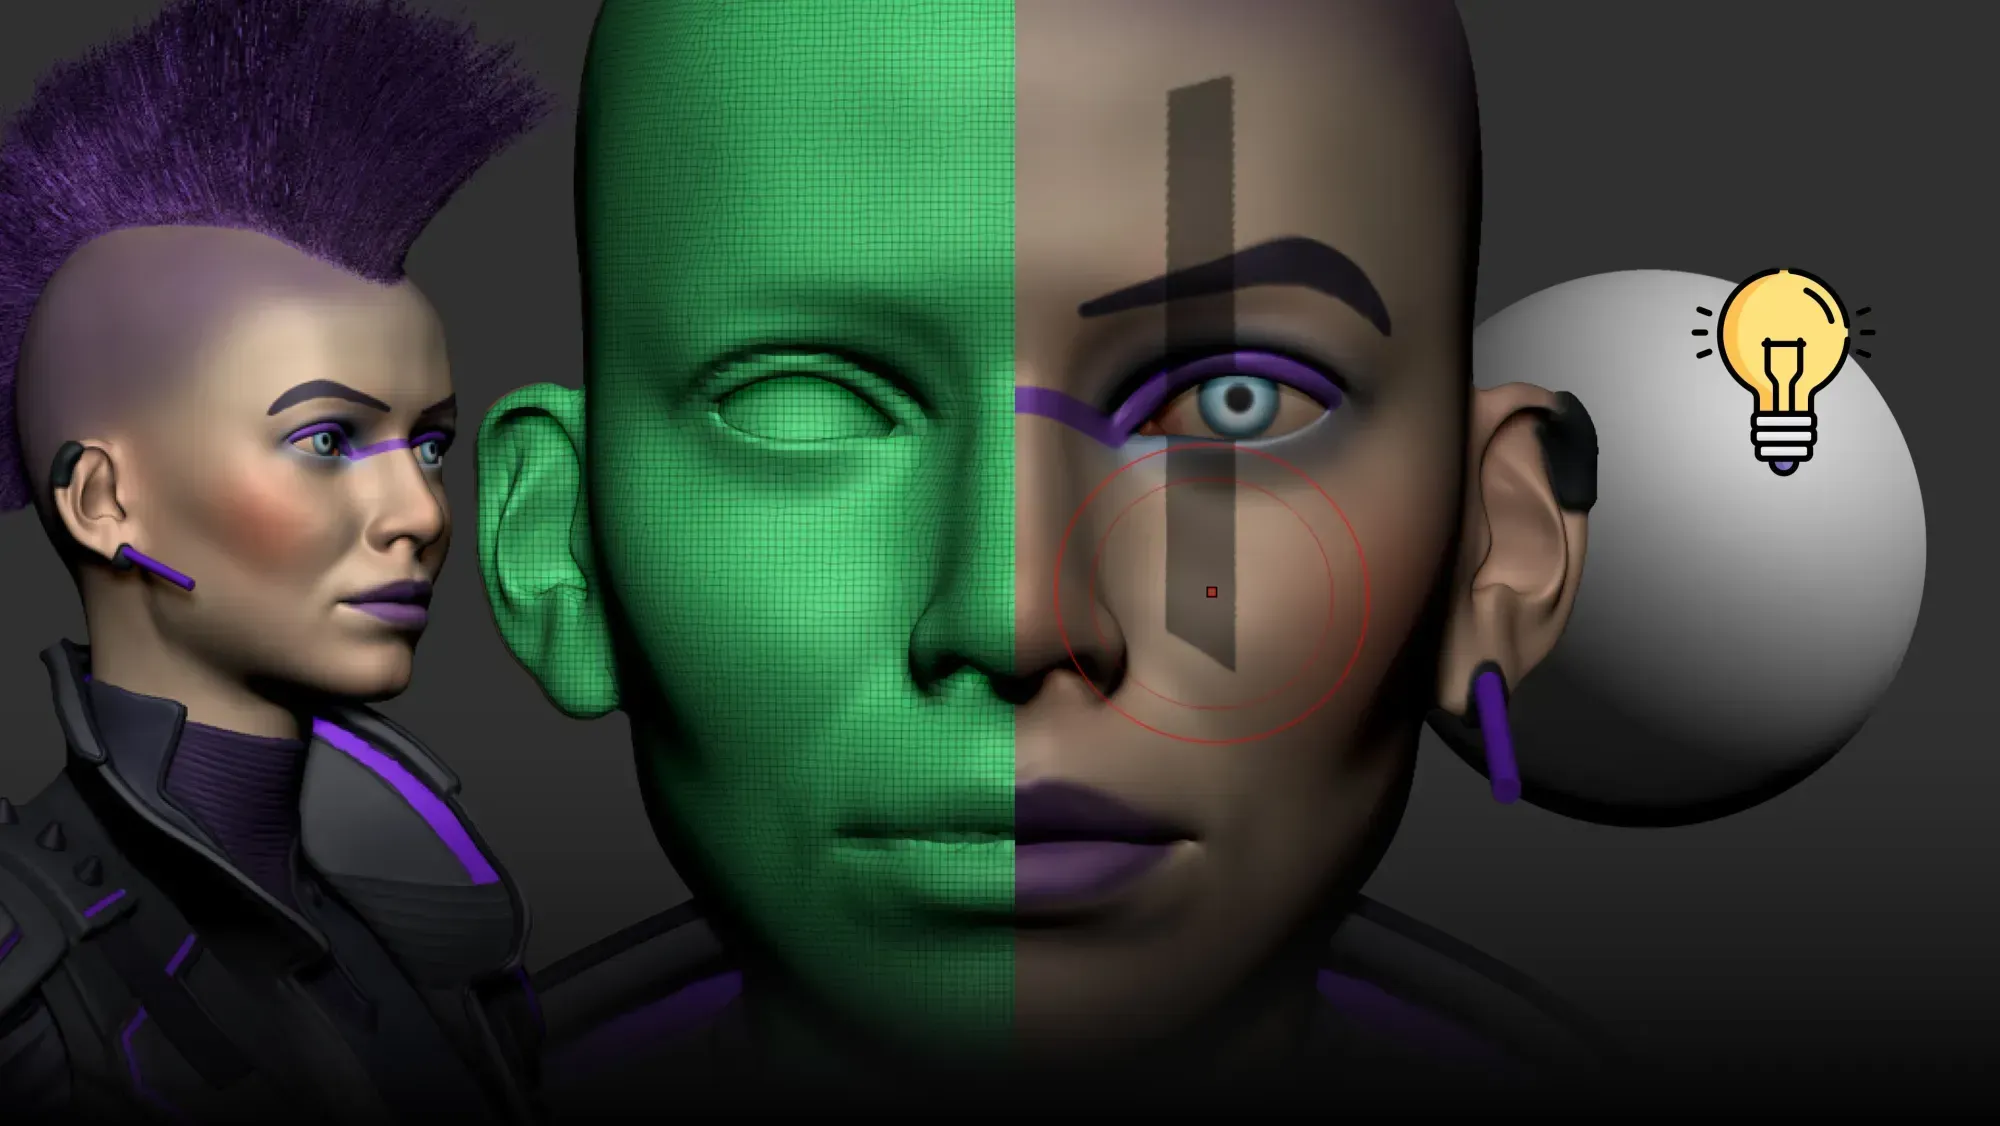
What are curve brushes?
ZBrush provides a wide range of curve brushes, including CurveTube, CurveFlat, CurveBridge, CurveMultiTube, and CurveFlatSnap. While each of these brushes has its own specific purpose, they all follow the same principle: you draw a curve, and ZBrush generates geometry along that path. This makes them especially useful for creating forms like tubes, dreadlocks, straps, cables, and other repeated or decorative elements. Mastering these brushes not only speeds up your workflow but also gives you greater control and consistency when adding complex details to your sculpts.
.jpg)
Common Problem: Curve Brushes Not Working on Subdivided Meshes
If you’ve ever tried drawing a curve on a mesh with subdivision levels, you’ve probably seen the message telling you to delete or freeze them. But if you don’t want to lose your subdivisions, here are two simple tricks I use. One way is to duplicate your tool and then delete the lower (or higher) subdivisions on the copy. This keeps the same shape but without any subdivision levels to worry about. Another handy method is to drop in a primitive, like a Sphere3D, turn it into a QCube, scale it down and place it right inside the mesh where you want the curves. Since that QCube doesn’t have any subdivisions, your curve brushes will work perfectly on it.
.jpg)
This is effective for the Curve Brush, which applies new geometry to the active tool as long as it has no subdivision levels. In that case, the curves generate correctly.
Picker Palette Explained: Once Z vs Cont Z
This setting is the make-or-break factor for how your curves adhere to the surface, so it’s worth understanding how it works. Start by dragging the Picker palette into view so you can toggle between options quickly. With Once Z, which is the default on many curve brushes, ZBrush only samples the very first point you click, and that sets the depth plane for the entire curve. If you move the camera, the curve stays flat relative to that initial depth, super handy when you want each curve to sit neatly on its own plane, like when creating dreadlocks. On the other hand, with Cont Z, ZBrush constantly samples the surface as you draw, so the curve hugs the model’s contours in real time. This is the mode you’ll want whenever you’re wrapping around a model or following along a curved surface.
.jpg)
For example, with Cont Z enabled, I draw a curve that snaps to the surface and follows the curvature. With Once Z, I get a flat plane based on my first click.
.jpg)
Curve Multi Workflow: Draw multiple guide curves, then generate geometry.
When you’re working on lots of repeated elements like hair clumps, spikes, or straps, CurveMulti brushes are a huge time-saver because they let you lay down and keep multiple guide curves. The workflow is pretty simple: first, draw your set of guides with a CurveMulti brush, then switch it to Cont Z if you need them to follow the surface. Then, grab something like CurveTube (or any other curve brush) and just click once on any of the guides. Instantly, all of them update together.
.jpg)
The real advantage here is flexibility; you can quickly tweak the count, size, or even swap brushes and reapply everything in seconds. If you adjust your brush size, all the generated geometry updates at once, and you can still apply curve modifiers like size taper or caps after the guides are already in place, regenerating everything instantly.
Controlling Curves with Size/Taper and Follow
Open the Curve Modifiers and enable Size. The Curve Follow graph is especially useful here; it lets you control the thickness progression of your curve, from root to tip. You can shape it into a taper, a smooth bell curve, or any variation you need. If the result feels too sharp or pointy, simply adjust the control points in the Curve Follow graph and refine until you get the exact profile you want.
Editing Curves Without Redrawing: Curve Snap Distance, Rotate, Smooth
Editing curves is where curves become powerful. The important thing here is to know that the color of the brush turns light blue when hover a curve indicating that you are editing the curve guide. You can adjust the settings by pressing Space while the color of the brush is still light blue and change the edit radius.
To continue wrapping your curve around the mesh in multiple strrokes just hover close to the endpoint until a small red line appears connecting the end of the curve guide to your brush, this indicates that if you start drawing, you’ll actually continue drawing the curve.
Additionally you can rotate and smooth the curve guide, make sure you hover over the guide and the light blue brush cursor is visible.
- Rotate a curve segment: click and hold on the curve , then press and hold Ctrl — move the mouse to rotate the segment around the curve’s local axis. Reduce edit radius to affect only a small portion.
- Smooth a curve: click and hold then press Shift to smooth the curve’s control points
.jpg)
These allow you to refine the guides without re-drawing them and to fix twisting or odd caps before generating geometry.
ZRemesherGuides Brush as Curves for Quick Closed Loops
Instead of redrawing each strap as a tube, use the ZRemesherGuides brush to quickly create a loop. Start drawing the curve of the surface of the model and drag it on the canvas, then hold Shift to close it. Switch to CurveMultiTube (or CurveTube) and click once to generate the geometry along that guide.
.jpg)
This is a one of the many ways to create straps, split the result into its own subtools with SubTool > Split > Split Masked Points. Now you can edit each strap independently.
.jpg)
Clean up the straps: ZModeler, Project, ZModeler delete edge loops
To turn tubes into thin straps, I use ZModeler: hover over an edge, right-click, and use Delete > Delete Edge Loop Complete to remove loops and thin the mesh. Then smooth via Deformation > Smooth to soften shapes.
To fit straps snugly to the body, use Project > Project All (increase the project distance if needed). If the projection misses because of low resolution, add edge loops using ZModeler: right-click edge > Insert > Insert Multiple Edge Loops and then Project All again.
.jpg)
Finally, Auto Groups (Polygroups > Auto Groups) gives a group per strap so I can isolate, Mirror And Weld so you can control both sides at the same time, and use the Move Topological brush to nudge straps into place while respecting each strap’s topology.
Useful Frame Mesh Settings for adding detail
Frame Mesh (Stroke > Curve Functions > Frame Mesh) outlines mesh borders or polygroups as curves. I use it to place even arrays of small insert shapes (cylinder extrusion, round bumps) around edges or across polygroups. It’s a fast way to create details that would be tedious to place by hand.
.jpg)
Repel settings to create stylized spikes and clumps
The Repel Strength and Repel Falloff settings in Curve Modifiers is what lets you create quick clumps of fur or hair similar to what I have on my character. When you draw, the curve “pushes away” from the start point, producing clumped, fanned, or spiky shapes without having to rotate the camera or draw perfect contours.
.jpg)
Play with Repel Strength (amount of repel) and Repel Follow-Up (how quickly the repel acts) to get anything from soft fabric clumps to sharp claws. The Lock Start setting allows you to pin the root while moving the rest freely.
Final touches: inflate, thickness, AccuCurve for pointy ends
After you create and project the brushes:
- Use Deformation > Inflate to add volume.
- Turn on Dynamic Subdivisions and adjust the Thickness for a soft thickness preview.
- For pointy tips, use the Move Topological brush and in Brush > Curves enable AccuCurve to create sharper, tapered ends quickly.
.jpg)
Why learning these settings pays off
Curve brushes can feel frustrating at first, but they become incredibly powerful once you understand what’s happening under the hood. If there are only two things to remember from this tutorial, make them these: first, use a dummy low-res tool (like QCube) or duplicate and delete subdivisions to bypass the subdivision warning; second, understand the difference between Once Z and Cont Z for that single setting decides whether curves follow the surface or stay in a plane. Once you’ve got those down, the rest is experimentation: CurveMultiTube Brush with the ability to update multiple curve guides at once, Repel, Twist/Rotate the curve, Smooth, with the mix of other simple modeling techniques and brushes combine into a flexible workflow for hair, straps, spikes, seam and other elements.
Happy Sculpting!

Every ZBrush User Needs To Know These 5 Tricks
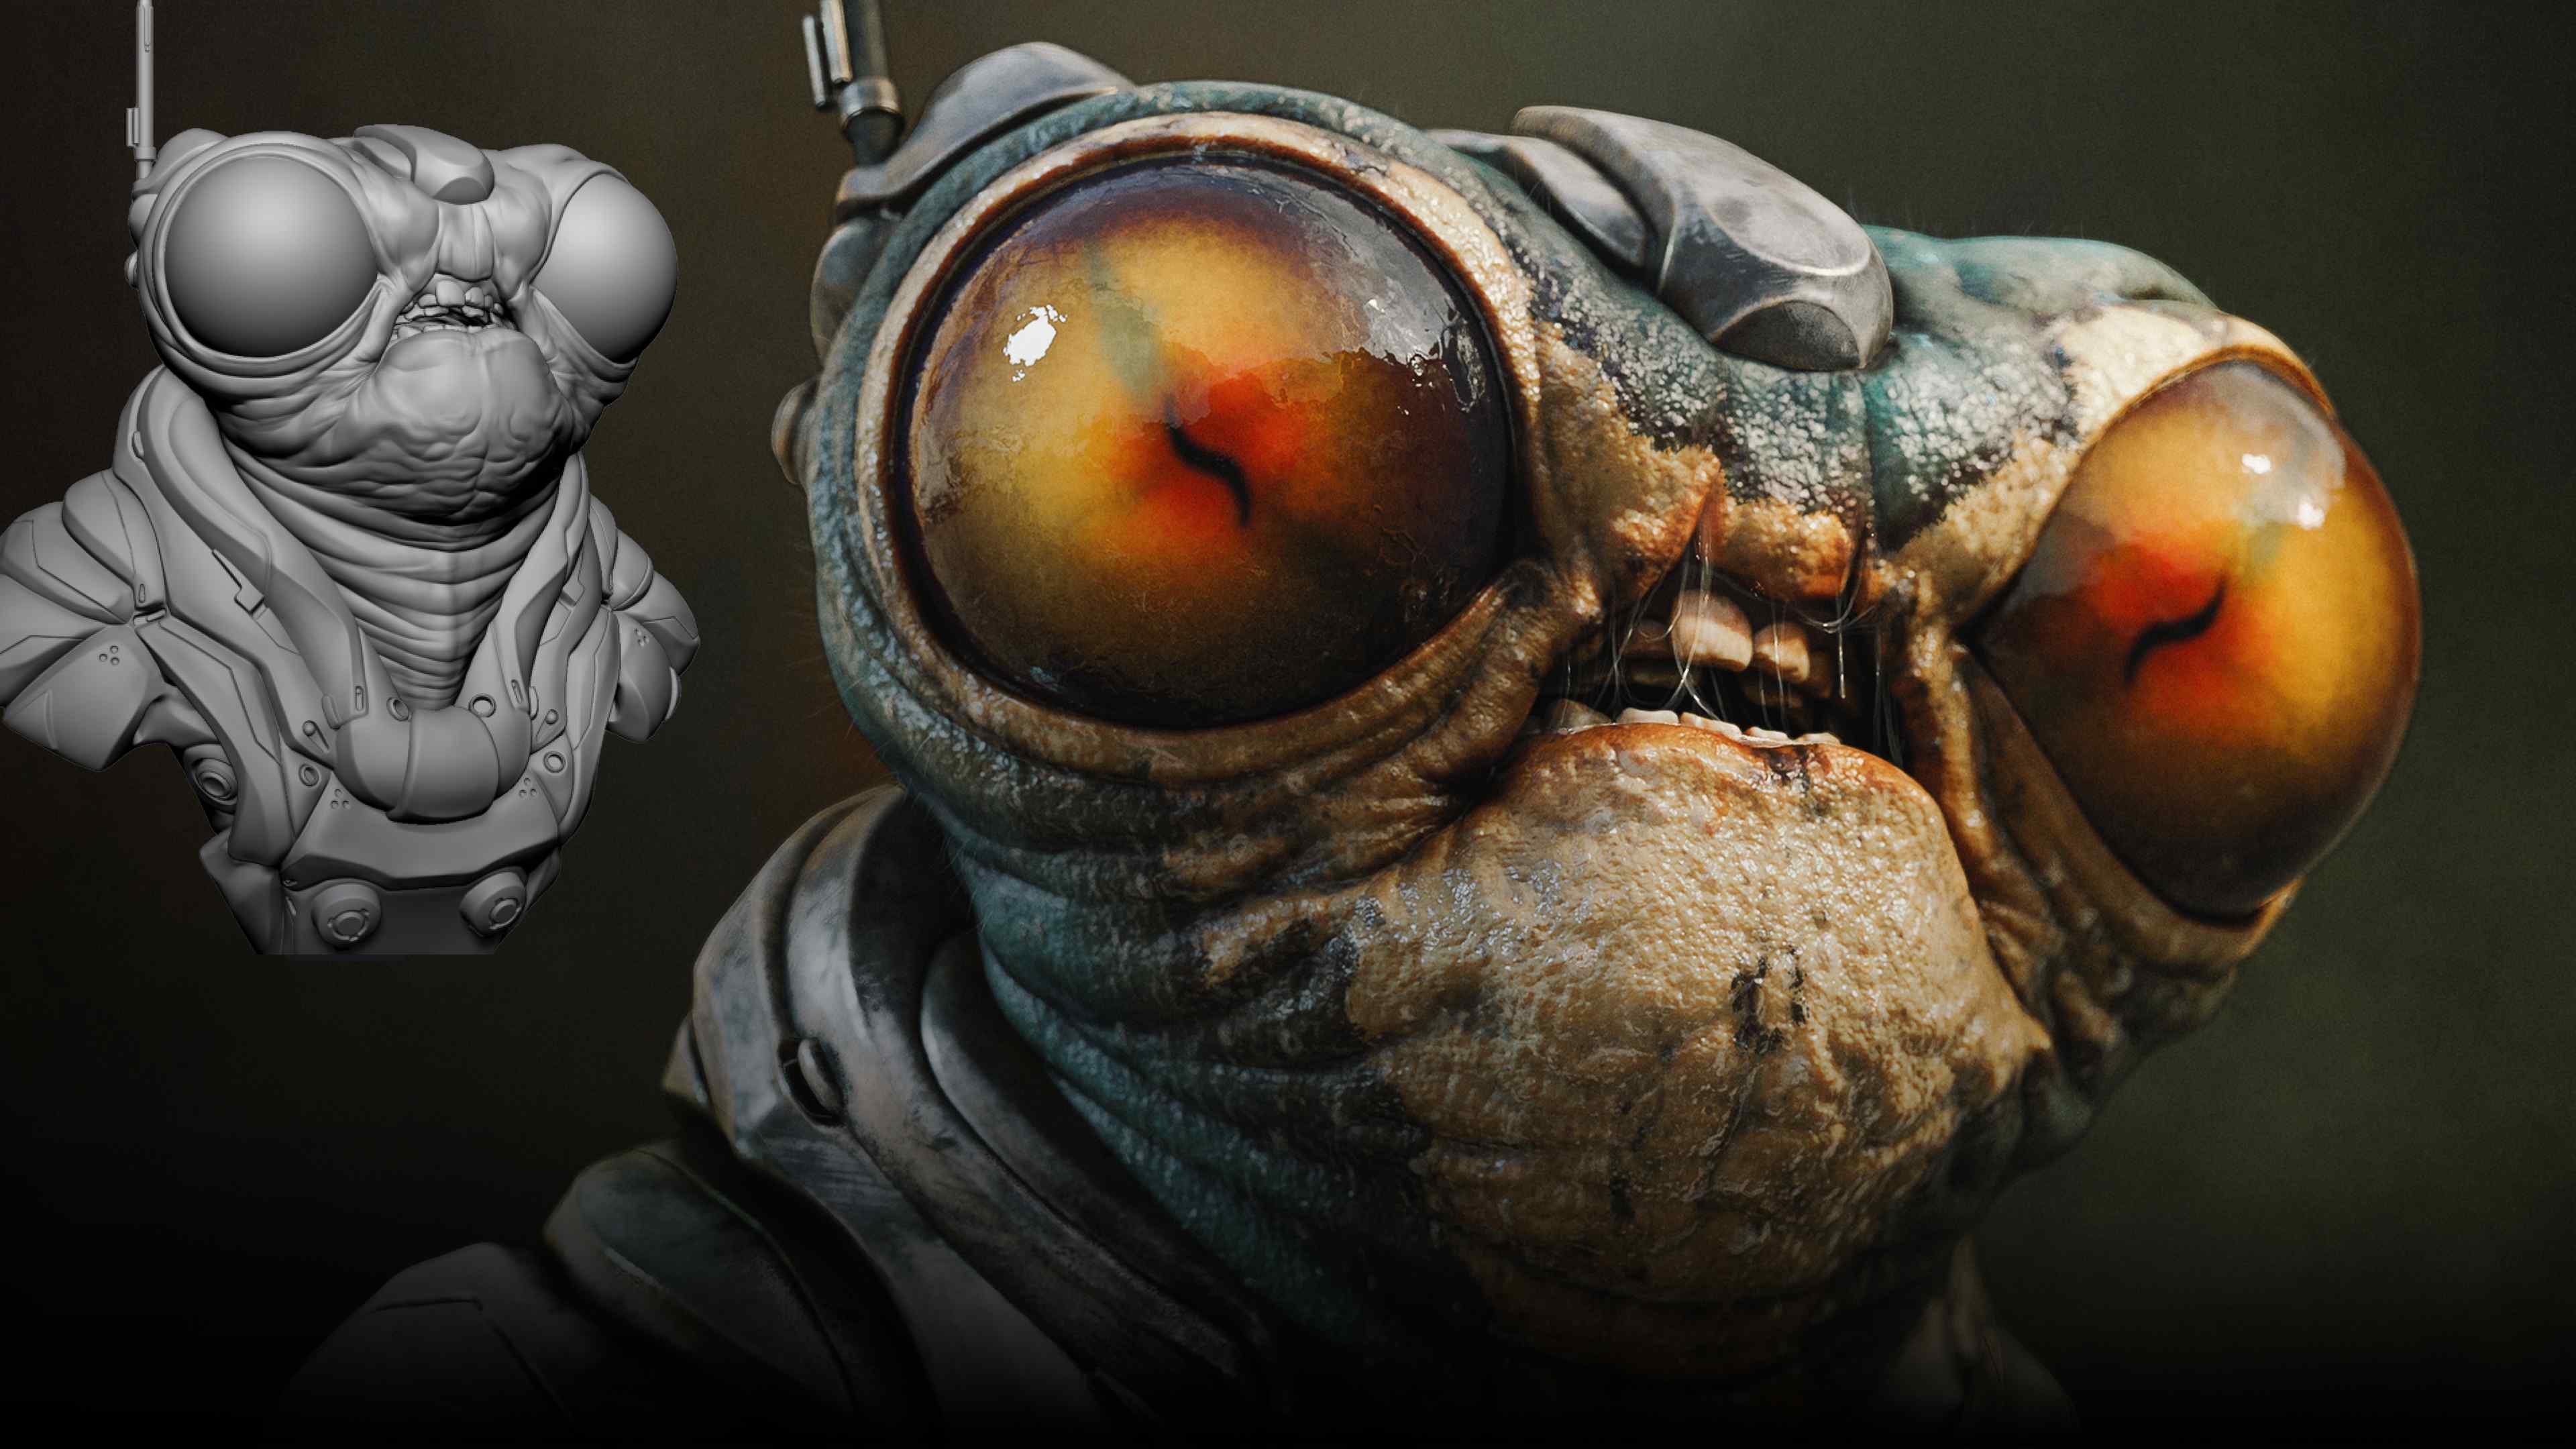
Here are 5 ZBrush tricks (hidden gems) you probably didn't know! In this tutorial I'm going to show you a cool tip to use interactive lighting, achieve ideal Dynamesh resolution based on your details, control FiberMesh growth using morph targets, and a few other useful tips!
Check it out


.jpg)
.jpg)