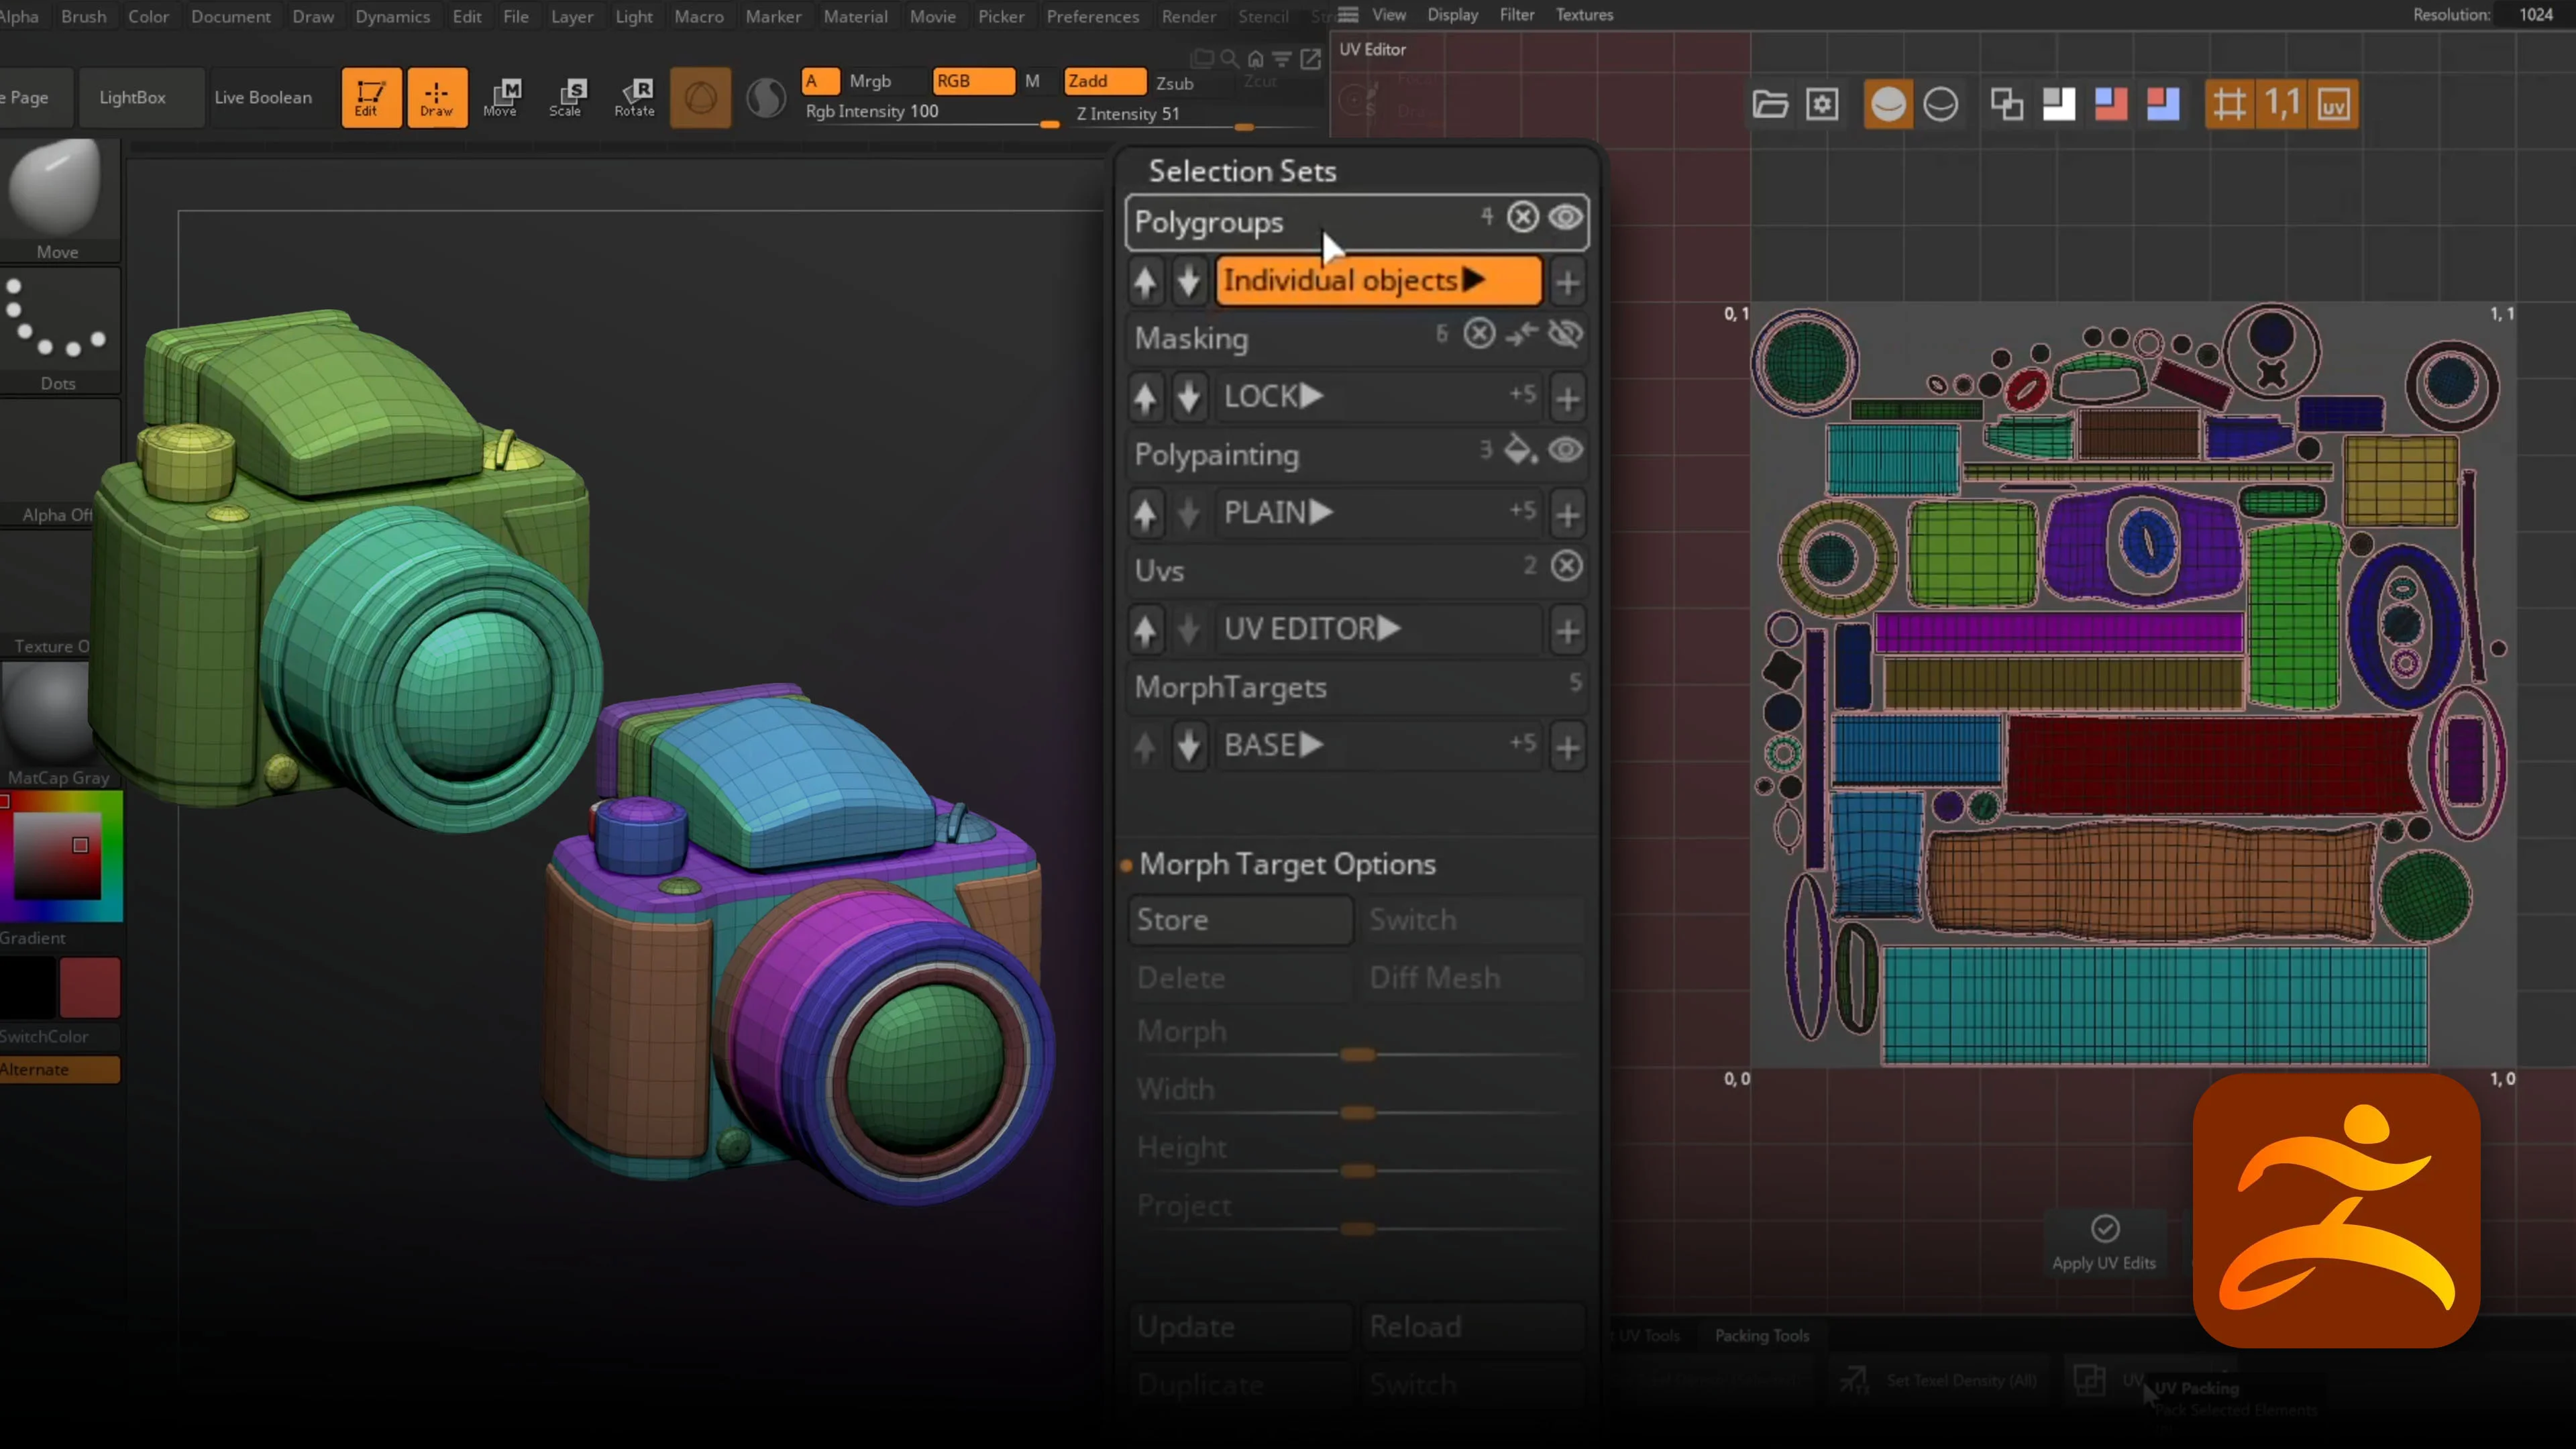





This workflow keeps things practical. We’ll use a camera model to explore the different types of Selection Sets, then move into a simple polygroup-based UV workflow. No complicated setup… just a repeatable way to preserve your options and improve an automatic unwrap.
What you’ll need: ZBrush 2027 and a model to experiment with. A subtool with existing polygroups and subdivision levels is useful for following the examples. (You may download the Camera Asset here.)
The basic approach:
- Save useful working states before trying alternatives.
- Keep masks, PolyPaint, UVs and shape variations organised in their own categories.
- Use polygroups to generate the first UV pass.
- Add seams, straighten suitable islands and pack with controlled rotation.
- Apply the UVs back to ZBrush and save the finished layout as a Selection Set.
Step 1: Find the Selection Sets subpalette
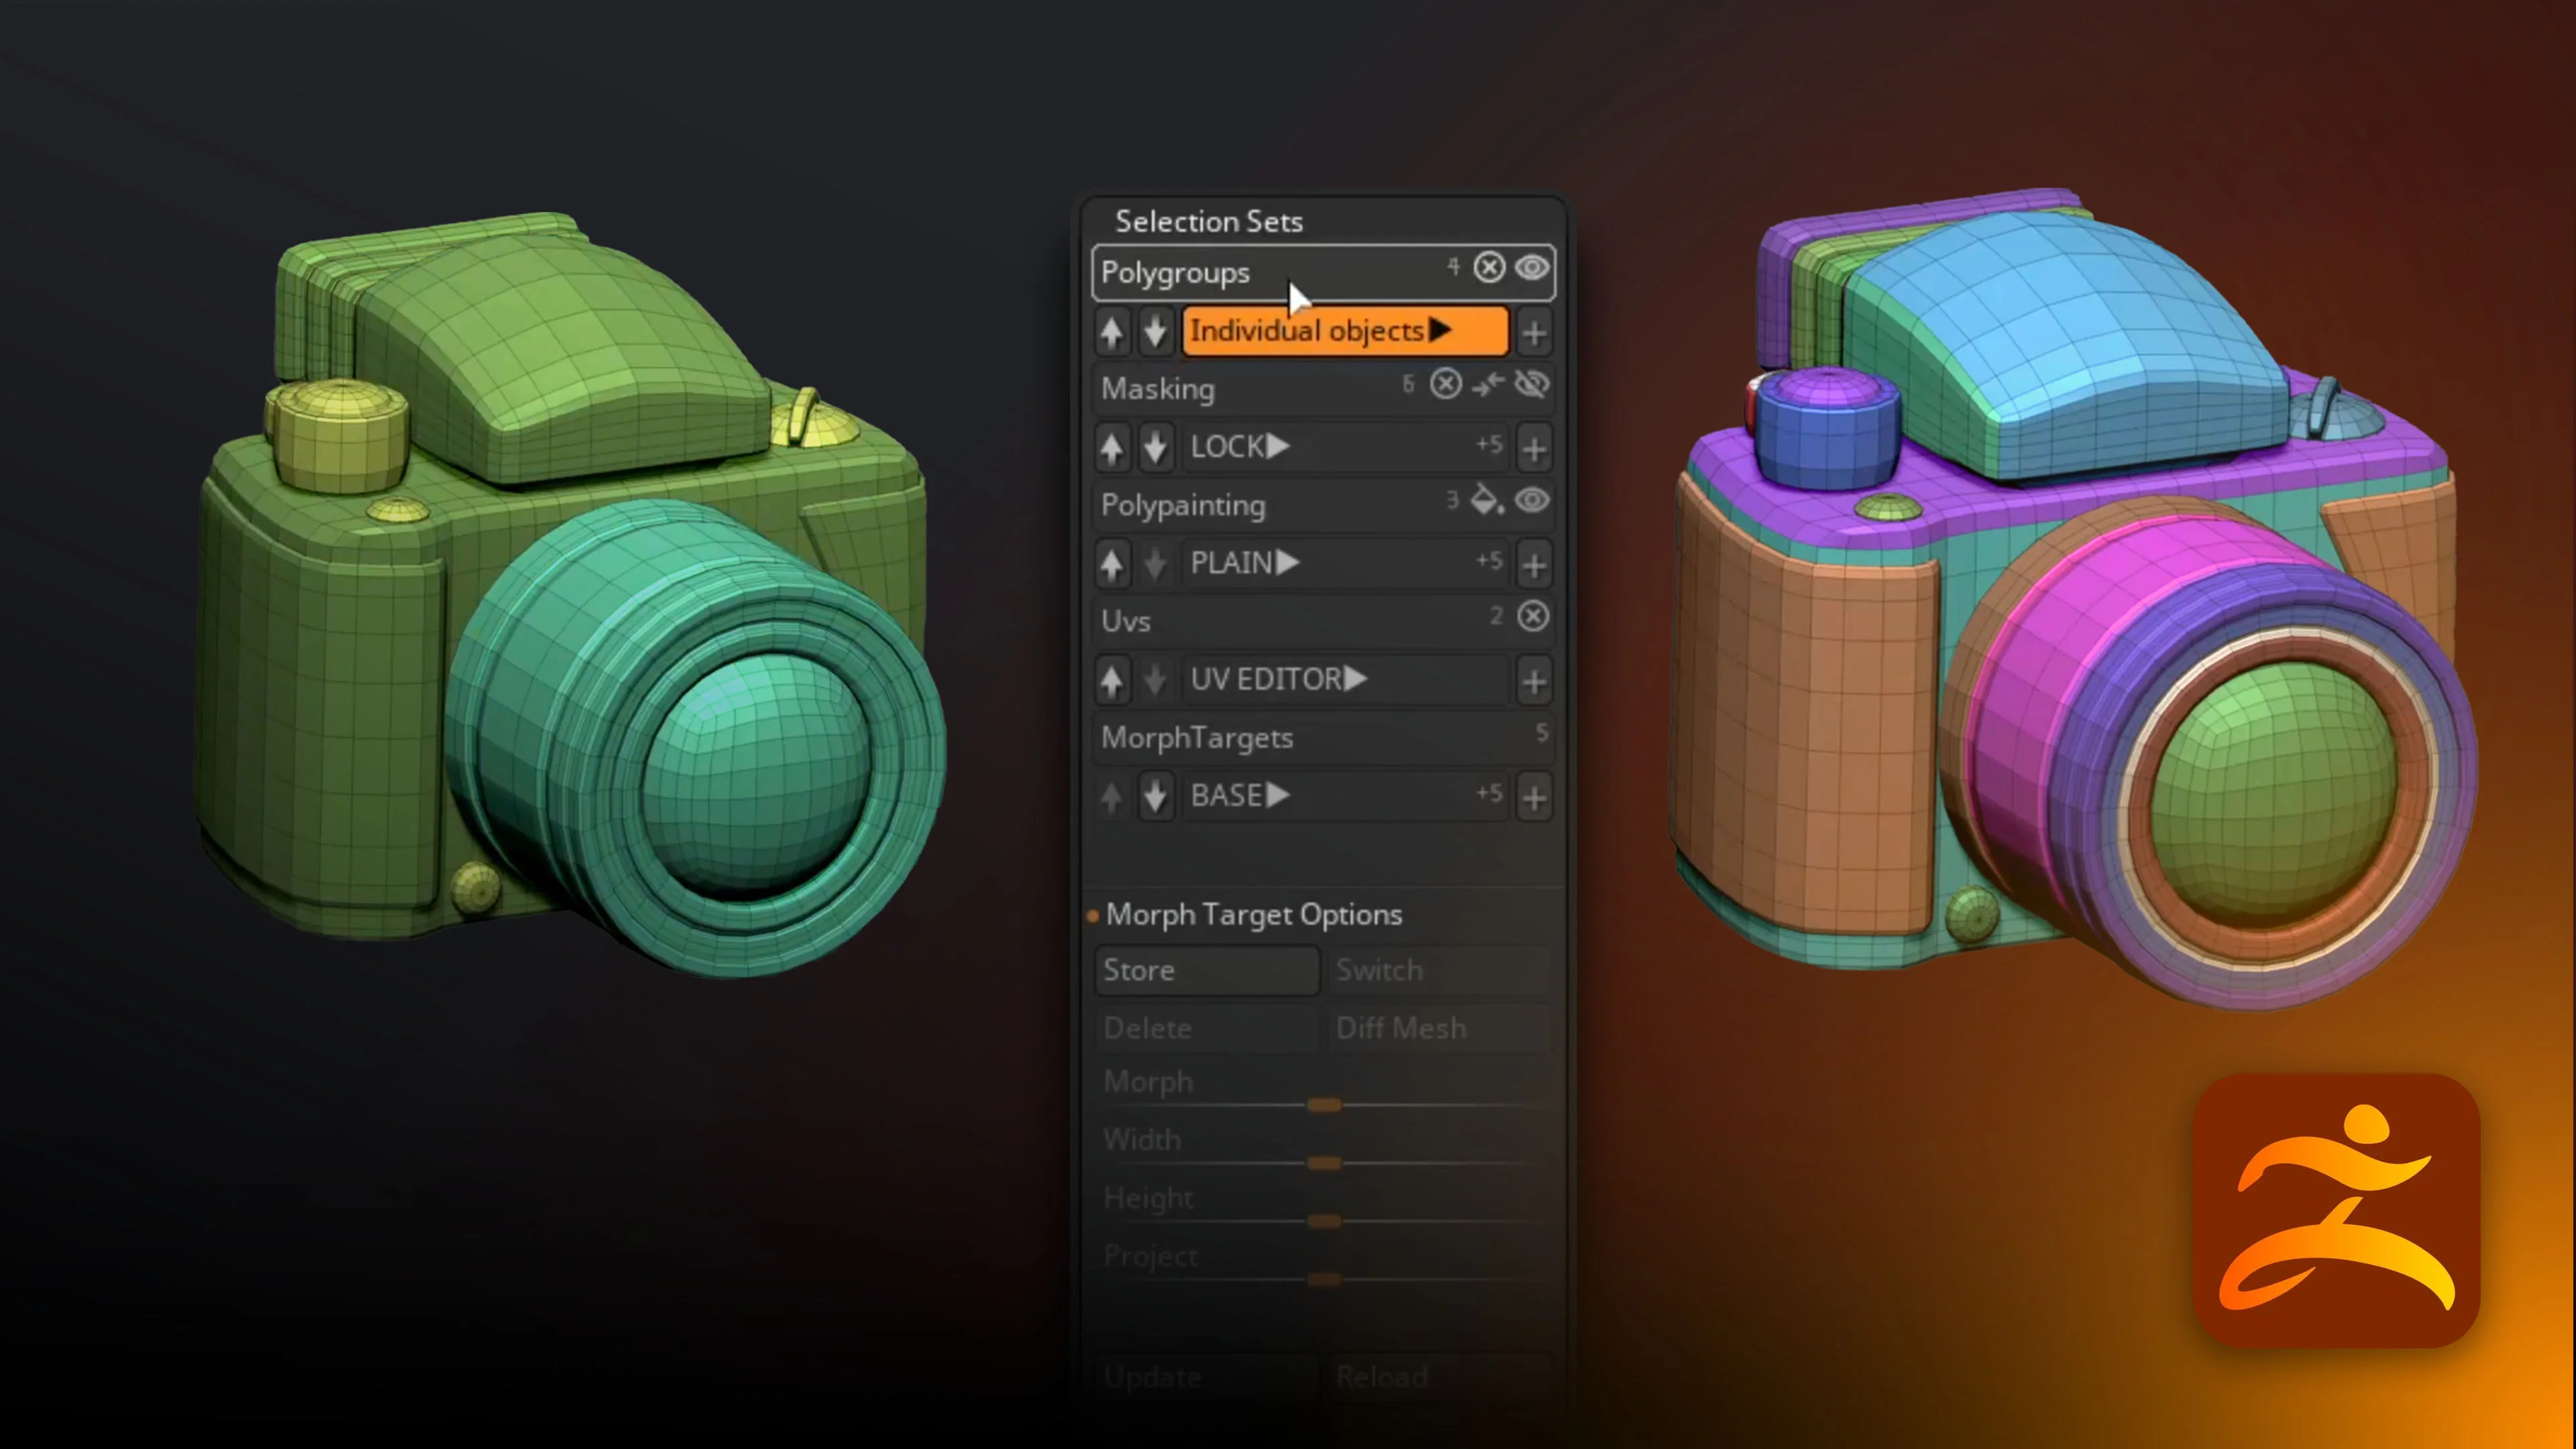
Open the Tool palette > Selection Sets. Despite the name, this feature does more than remember selected polygons. It lets you store and recall several types of data:
- Polygroups - different ways of organising the model’s polygons.
- Masking - reusable masks for local adjustments.
- PolyPaint - alternative painted colour schemes.
- UVs - different UV layouts for the same object.
- Morph Targets -stored shape variations.
The basic operation is consistent: choose a category, prepare the state you want to preserve, click the plus icon and give the set a name. Select a saved entry to bring it back.
One particularly useful detail is that Selection Sets work across subdivision levels. You can move between the low-resolution structure and the detailed sculpt without giving up this way of organising your work.
Step 2: Save alternative polygroup arrangements
Start with polygroups because they are useful for both local editing and the UV workflow later on. You might want one arrangement that separates large sections and another that divides the model into smaller parts.
- Isolate the portion of the model you want to group.
- Press Ctrl + W to assign a polygroup.
- Repeat for other areas, then reveal the complete model.
- Choose the Polygroups category in Selection Sets.
- Click the plus icon and name the arrangement.
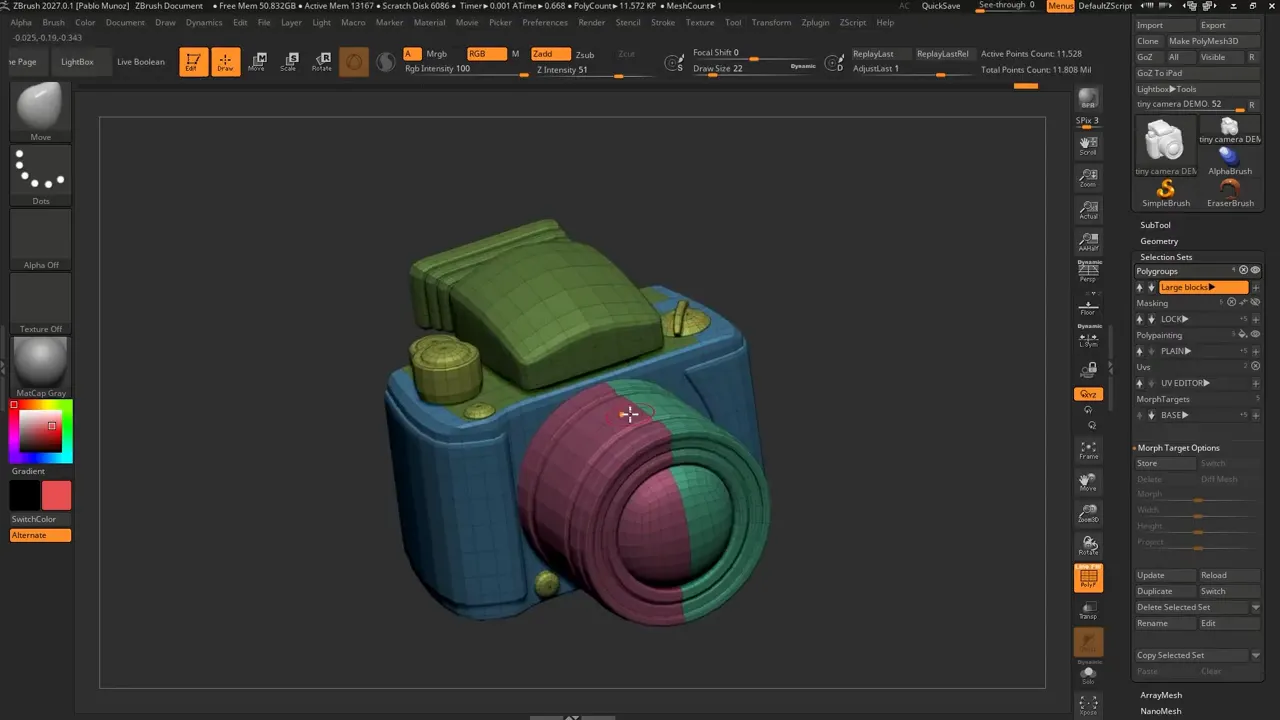
Now select a different saved arrangement. The polygroup assignments change, but you are still working on the same subtool.
This is useful when one grouping works well for broad edits but another is better suited to unwrapping. You don’t have to make one arrangement serve every purpose… save both and switch when needed.
Step 3: Store masks before testing variations
Move to a high subdivision level and hold Ctrl to access your masking brush. Paint a simple design on the surface. On the camera, this can be a small logo on the top panel.
With the mask ready, switch to the Masking category, click the plus icon and name it logo01. Clear the mask, draw an alternative and save that as logo02.
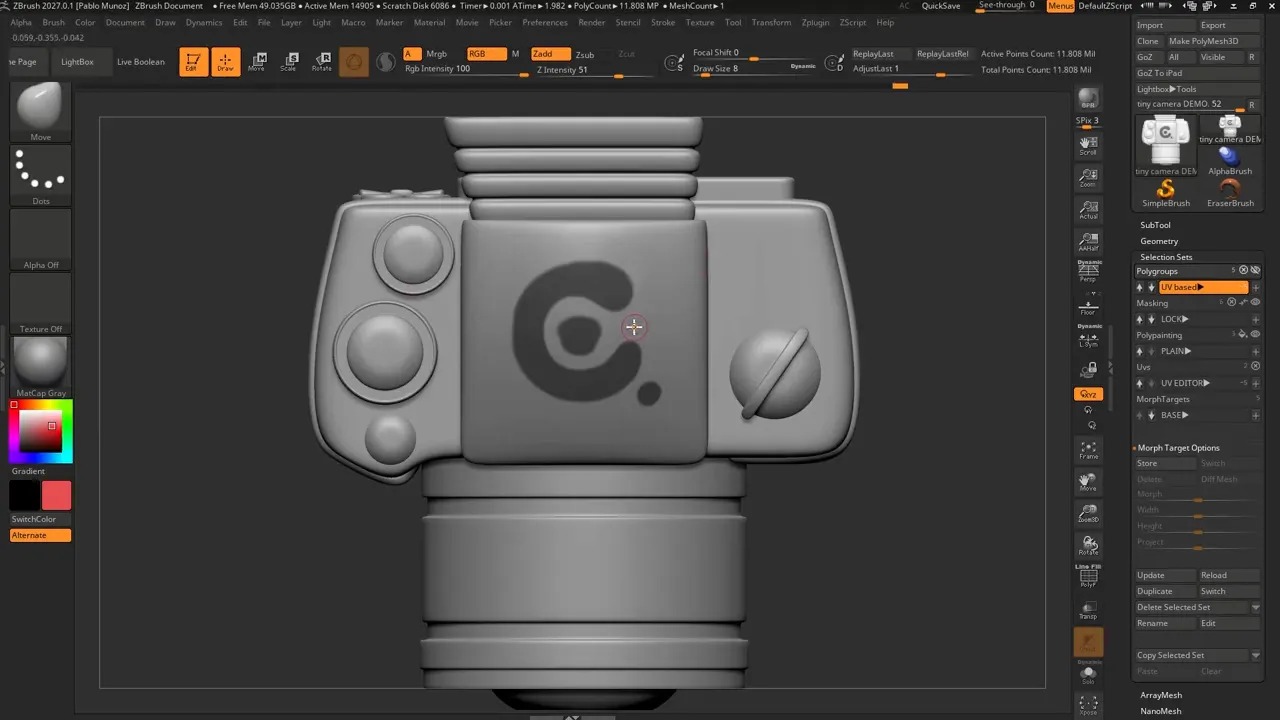
Select either entry to recall its mask. You can then use the usual masking operations, including inversion, and continue with familiar deformation tools.
For example, invert the logo mask and use Deformation > Inflate to raise the exposed design. Or recall a mask around a small camera control and use the Move tool to adjust that area.
The important distinction: the saved entry preserves the mask, not an undo state for the deformation. It gives you a reusable way to target the same region while testing different edits.
Step 4: Keep PolyPaint colour options on the same subtool
PolyPaint sets use the same save-and-recall approach. Choose a colour, go to Color > Fill Object, then save the result in the PolyPaint category.
For a quick test, fill the camera red and save a set called red. Then create a two-colour version:
- Use your polygroups to isolate the areas you want to protect.
- Mask those areas and reveal the rest of the model.
- Choose green and use Fill Object on the unmasked areas.
- Clear the mask and save a new set called red-and-green.
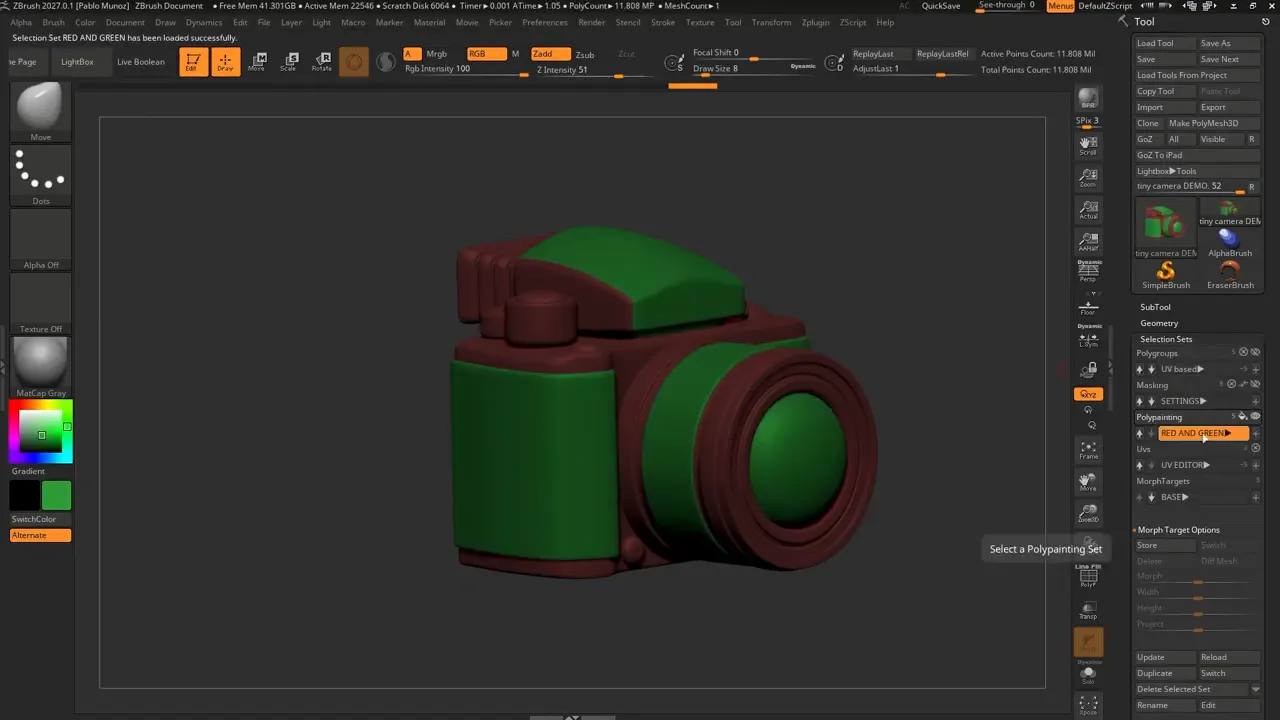
You can now switch between the solid red version and the two-colour version without repainting. A plain white PolyPaint set is also useful when you want to inspect the sculpt without the colour scheme competing for attention.
This is a simple way to compare colour options while keeping them together.
Step 5: Preserve and compare UV layouts
The UVs category stores alternative UV layouts. For example, keep one created with UV Master and another refined in the new UV Editor.
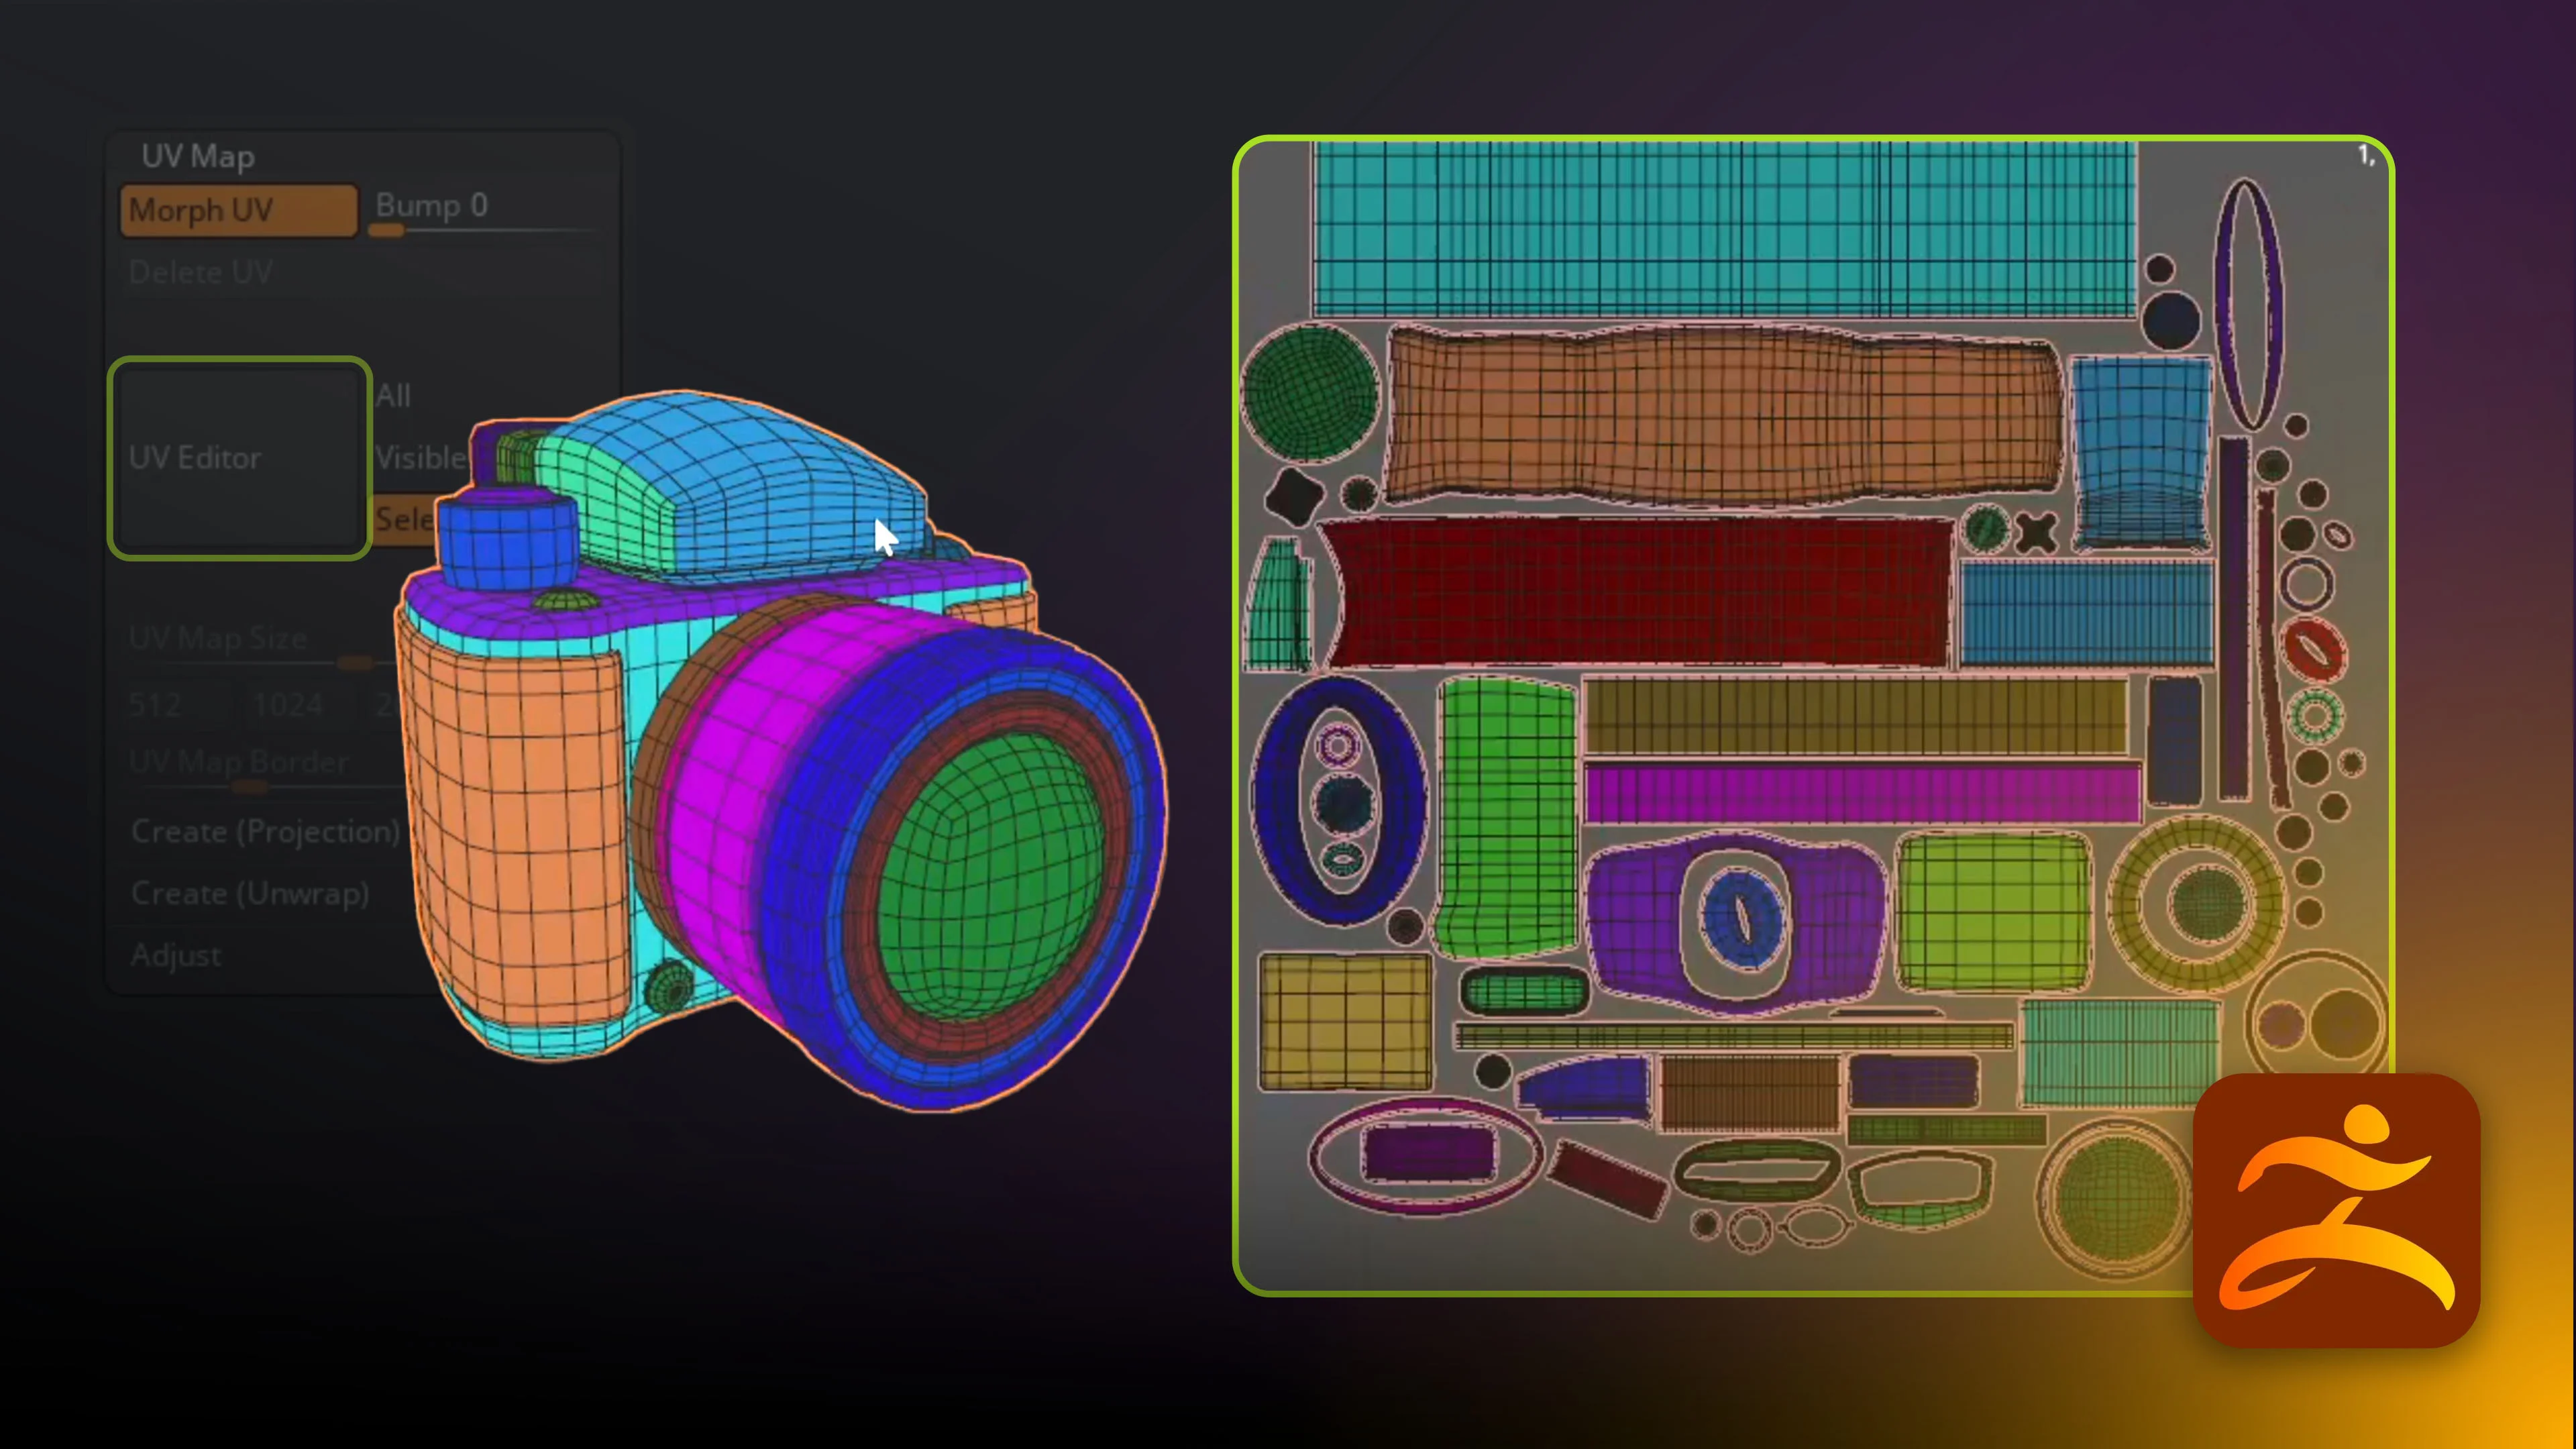
To compare them, go to the first subdivision level, select a saved UV set and click Morph UV. This flattens the model into its UV arrangement so you can inspect the islands.
Return to the 3D shape before selecting the other UV set, then use Morph UV again. The object and subdivision structure remain the same… you are changing the UV data.
This is particularly useful for comparing an automatic result against a more organised layout. Save the first pass before refining it, rather than losing it while testing another approach.
Step 6: Save shape variations with Morph Target sets
In the Morph Target category, save an entry called base before exploring shape changes. Treat it as your starting checkpoint.
For the camera, useful alternatives include a softer, more cartoony lens and an exploded arrangement with the components separated for baking.
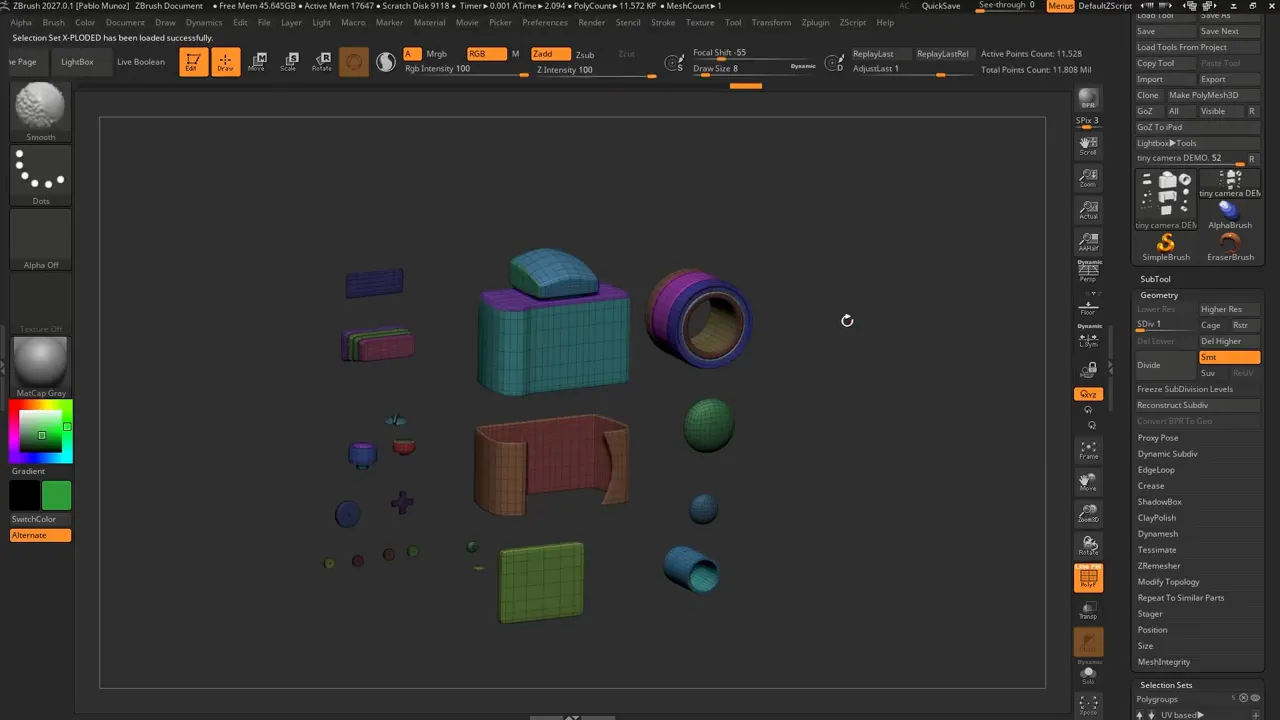
The exploded version preserves the subdivision levels. You can export the first level as the low-poly model, move to a higher level and export the high-resolution version for baking. In this example, subdivision level six contains roughly 11 million polygons.
Switch back to the base set to bring the camera together again. Shape variations and edits can stay organised within the same subtool rather than requiring a separate file for every experiment.
Step 7: Create soft deformations and blend between shapes
Activate Gizmo 3D and adjust Focal Shift to introduce a soft deformation, similar to proportional editing. Hold Alt while repositioning the gizmo, then move or scale to explore the shape.
A Focal Shift around 80 is one test value; lower values around 40 or 31 produce a different deformation response. Adjust it while checking the silhouette rather than treating any number as a fixed recipe.
Save the result as cartoony. Your polygroup and PolyPaint sets remain available, so you can test the new proportions with an existing colour scheme.
For more control, combine these saved shapes with the standard Morph Target tools:
- Recall the base shape and click Store in the Morph Target tools.
- Recall the cartoony Selection Set.
- Adjust the Morph slider to find a subtler blend or push the variation further.
- Save the result as another Morph Target Selection Set.
This turns two shape options into a starting point for several variations.
Step 8: Prepare polygroups and open the UV Editor
Return to the shape you want to unwrap and the first subdivision level. Recall the polygroup arrangement that best separates the model’s parts.
If you want a clean start, preserve any useful existing UV layout first, then use UV Map > Delete UVs. Deleting saved UV entries is separate from deleting the UVs currently applied to the model.
UV Master still provides a quick baseline: open ZPlugin > UV Master, enable Polygroups and click Unwrap. The camera unwraps reasonably well, but the island arrangement leaves room for improvement.
Open UV Editor to gain more control. It launches in a separate window. If the model looks tiny in the left viewport, place the pointer there and press H to frame it.
Step 9: Generate the first UV pass by polygroups
Select the camera in the UV Editor and enable the polygroup tag display. This brings through the coloured groups from ZBrush, making it easier to relate the model’s parts to the UV islands.
The four tool sections describe the general workflow:
- Create UVs - establish the initial mapping.
- Unwrap - define cuts and flatten the surface.
- Edit - refine the resulting islands.
- Pack - arrange the islands in UV space.
Under Create UVs, click Unwrap by Polygroup. This produces an initial unwrap and packing result, giving you a useful starting point without manually building every island.
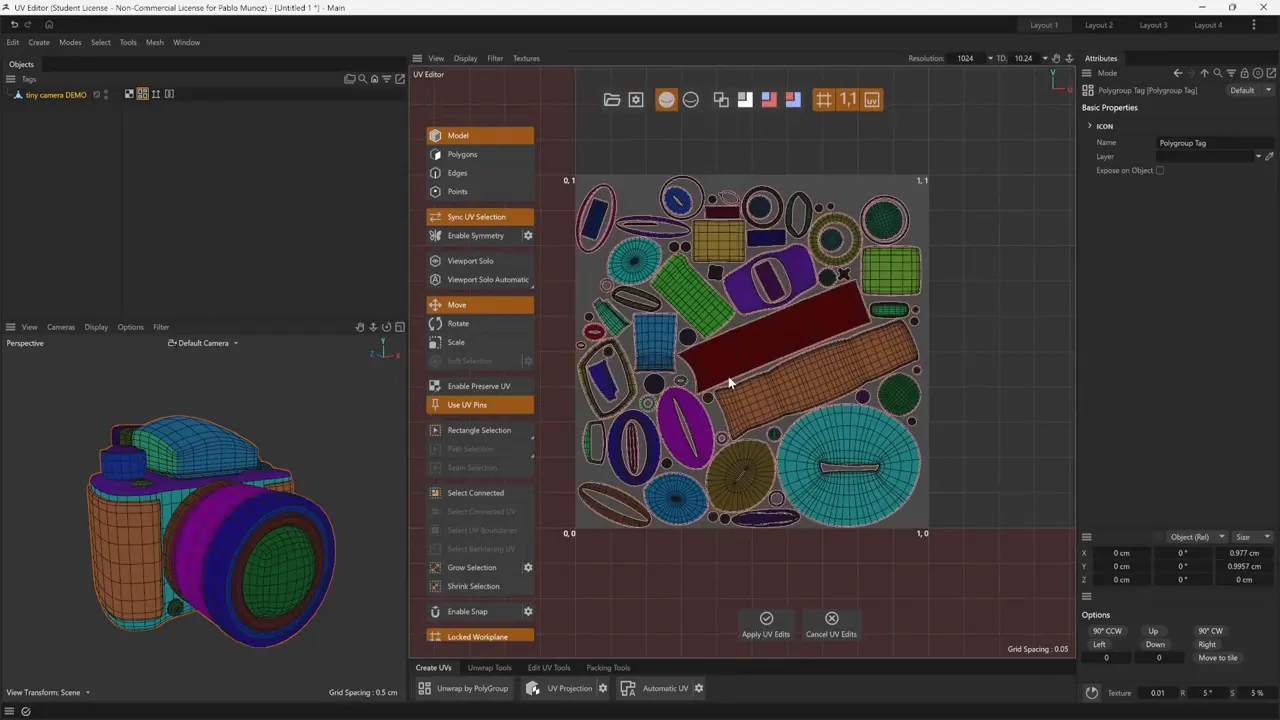
Don’t stop at the automatic pass. Look for awkward islands, particularly closed ring-like shapes that need another cut to flatten more cleanly.
Step 10: Mark seams where the unwrap needs extra cuts
Switch to the Edge tool and double-click an edge to select a loop. The selection is also visible on the 3D model, helping you understand where the cut will land.
In the Unwrap tools, click Mark as Seam. The marked edge turns white, indicating a cut for the next unwrap.
Repeat for the areas that need opening. On the camera, several ring-shaped and angled sections benefit from extra seams beyond the polygroup boundaries.
Navigation stays familiar:
- Right-click: rotate.
- Alt + right-click: pan.
- Ctrl + right-click: zoom.
Keep this pass focused. You are improving the existing polygroup-based result, not rebuilding the entire unwrap manually.
Step 11: Unwrap, relax and run an initial pack
After marking the seams, return to Model mode so the operation applies to the whole object. Click Unwrap and Relax to recalculate the islands using those cuts.
The immediate arrangement may look untidy. That is expected… the islands still need packing.
Open the Packing tools and click UV Packing. This arranges the newly cut islands and gives you a clearer layout to refine.
Keep these operations separate in your mind: seams determine where the surface opens, unwrapping determines how it flattens, and packing determines where the pieces sit.
Step 12: Rectangularize and align suitable islands
Switch to the Polygon tool and double-click an island to select it. For suitable strip-like islands, click UV Rectangularize to straighten and simplify the shape.
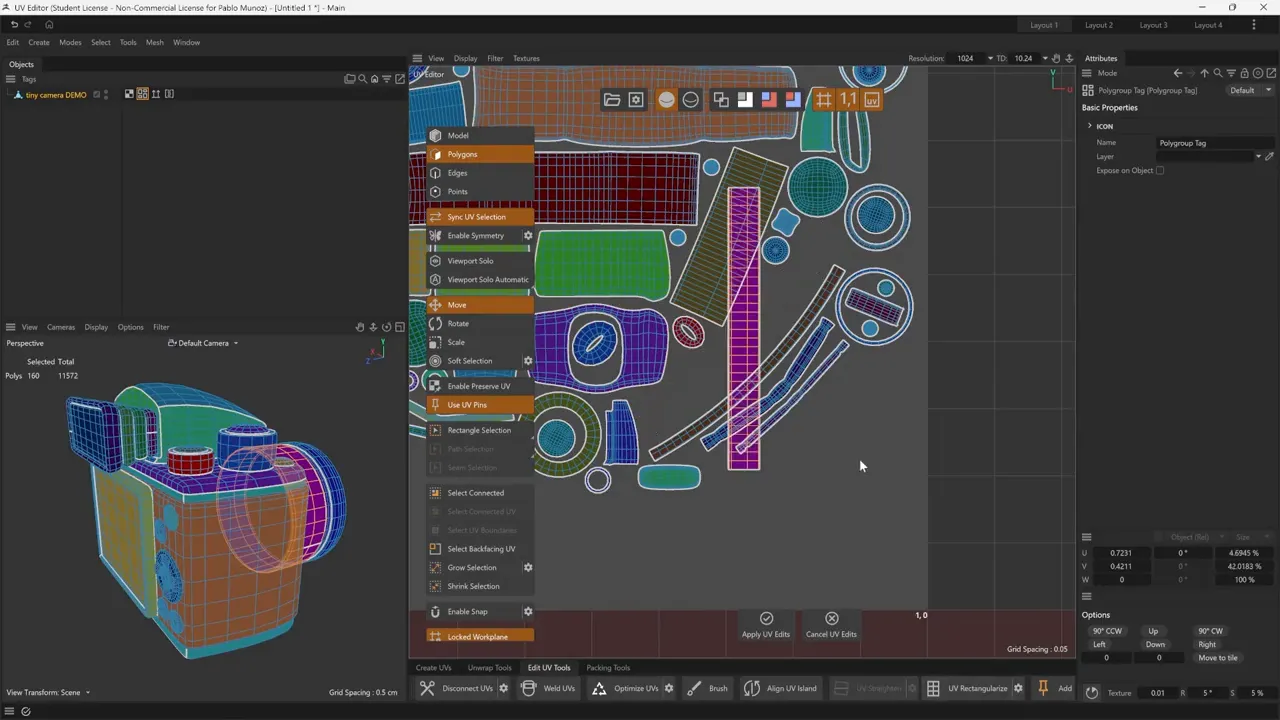
Repeat for the islands that benefit from this treatment. Many camera parts work well as rectangular strips, but not every island is suitable. An unusual cut or shape may prevent a useful result… leave those islands alone rather than forcing them.
Next, use Align UV Island. Select a single edge to orient its island vertically or horizontally. This is a quick way to tidy awkward rotations before the final pack.
Step 13: Pack with 90-degree rotation increments
Return to Model mode and open the gear icon beside UV Packing. Change Orientation from Free to 90 degrees.
This setting matters after manual alignment. Free rotation can turn your straightened islands back to arbitrary angles. Restricting rotation to 90-degree increments lets the packer rearrange them while keeping their edges aligned to the horizontal and vertical axes.
Click UV Packing again. You can repeat the operation to compare different arrangements, then keep the one you prefer.
The goal is straightforward: let the software handle the arrangement without undoing the orientation work you just completed.
Step 14: Apply the UV edits and save the finished set
Click Apply UV Edits and confirm with Yes to send the layout back to ZBrush. Use Morph UV at the first subdivision level to inspect the result.
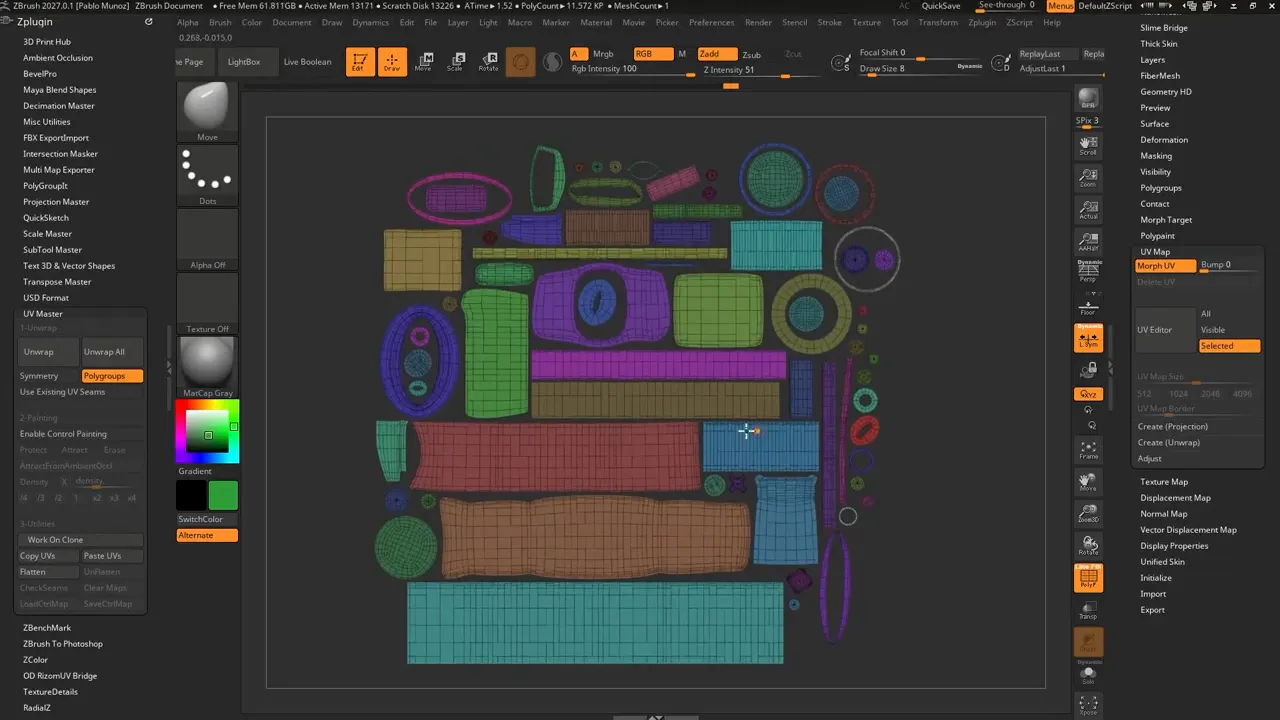
Return to the 3D shape, open Selection Sets and save a new UV entry called UV editor. Then save your project.
Quick checks before finishing:
- Model seems missing in the editor: press H in the left viewport.
- Closed islands still look awkward: check whether they need another seam, then unwrap and relax again.
- Rectangularize does not help: leave that island in its existing shape.
- Manual alignment disappears after packing: check that Orientation is set to 90 degrees rather than Free.
- Need the earlier layout: recall the UV Selection Set you saved before editing.
Why this works: Selection Sets make experimentation easier to manage, while the UV Editor lets you improve an automatic unwrap without abandoning a familiar polygroup-based approach.
Start with useful groups, preserve your alternatives and refine only what needs attention. A few deliberate cuts, cleaner island shapes and controlled packing can make a substantial difference… without turning a quick UV task into a complicated setup.
RadialZ - Radial Menus for ZBrush
RadialZ puts your whole ZBrush library one gesture away. Press a hotkey and your brushes, alphas, textures and materials appear at your cursor. Click, hover or flick to pick, and stay in the flow.
Get resource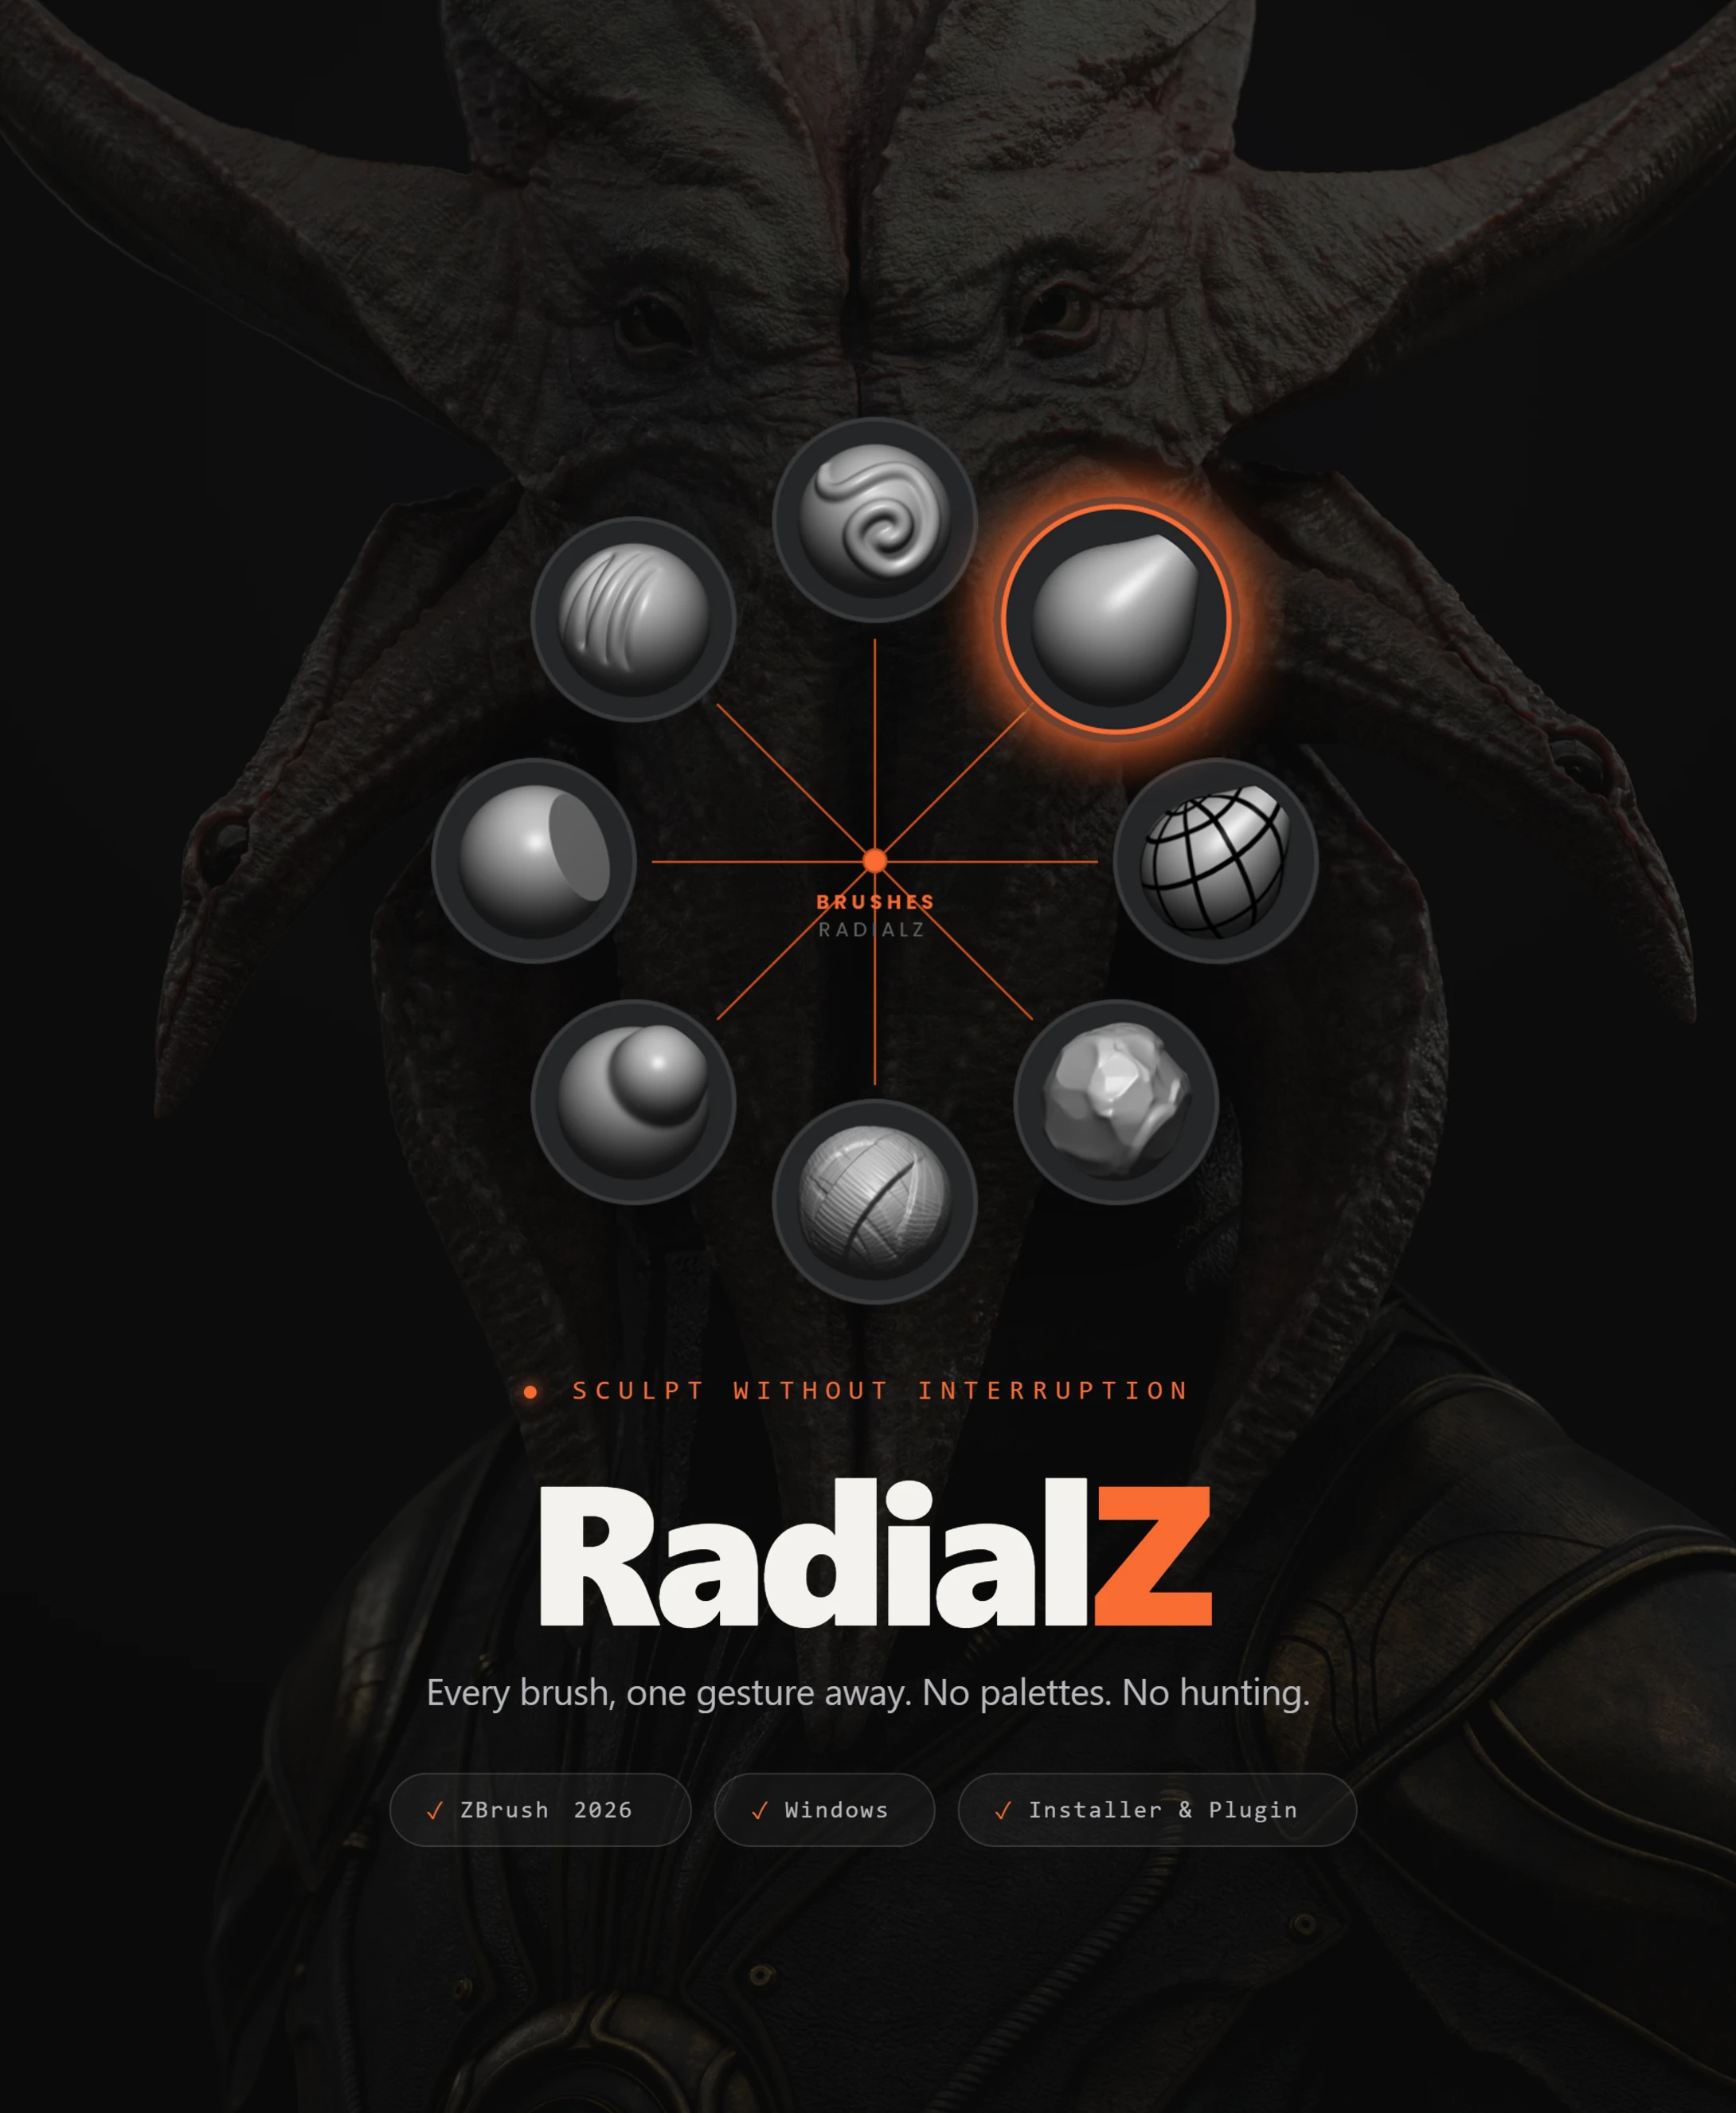
SP101: The Complete Beginner's Guide to Substance 3D Painter!
SP101 is divided into five core modules and a final bonus module, each designed to build your skills progressively while keeping things practical, fun, and project-based. You'll texture everything from stylised props to realistic objects, building your skills project by project. By the end you'll have a portfolio's worth of finished work and a solid, repeatable workflow you can use on anything you make want to make next!
Check it out