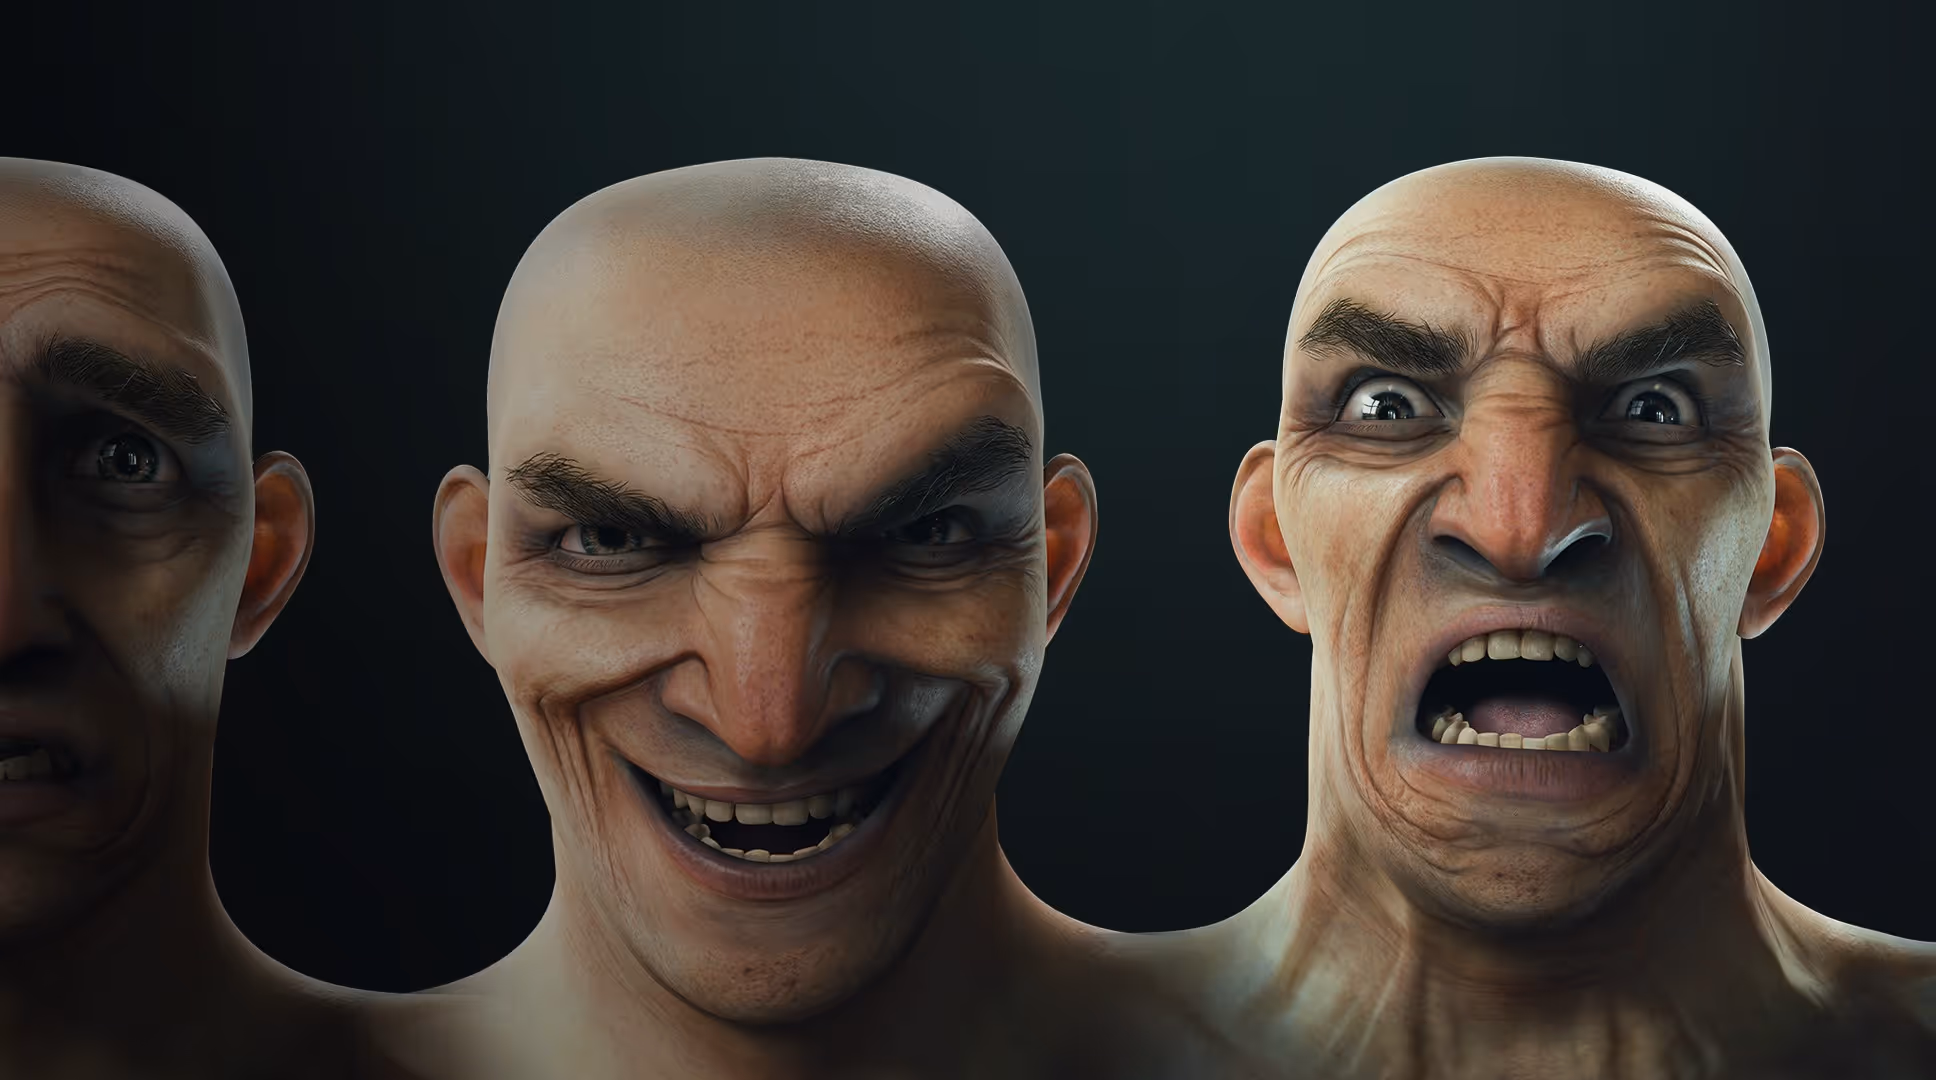
Important aspects to create an appealing expression:
- Make sure you always use references, memory is very unreliable and your mind can play tricks on you. If you can find reference of the same expression from different angles, even better.
- Having a rough understanding of the main muscles groups involved in creating expression is obviously a big part of the process but I’d argue one of the most crucial things to get right is the distribution of the fat tissue and how that get’s ‘pulled’ and moved around.
- In terms of workflow tips, try to always setup the expression in the lowest subdivision possible and only subdivide once the blocking is done and you can start with details.
Alright so with those three things out of the way, here is the first step:
STEP 1: Blocking
Start by creating a new sculpting layer and focus on describing only the change on the larger forms. Things that will change the silhouette of the face, so in my example… I just concentrated on dropping the jaw a bit to create the open mouth which in turn ‘spreads’ the fat deposits around the cheeks a bit so it creates a subtle indentation making the face look thinner.
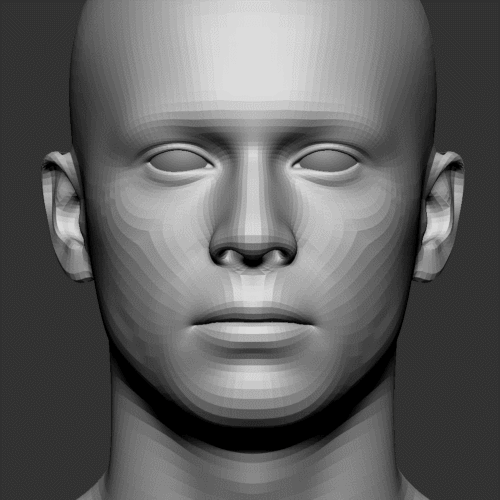
The key is to focus on just the major changes you actually need to create the expression. I’m not starting by pulling the mouth corners up to create the ‘smile’… only the opening of the mouth and dropping the jaw.
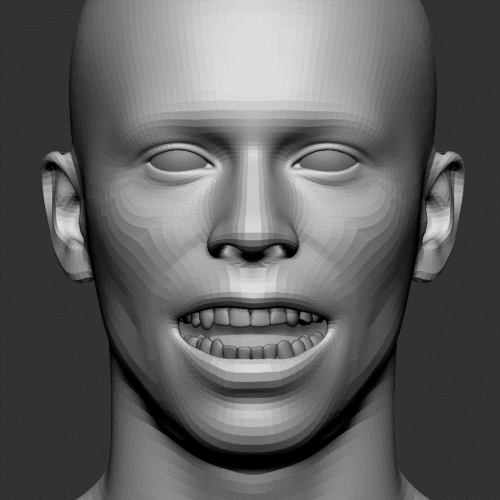
STEP 2: Define expression
This step is the one that creates the most prominent change. The idea is to thing about the muscles that are pulling the skin and fat around the face for a particular expression and nudge them in the right direction. Also, focus on building volume if necessary to compensate for the ‘movement’ of the skin.
I know this might sound ‘vague’ as a step, but the idea is simply to use the move brush or the ‘nudge brush’ to pull and push the geometry to recreate the expression and avoid using any other type of brush at this point. ignore the Dam standard or standard brushes, keep it simple and only work on the expression by moving points in the face.
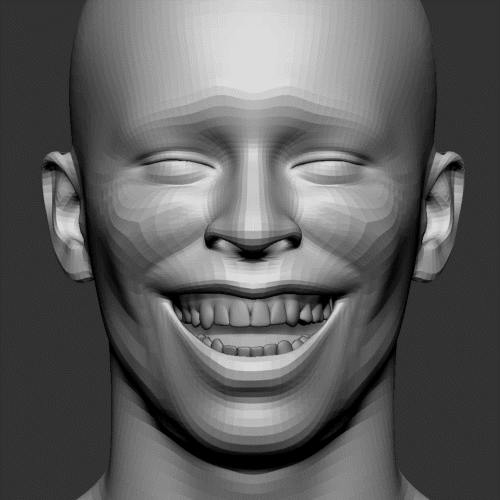
STEP 3: Refining expression
This third step is about refining the volumes you pushed and pulled around in the second step. This is where you can incorporate a few more brushes to ‘sharper’ certain areas of the face. In my case I used the Dam standard brush to accentuate the volume of the nasolabial folds and defining the are around the Zygomaticus major (that pulls the corner of the mouth up and back ‘towards the ears’).
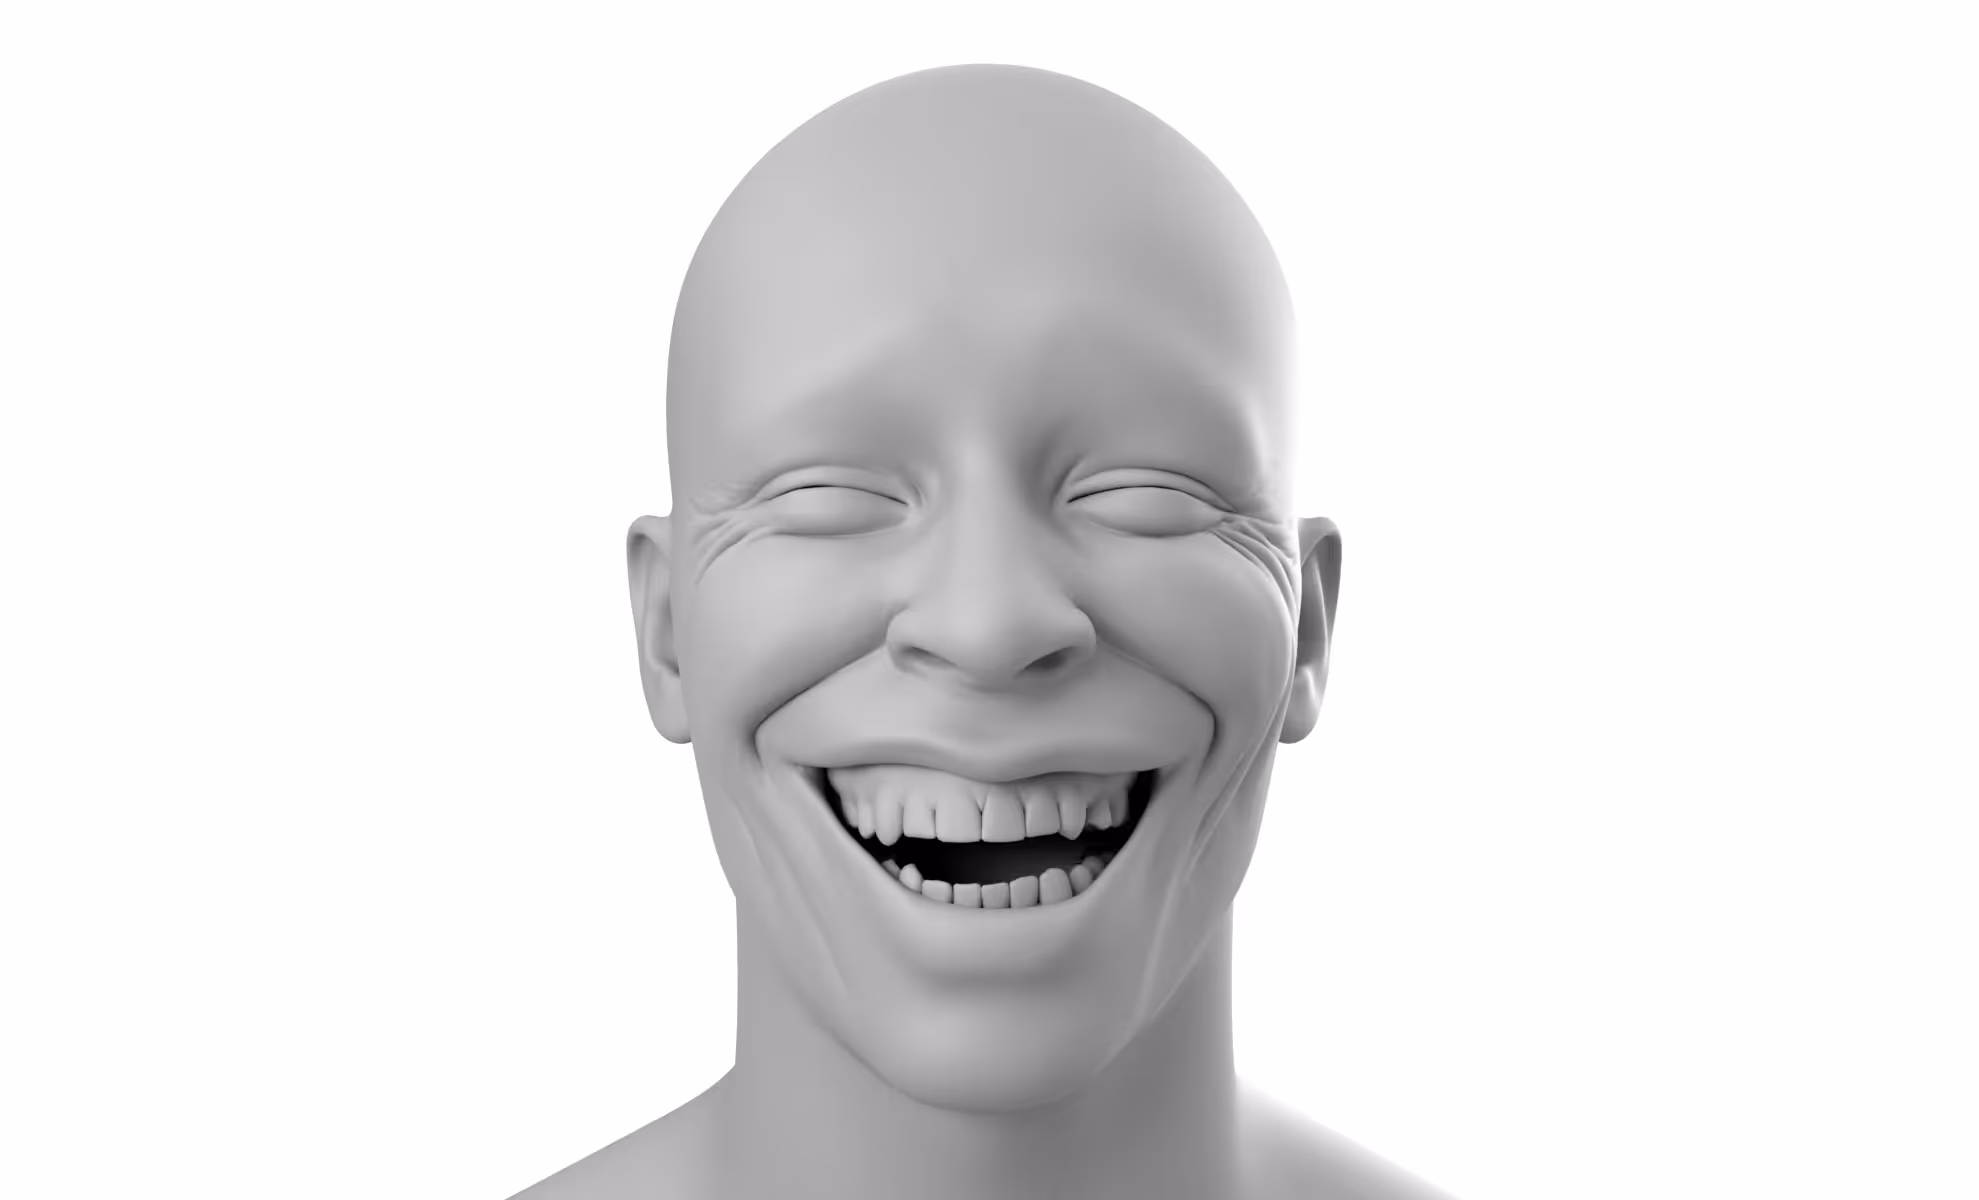
As you can see in the gif below, the expression doesn't really change, it just gets better definer with stronger lines and additional volume in some areas.
STEP 4: Asymmetry and polishing
The final step is where you can have fun and a very important one if you are aiming for a realistic face. The idea is to subdivide your mesh and break the symmetry.
At this point you should have pretty much everything you need for the expression, so this final pass is to do subtle variations on each side of the face to create asymmetry and of course sharpen and refine anything that needs more definition after subdividing the mesh (like the ‘crow’s feet’ area on my model):


.webp)

.webp)