.jpg)


.jpg)
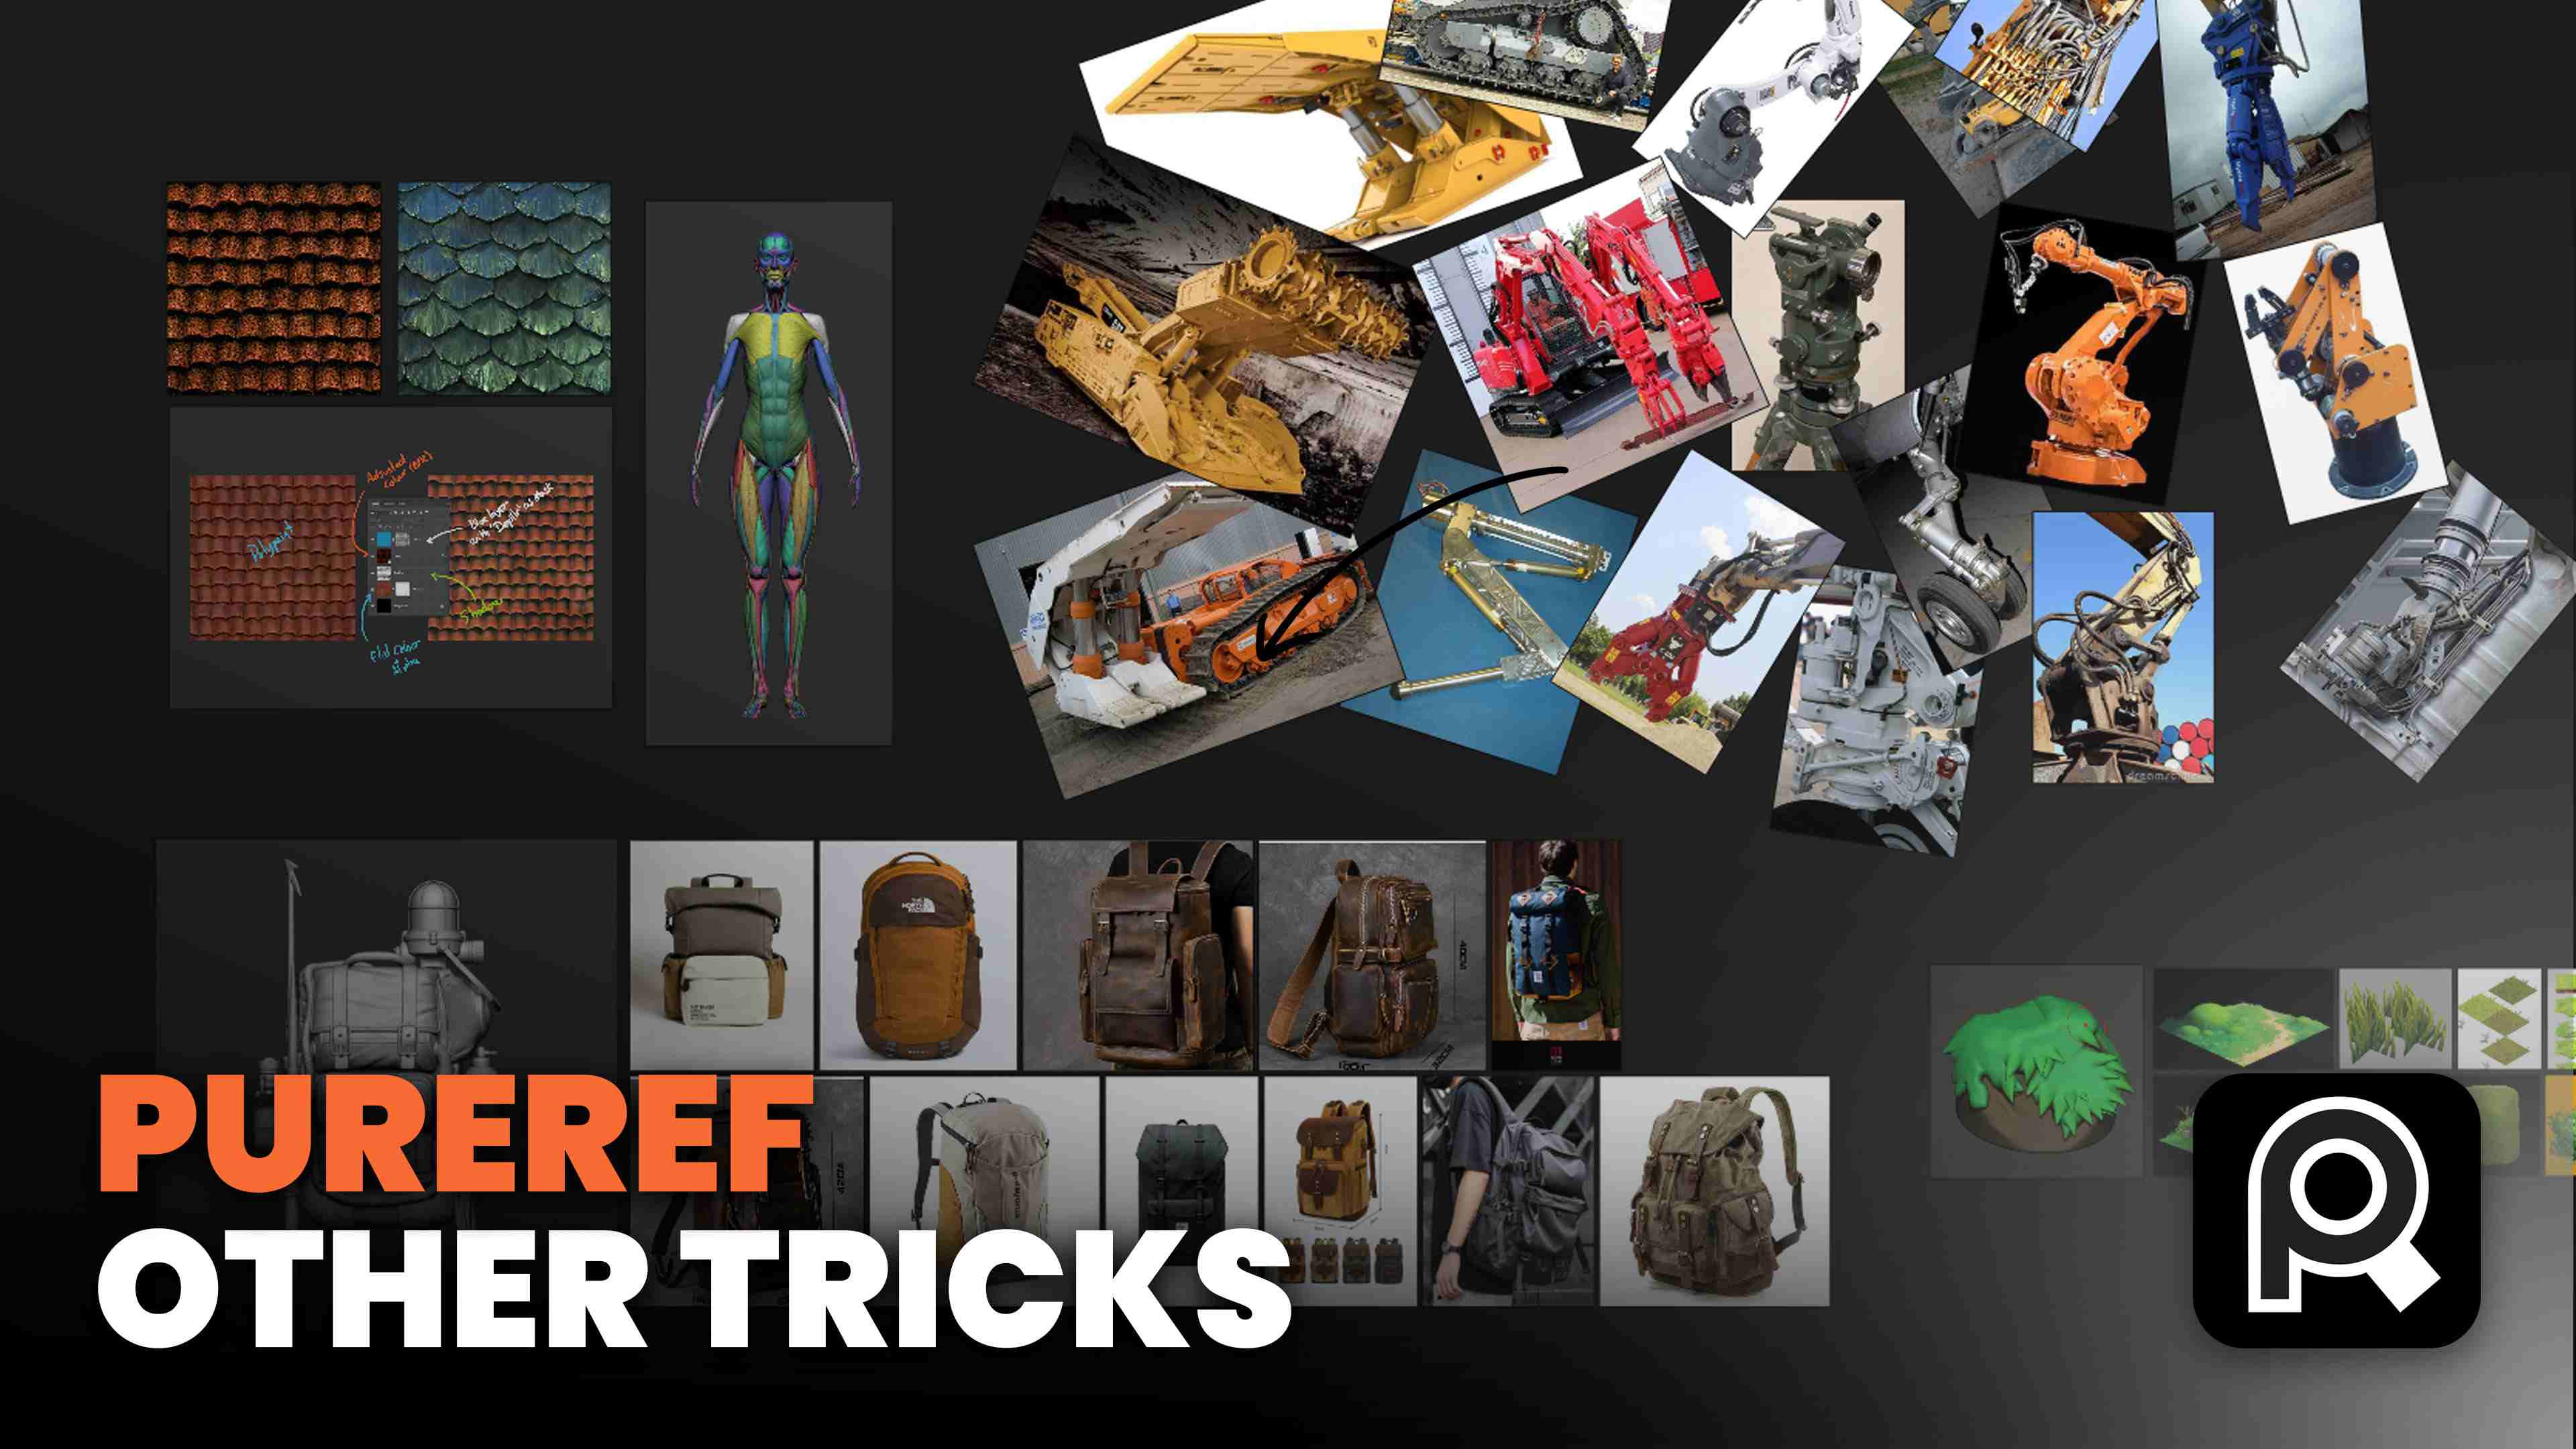
PureRef installation and the accessible “pin on top” feature
Download PureRef from puref.com; it's free, with an option to donate. Once installed, open your PureRef board and get familiar with the main window. One small but game-changing UI update in PureRef 2.0 is the ability to pin the board, keeping it always on top.
To use it: hover the top bar of the PureRef window, click the little pin icon, and enable "always on top." Now your board sits above other windows while you work in ZBrush or Photoshop, so your references are always visible without juggling windows.
.jpg)
Pack and align your images
Start by importing your reference images for the project. When things are scattered, you can unify sizes and pack them neatly. I frequently use these shortcuts:
- Control + Alt + Left Arrow — unify sizes across selected images
- Control + P — pack selected images tightly
- Control + Left/Up/Down/Right — align selected images
Packing and aligning keep the board readable and save time when you want to spot a detail quickly. If the board feels cluttered, pack everything, then create logical groupings, so you can focus on specific clusters like hydraulics, pistons, or fabric folds.
.jpg)
Create groups and nested groups
Grouping is the foundation of a clean, organized PureRef board. It keeps related references together so you can move or manage them as a single unit, perfect for large projects with multiple elements.
How to group and manage:
- Ctrl + G — group selected images
- Ctrl + Shift + G — ungroup
- Double-click a group to enter and adjust images inside
- Lock / Unlock groups to toggle between selecting the whole group or individual items
You can also color-code your groups using the color picker. I like assigning hues by category for example, yellow for mechanical parts, white for anatomy, or green for environment references.
You can nest groups within other groups. Just select multiple groups and press Ctrl + G again to wrap them into a parent group — ideal for big projects with multiple sub-sections or design layers.
.jpg)
Toggling the hierarchy to see and edit the references’ structure
One new addition that I find amazing is the hierarchy panel. Ctrl+J toggles it on and off. It lists every group and image in your document. Use it to drag items out of groups or to rename and collapse groups.
If you accidentally move an image out but it visually looks like it's outside the group, the hierarchy lets you confirm and drag it back outside the parent container. Naming groups is a simple habit that pays off, so when you're deep in sculpting, you instantly find what you need.
.jpg)
Add notes with rich text
Text notes in PureRef are now richer and they pair perfectly with groups.
My workflow:
- Create a note, type a short label (e.g., "helmet").
- Make it bold and pick a color that matches the group.
- Drag the note onto the group so it becomes visually attached.
This turns your PureRef doc into a true reference board, where each cluster has an immediate label describing the intention: what to model, what material behavior to reproduce, or what to check in the next pass.
.jpg)
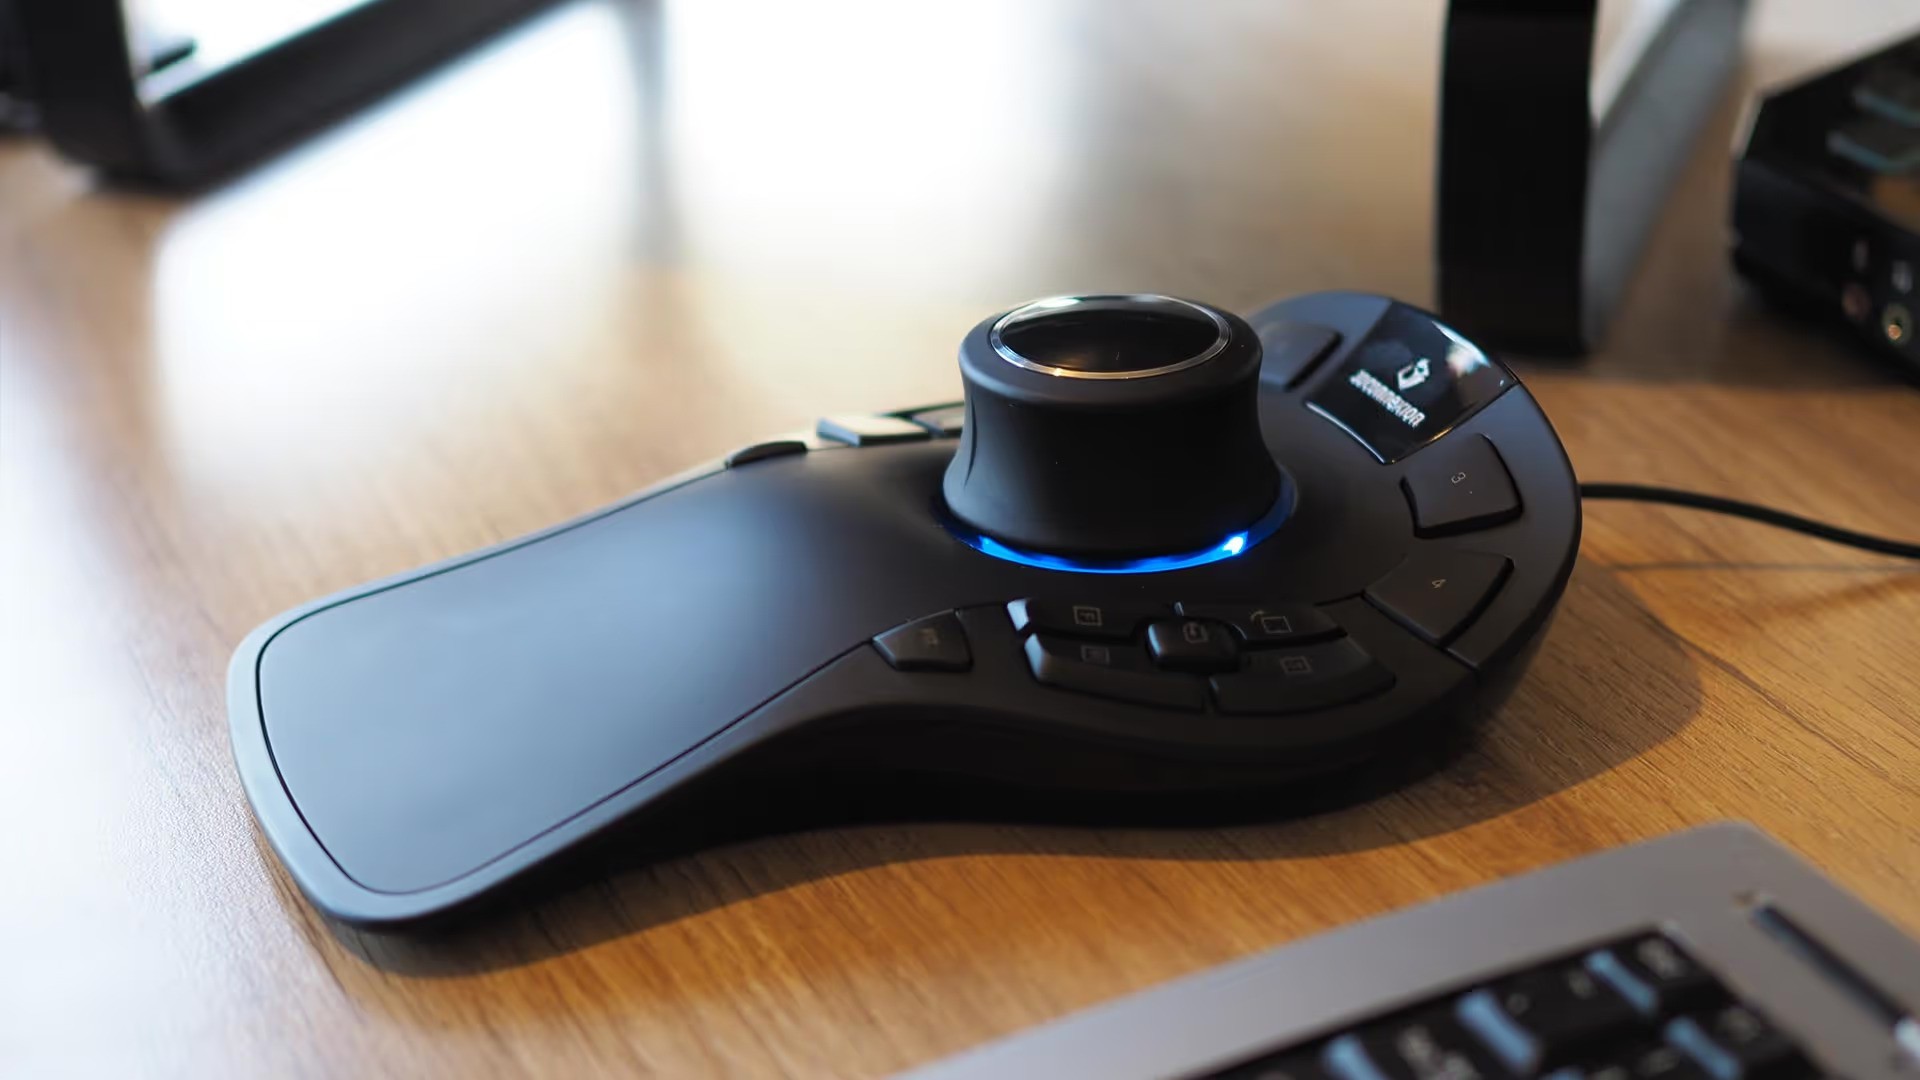
3Dconnexion SpaceMouse for navigation
If you use a 3Dconnexion SpaceMouse, PureRef now fully supports it. I already use the SpaceMouse in ZBrush, and having the same navigation inside PureRef feels incredibly natural. You can rotate, pan, and zoom your reference board seamlessly, without switching tools or input modes. It makes comparing turntables, anatomy references, or design angles to your sculpt faster, smoother, and far more intuitive.

Work with animated GIFs
PureRef 2.0 now supports animated GIFs, and that’s a subtle but powerful upgrade for documenting process or studying motion-based references like turntables.
Why GIFs matter:
- Turntables can loop as you sculpt, giving you a continuous view of form and volume.
- You can pause and scrub through frames to analyze silhouettes or surface transitions.
- The new frame viewer lets you see every frame as thumbnails and even extract single frames as static images for detailed study.
How I use GIFs:
- Drag a turntable GIF into PureRef, hover to reveal the playback controls, and hit Play.
- Open the frame viewer (click the frames icon) to navigate through the sequence.
- Drag any frame out to create a static image — perfect for saving key angles or poses.
Extracting specific frames has become part of my workflow, especially when I need clean, fixed viewpoints — like a three-quarter angle to study the trapezius or abdominal muscles. It turns what used to be a single looping reference into a full set of dynamic study shots.
.jpg)
Capture tutorials and process steps as GIFs
Turn key parts of tutorials into GIFs for quick, visual notes. For example, if you’re following a ZBrush workflow to create tileable roof tiles, record short clips or convert each major step into a GIF. Then, import that GIF into PureRef, suddenly you’ve got a compact visual cheat sheet that shows the full process at a glance.
This method turns long tutorials into bite-sized visual references you can scan instantly while you work. It’s a huge time-saver, no need to scrub through entire videos just to remember one step or setting.
.jpg)
Crop, annotate, and attach drawn notes
Cropping has always been part of PureRef, but the new annotation and drawing tool takes it up a notch. Press C to crop a region of an image, perfect for isolating key details, then use Ctrl + D to activate the drawing tool for quick visual notes.
You can:
- Adjust line thickness and color
- Draw arrows, circles, or quick callouts
- Use the eraser to clean up strokes
You can select the image before pressing Ctrl + D, your drawings will stay attached to that image. This way, when you move the image around, the annotations follow it, keeping everything neat, organized, and contextually linked.
.png)
Extract frames and make small reference assets
When I have a GIF turntable of an asset, I scrub through to a frame I like, open the frame view, and drag out specific angles I want to keep. Then I crop them tighter to highlight details and add a quick note using Ctrl + D, something like “Add pattern” or “Refine wear and tear.”
This simple workflow saves me tons of time between sessions. When I reopen the PureRef project, I immediately see the static frames, annotations, and to-dos that remind me exactly what I planned to tackle next, no need to guess where I left off.
.png)
Give feedback and annotate your work
I also use PureRef for quick feedback loops. Take a screenshot of a student's model, paste it into PureRef, crop, and annotate directly. You can sketch over areas to suggest tweaks such as: change thicknesses, correct the silhouette, or move some parts of the design to make more sense.
.png)
Extra cropping and copy tricks
If you ever need to reveal the cropped image, press Ctrl + Shift + Alt + C to reopen the crop frame and readjust it. PureRef’s cropping is non-destructive — it only hides parts of the image, so you can always reframe without losing any of the original content.
A few quick clipboard tricks to speed things up:
- Ctrl + C to copy an image, Ctrl + V to paste a duplicate.
- Duplicate an image and apply different crops to each, perfect for creating multiple close-ups from a single source image without cluttering your references.
.jpg)
Final Thoughts
PureRef 2.0 transforms a simple moodboard into a dynamic workspace. A place where your references, notes, and process live side by side. Grouping and the hierarchy view helps keep everything organized, while notes and on-image drawings make sure ideas don’t slip away between sessions. GIF support and frame extraction let you study motion or capture that perfect angle.
Start small: create one project board and experiment with notes, groups, and maybe a GIF turntable. After a few sessions, you’ll see how much faster you can pick up where you left off and how much smoother your visual thinking becomes. Once you’re comfortable, you can build a reusable template with your go-to groups (anatomy, materials, design refs) to speed up new projects.
Give these ideas a spin and make them your own. PureRef stays simple on the surface, but once you start layering groups, annotations, and animated references, it evolves into a seriously powerful creative companion.

My top 5 PurRef Tips for digital artists
In this post, I'll show you how to create custom presets with shortcuts, use PureRef as a guide for aligning and measuring things, avoid color distractions with the grayscale image and color picker, focus on specific areas of an image with the cropping tool and hide feature, and track your creative process with screenshots. Whether you're a beginner or a seasoned pro, these tips will help you to organize your references and make the most of your time and let's dive in!
Check it out


.webp)

