


This tutorial is ‘narrated timelapse’ where I walk you through the process of generating some simple patches for clothes in ZBrush and taking the meshes into Substance Painter using the ZBrush Compositor.
The process in a nutshell…
As mentioned in the video tutorial, these example with 4 patches is just a test I was doing to simplify the workflow. However, the process is exactly the same for a more thoroughly design piece:
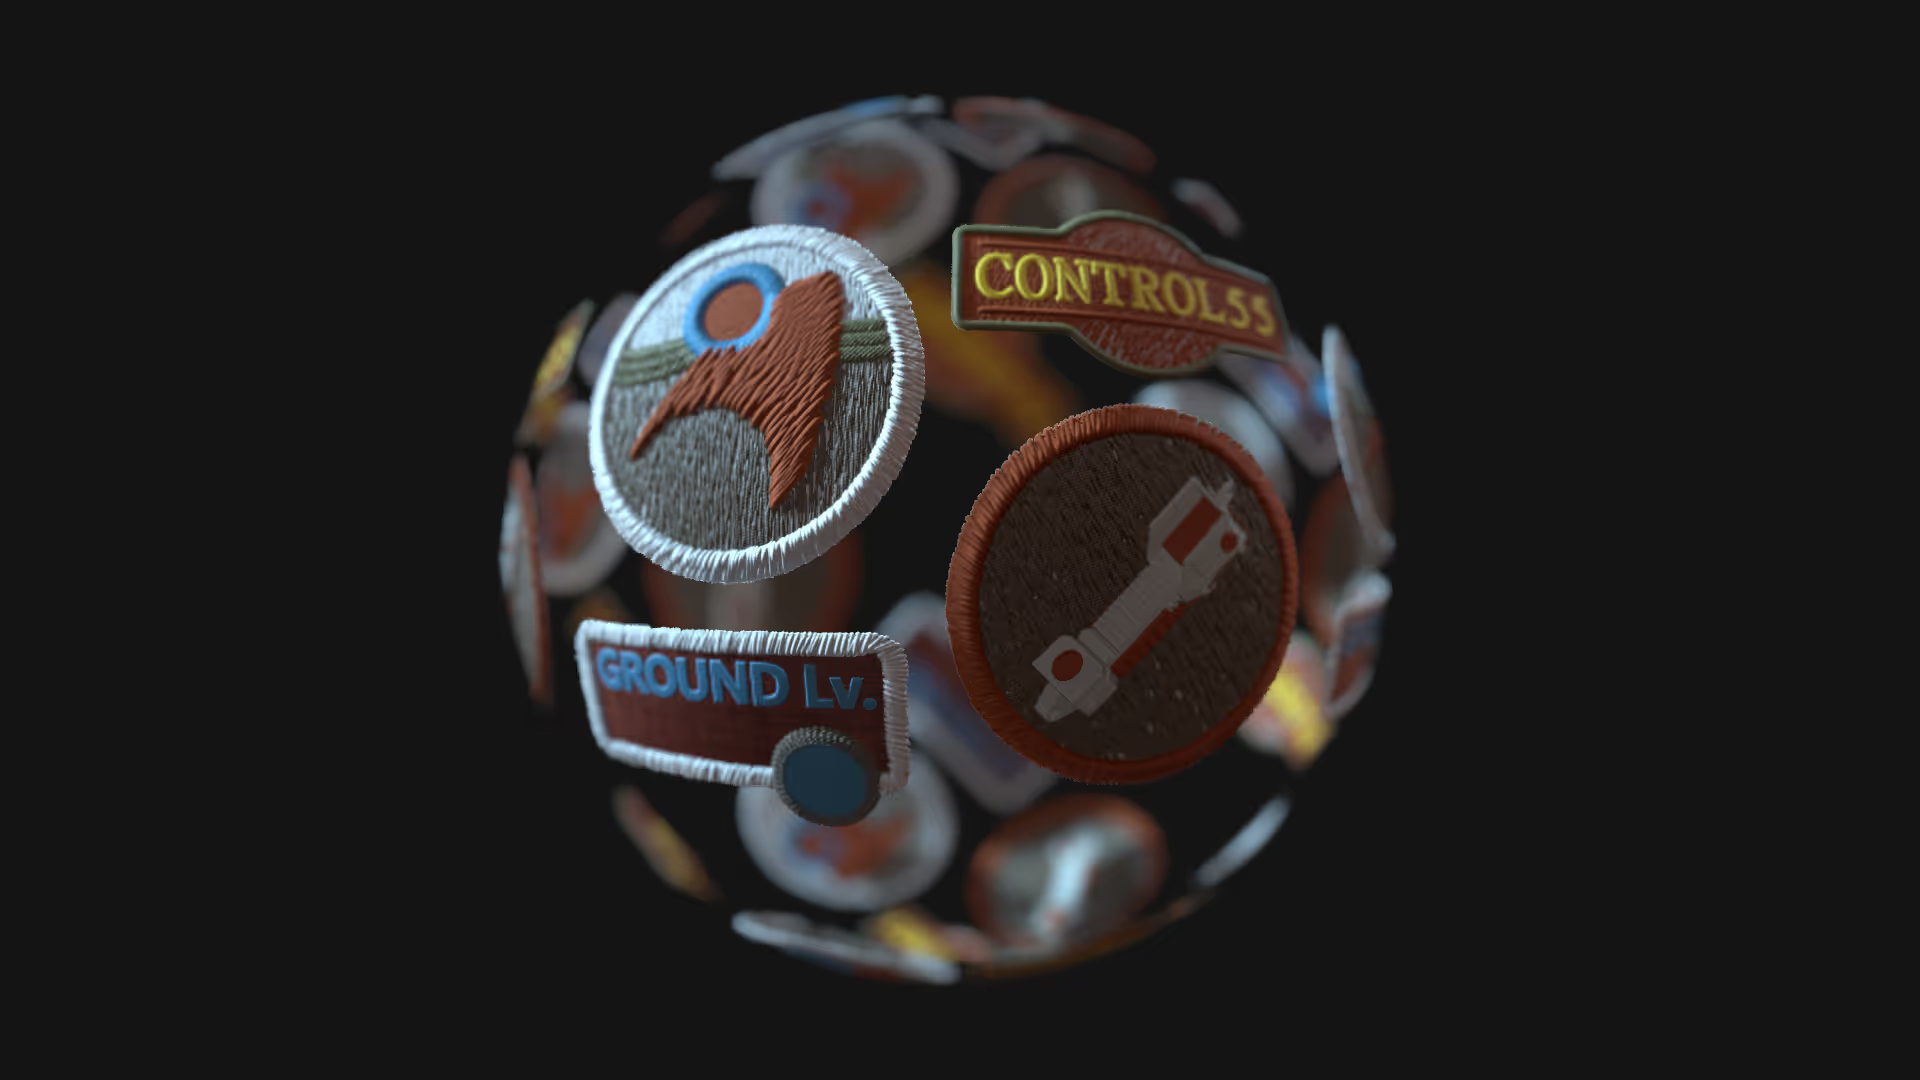
- Create the base mesh on a simple plane using masking and selection tools to produce a design.
- The key to creating the stitches and the woven pattern is to separate the design by different polygroups.
- Using the ZRmesher with ‘Keep groups’ enabled as well as the ‘smooth groups’ slider at 1 you can refine the mesh.
- With a cleaner piece of geometry, you can create a simple NanoMesh brush to generate the patterns. (with the new NanoMesh brush, if you click and then hold shift on a different playgroup, you can ADD a new instance of NanoMesh).
- Once you’re happy with the NanoMesh, convert it to real geometry (one to mesh) and assign a polygroup.
- That’s it. use the ZBrush Compositor plugin to set the mesh up in Substance Painter and continue from there.

Using 3D Sampler and ZBrush: To create cool Embroidery Patches
In this tutorial I'll show you how to create some awesome embroidery patches using Adobe 3D Sampler and ZBrush. In this video, you'll learn how to create really cool patches. I’ll use a hoodie as a test object and show you a cool non-destructive workflow so you can change the patch design with a few clicks. I will guide you through the process step-by-step, so you won't miss a thing!
Check it out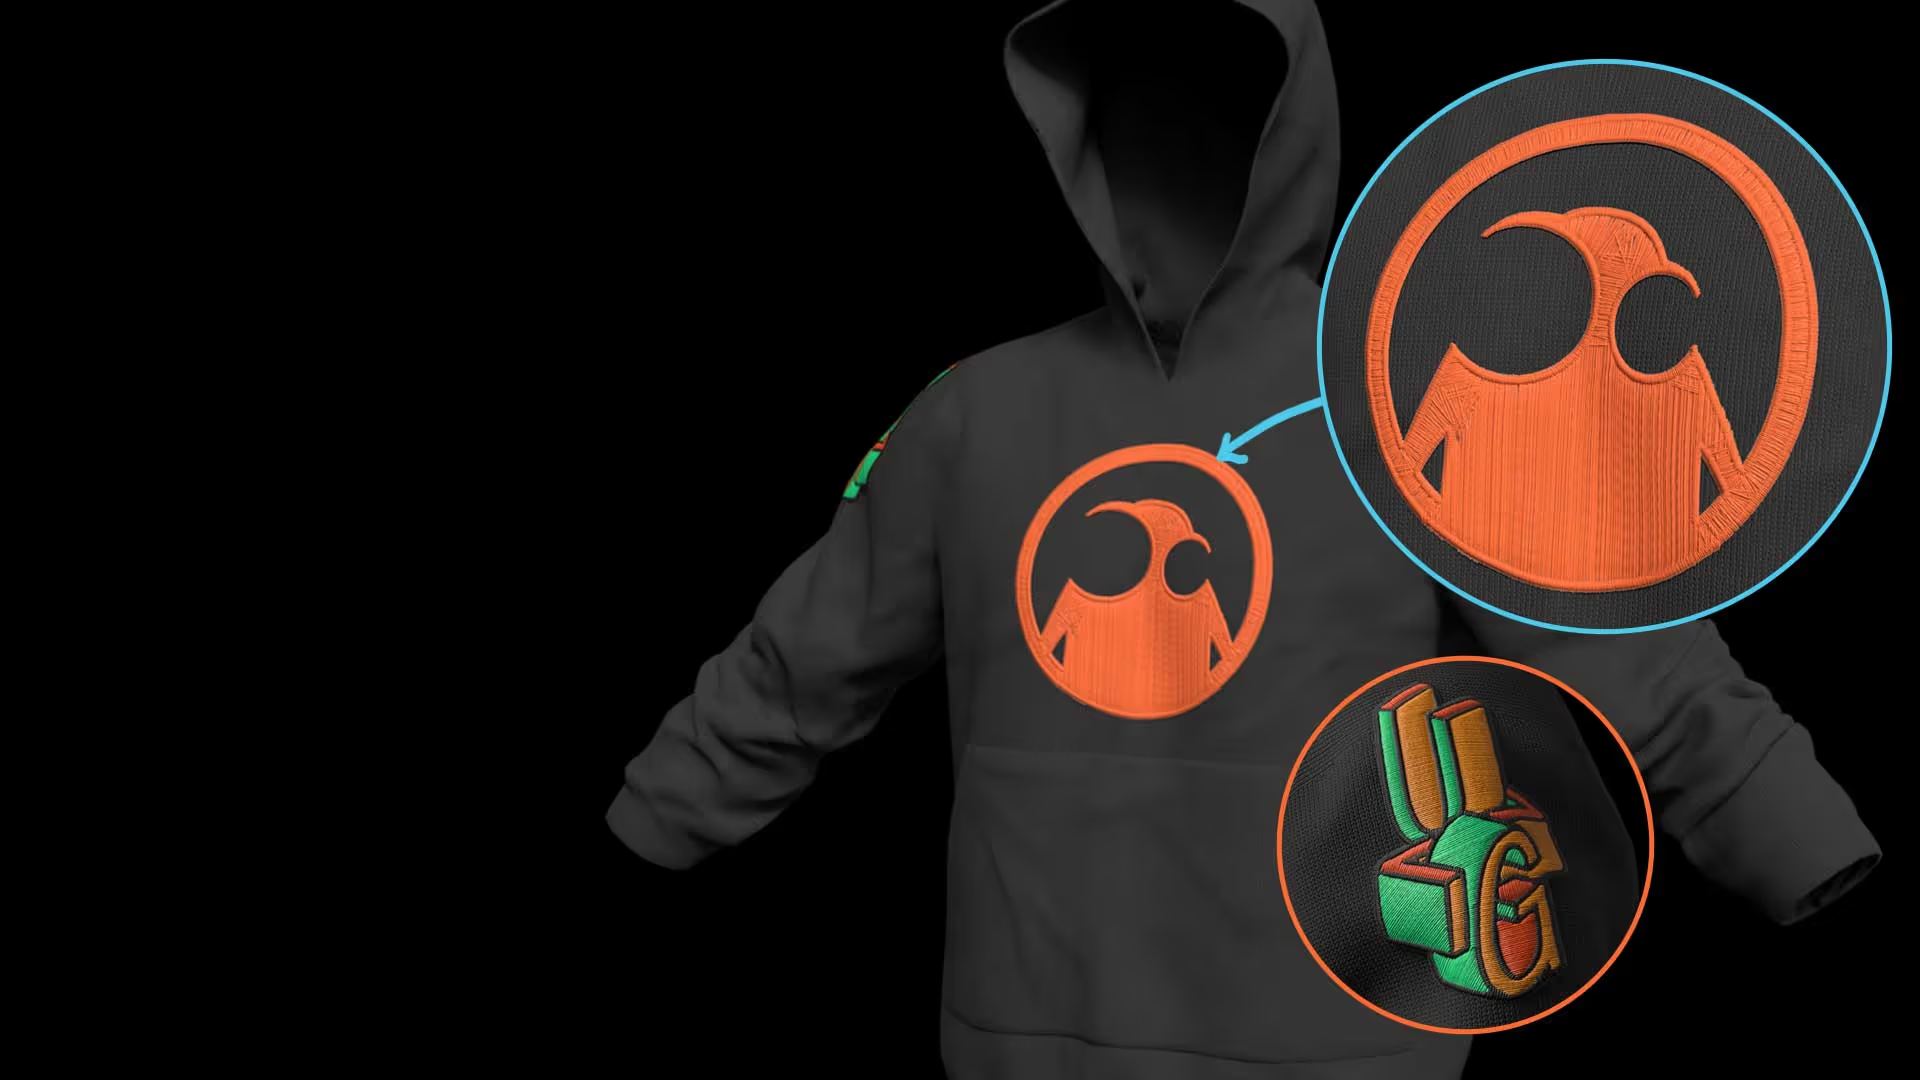


.webp)

