What this technique is, and why it matters
Most people use anchor points by stacking layers and then referencing those layers from somewhere else. That works, but it often ends with messy stacks and duplicated content. I will show you how to create one master mask (a single fill layer mask with a stack of effects and anchor points), and then reference specific “checkpoints” from that mask in multiple fill layers. This lets you:
- Create a fully non-destructive, parametric setup.
- Edit the smallest building block (the element) and instantly update the whole material.
- Control pattern scale, variation and organic deformation from dedicated anchor points.
Ultimately, it’s about building the material from the smallest element (micro) and growing to the larger scale (macro), which is the opposite of how you’d approach a sculpt in ZBrush. That shift in mindset is key for tileable materials.
.jpg)
Create your Master Mask (single fill layer)
I always start with a single fill layer that I call “master mask.” I turn off color (this layer stores no PBR data) and add a black mask. This layer becomes the single hub where I drop anchor points. Think of the mask as a grayscale control plane, if you can control the black & white values, you control the material details.
Tip: press F4 to see the UV/2D representation of your mask it's much easier to visualise the pattern that way in the initial stage.
Define the smallest element
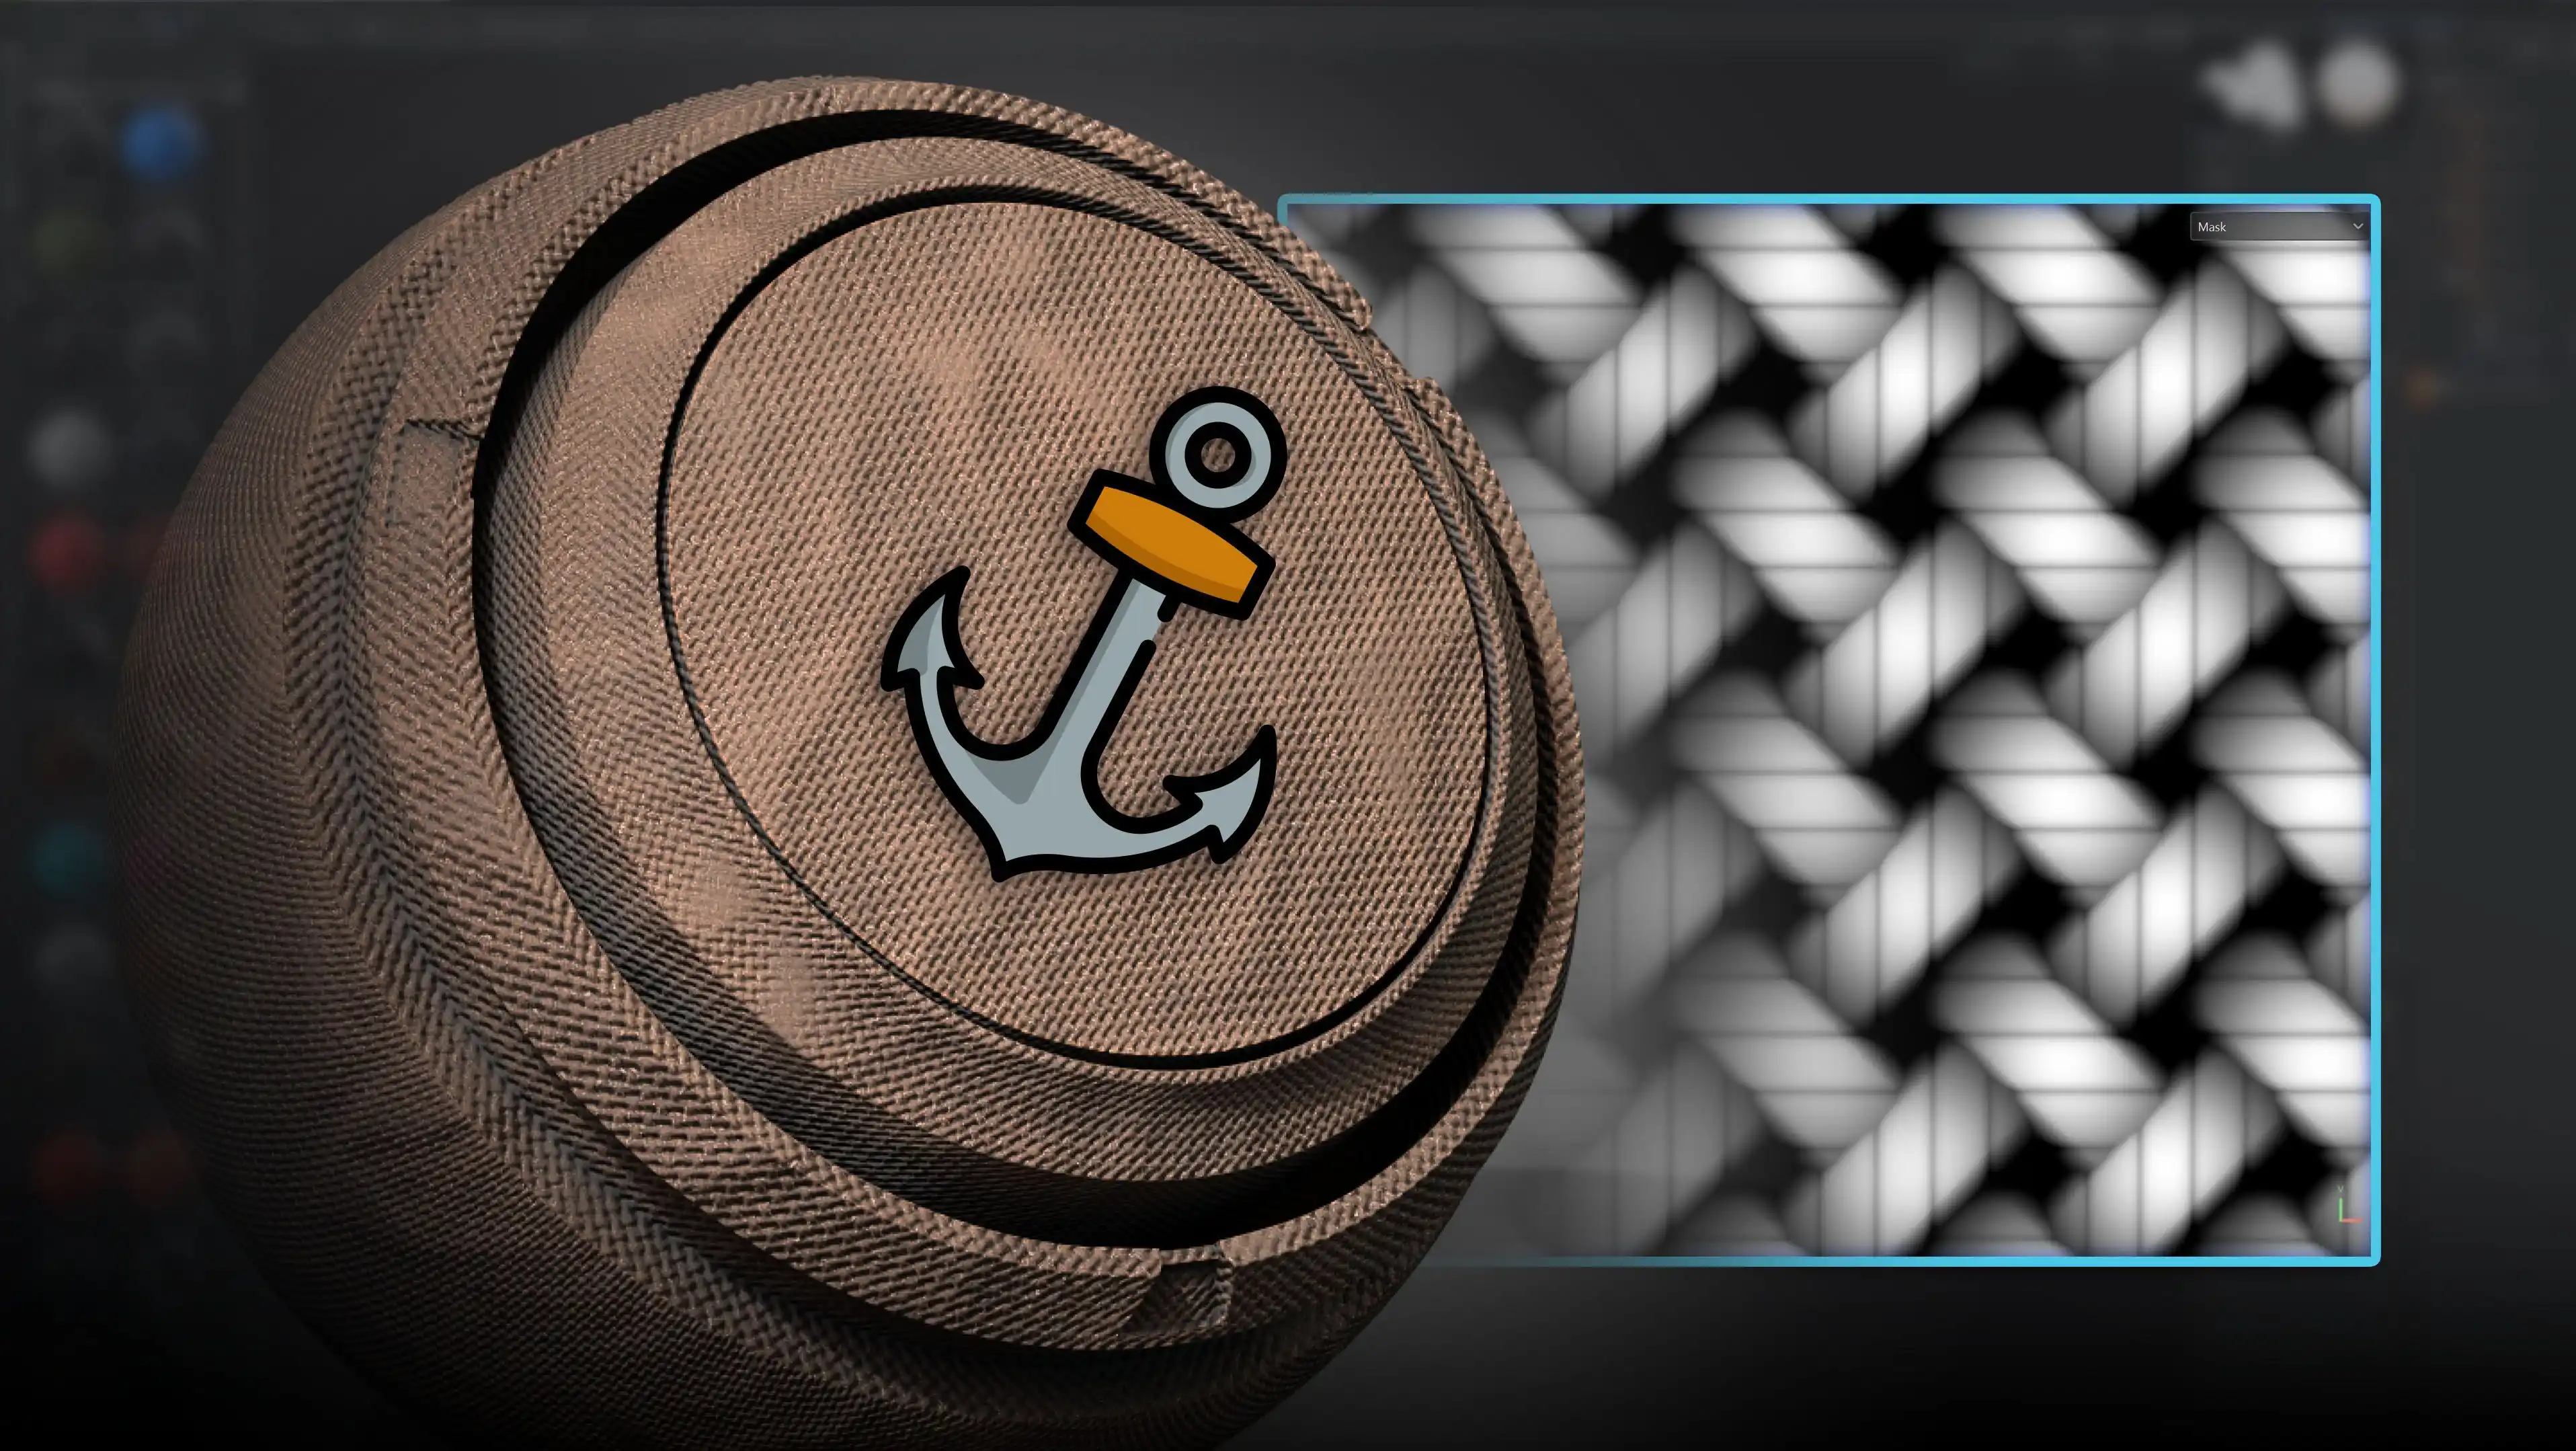
For fabric, the smallest unit is often a stitch or thread. I pick a stitch alpha or generator from the asset library, drop it into a fill layer under the master mask and immediately add an Anchor Point above it.
.png)
Then I add an anchor point right away and name it something meaningful, I like element or _element (I add arrows to help visually scan the anchor list). This anchor tells Painter: “remember everything below this point.” That memory is what we will recall later inside tile generators, fills and masks.
Tile it: use a Tile Generator and reference the anchor
Next I drag a Tile Generator into the mask, above the >element< anchor point . Here’s the clever bit: the Tile Generator has a Pattern input that accepts custom input. Instead of dropping the stitch alpha in, I set the Pattern > Custom Input to Anchor Point > element. Now the tile generator is tiling the anchored stitch.
.jpg)
Why this matters: if you later tweak the original stitch element (scale, opacity, etc.), the tiled pattern updates automatically. No re-dragging, no duplicated generators — everything is parametric.
Make the pattern readable and controllable
I adjust the Tile Generator parameters (scale, random, rotation) to get a pleasing tiling. I often duplicate the tile generator and rotate the copy to create intersecting weave directions (e.g., one at 45°, the other at 135°). Using blending modes (Lighten, Darken, etc.) between tile generators helps mix them into more natural-looking weaves.
To control the global scale of both tile generators from a single place, I add a Transform filter above them and adjust Scale X/Y. This becomes a checkpoint I anchor as >pattern scale< so I can reference the scaled pattern later.
.jpg)
Break the repetition: warp + custom noise
Purely regular tiling looks fake up close. To add organic variation, I use the Warp filter. The warp filter lets you change the Source Mode from default noise to Custom Noise, meaning you can drop any noise into it. I use a Directional Noise texture as input and tweak tiling, blur and intensity.
.jpg)
I duplicate the warp, rotate the duplicate to match the rotation of the matching tile generator, and change the blending modes and opacity for subtlety. These warps create the natural irregularities present in woven fabric and stop the pattern from looking mechanically repetitive.
Introduce wear, dirt, and variation
Next, I drop generators like Grunge/Dirt above the warp stack to add tiny holes, spots, and worn values. I scale and set opacity low these generators make small parts of the pattern slightly darker (or lighter) which helps the fabric read as used and real.
.jpg)
Every time I want a reusable checkpoint, I add another anchor point: >pattern variation<, >folds and wrinkles<, etc. Those anchors ponts become the building blocks I reference from fill layers when I create the actual PBR data (color, roughness, height).
Adding macro folds and wrinkles
Large folds are separate details. I bring in B&W cloth fold images that are in Substance Painter and treat them as another layer inside the mask stack. I use levels and blur to fine-tune their contrast and softness so folds blend well with the micro pattern. Anchor this section as >folds and wrinkles<.
.jpg)
How to turn that master mask into a real material
The mask stack is now my single source of truth. To build the PBR material, I create normal fill layers (fabric base, pattern, folds, dirt) and reference specific anchor points from the mask for each fill’s black mask.
.jpg)
For example:
- Fabric base: a fill layer with base color & roughness, this sits underneath and provides the general fabric look.
- Pattern: fill layer with a black mask that references >pattern variation< (height & roughness driven by that anchored layer stack).
- Folds: another fill that references >folds and wrinkles< for larger creases and shading.
- Fluffs / localized effects: fill layers that reference anchor points and by changing the belnding mode creating special mask regions (more on subtraction below).
.jpg)
Because each fill only pulls a portion of the master mask (from a specific anchor downwards), I can tweak contrast, levels, or blur on the fill mask to modify how the anchor data is interpreted without touching the original master mask. That’s the non-destructive goldmine of this approach.
Advanced trick: subtract (or combine) anchor regions
One pattern I use a lot: reference one anchor, then blend or subtract another anchor inside a new fill mask. For instance, I take the clean pattern anchor and subtract a warped pattern variation anchor to create “fluff pockets” or softened patches. The trick is to duplicate a fill, change its anchor reference, and use different blending modes (Subtract, Linear Burn, Darken, etc.) to carve out areas procedurally.
.jpg)
This allows you to do localized changes without painting masks by hand, pretty useful when you want procedural dirt, worn threads, or knocked-out pattern sections (like fraying or repair patches).
Final material unification & polish
To make everything feel cohesive I often add:
- A subtle global dirt generator to simulate dust build-up, low opacity for subtlety.
- Sharpness (careful!) to reveal micro detail where necessary, then reduce to taste.
- Tiny warp or HSL filters on the final PBR stack to add slight color shifts and prevent flat saturation.
.jpg)
Remember: subtlety wins. I push sliders to see the effect, then pull them back. Over-saturation and over-sharpening are common traps.
Why this workflow scales and when to use it
This anchor points, single mask approach is great when you want:
- Reusable, smart masks that you can save and apply to different meshes.
- Parametric control of both micro and macro details from a few checkpoints.
- Non-destructive iteration changes and the whole material updates.
Use this when building tileable materials (fabrics, tiles, brickwork), anything with repetitive micro-structure that benefits from systematic variation.
Quick Recap
Key tips to remember:
- Think black & white first: the mask defines the design; color and roughness come later.
- Give anchors clear names so you can easily track and reuse them.
- Duplicate layers and test blend modes; accidents often produce the best results.
- Save strong master masks as Smart Masks for quick reuse in other projects.
To turn a master mask into a reusable material in Substance 3D Painter, first focus on building a strong black-and-white mask. Create a fill layer with no color and a black mask, then add a micro element like a stitch or thread and anchor it. Tile the anchored element in a Tile Generator and control the global scale with a Transform filter, anchoring that too. Break up any repetition by applying Warp filters with directional custom noise and anchoring their results, then layer in grunge, dirt, or fold images and anchor each group. Once the mask has good variation, create fill layers and reference the anchors for height, roughness, and color masks. Combine them with blend modes such as Subtract, Linear Burn, or Darken for localized effects, and finish with subtle global generators, Sharpen, and HSL adjustments to polish the look.

SP101: The Complete Beginner's Guide to Substance 3D Painter!
A clear hands-on and project-based guide to mastering Substance 3D Painter from the ground up.
Check it out


.jpg)


.jpg)

