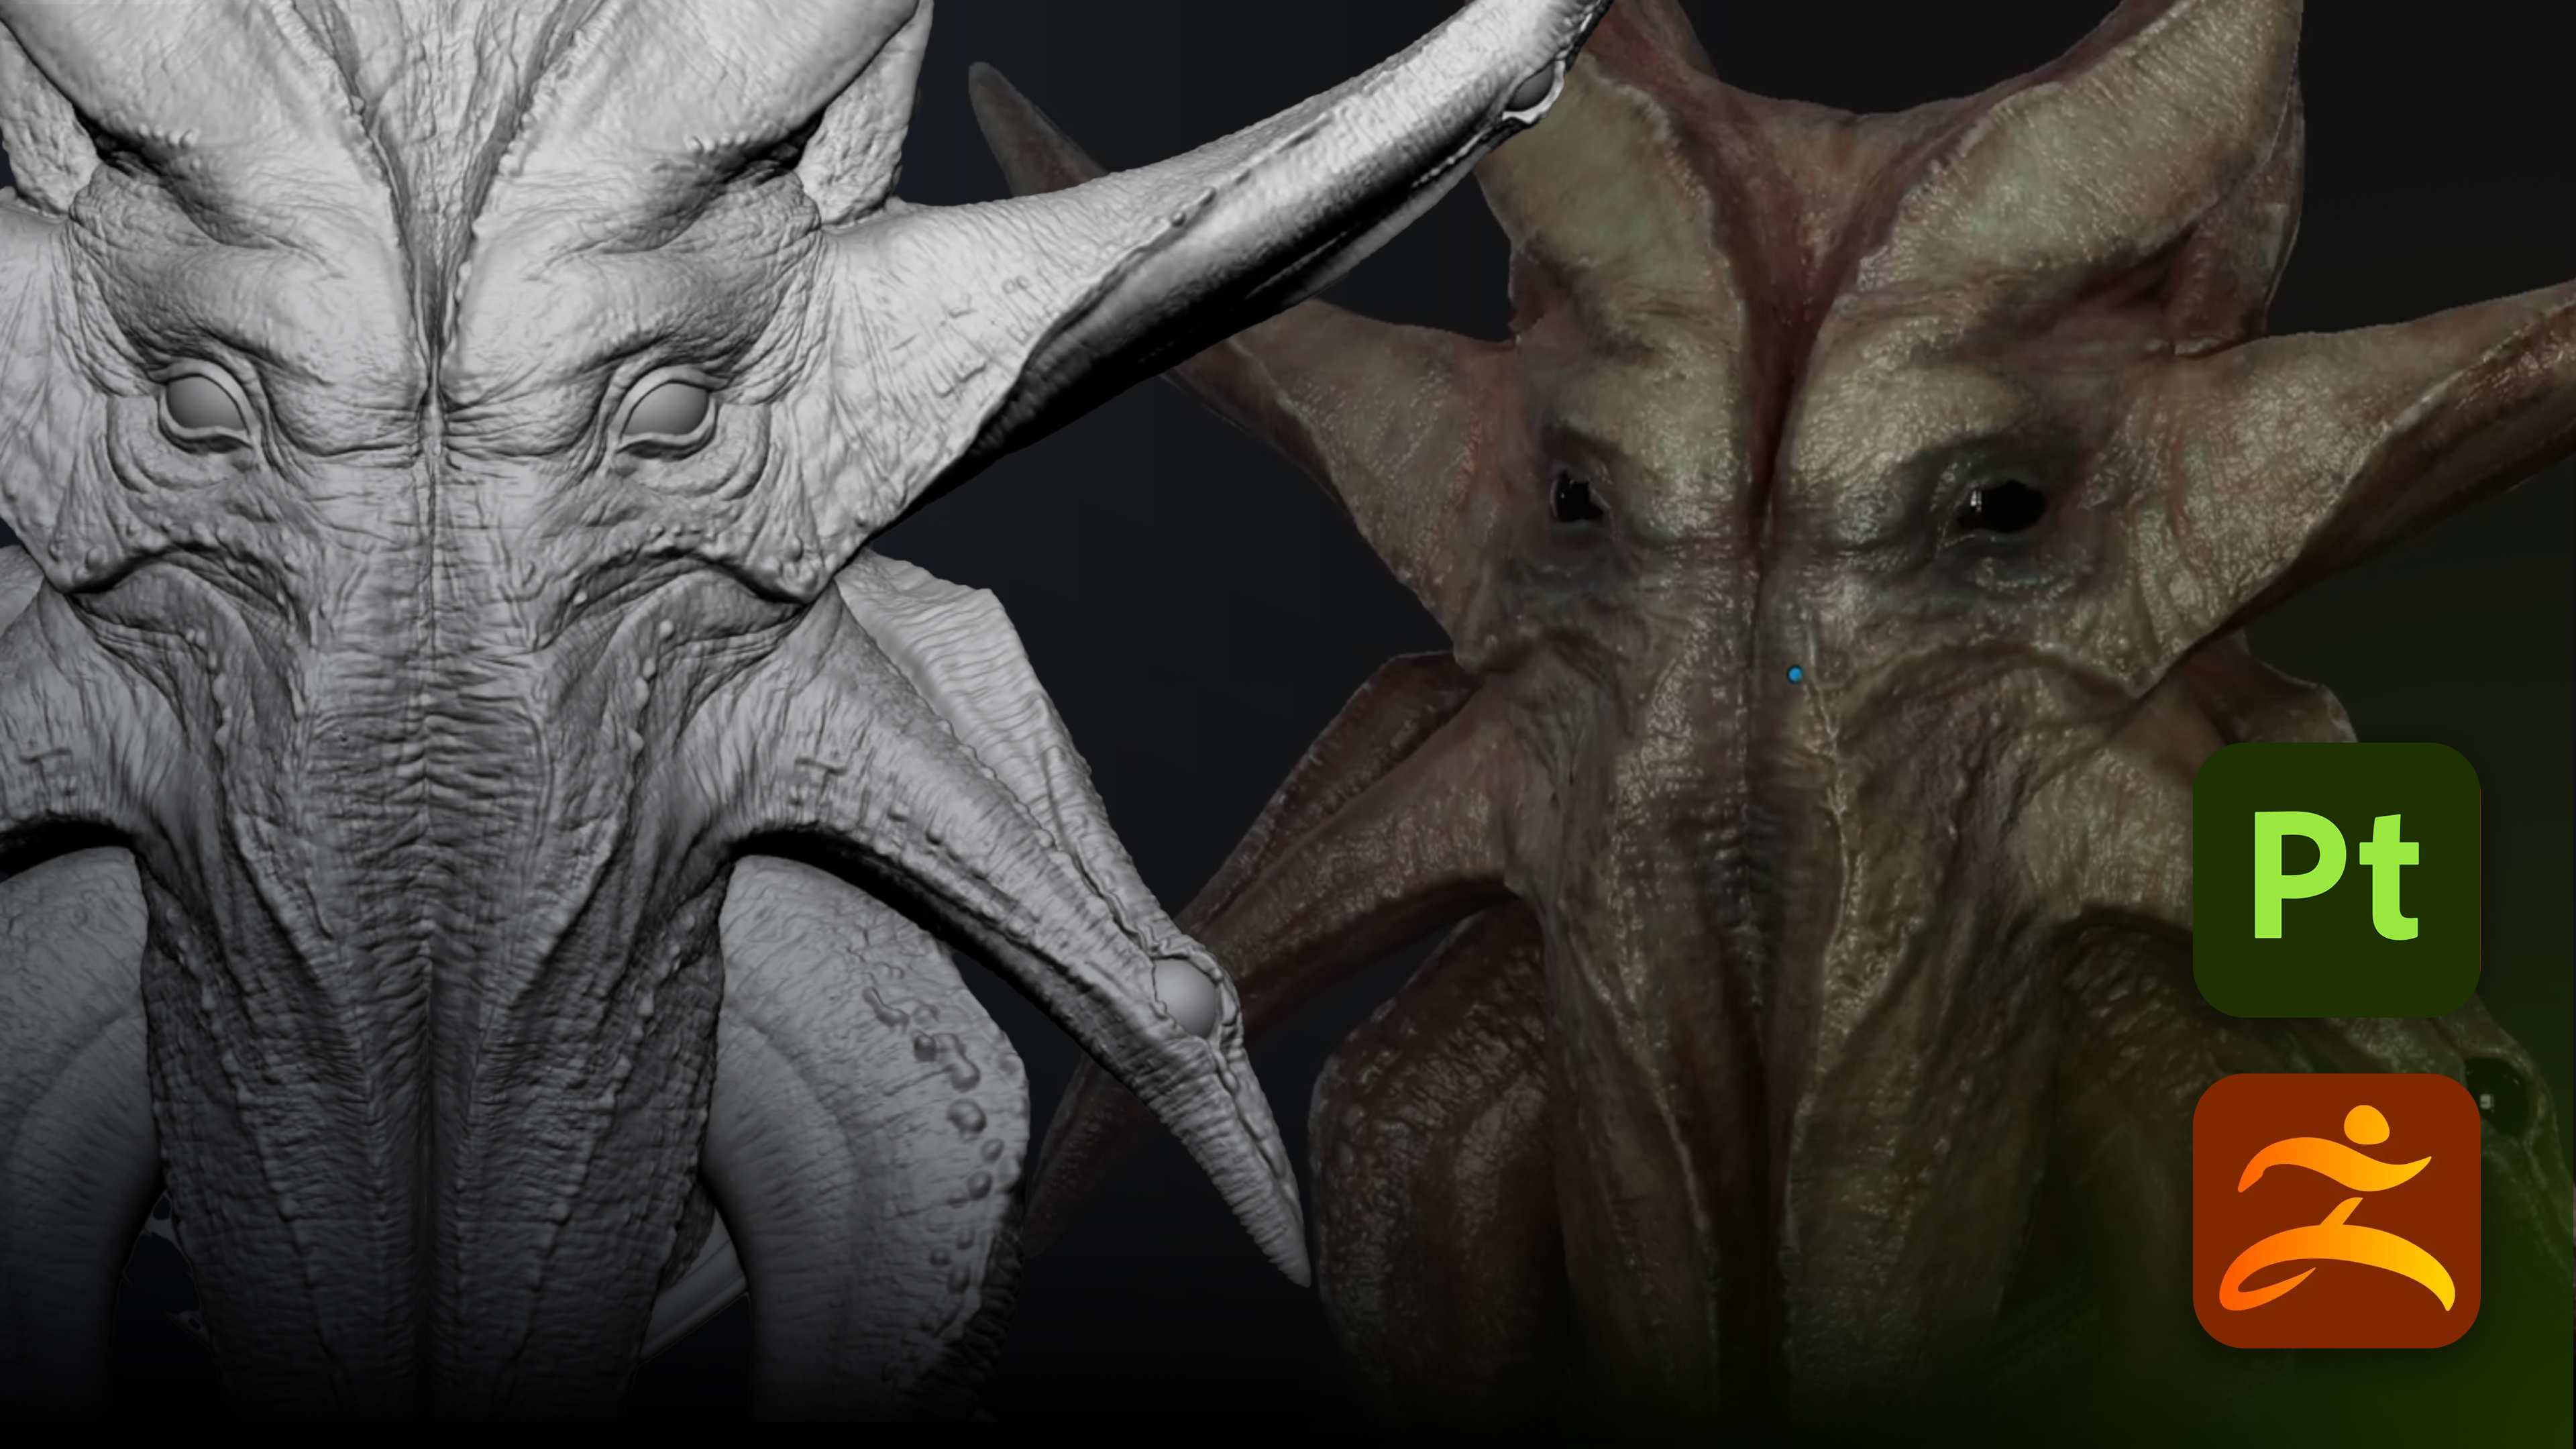




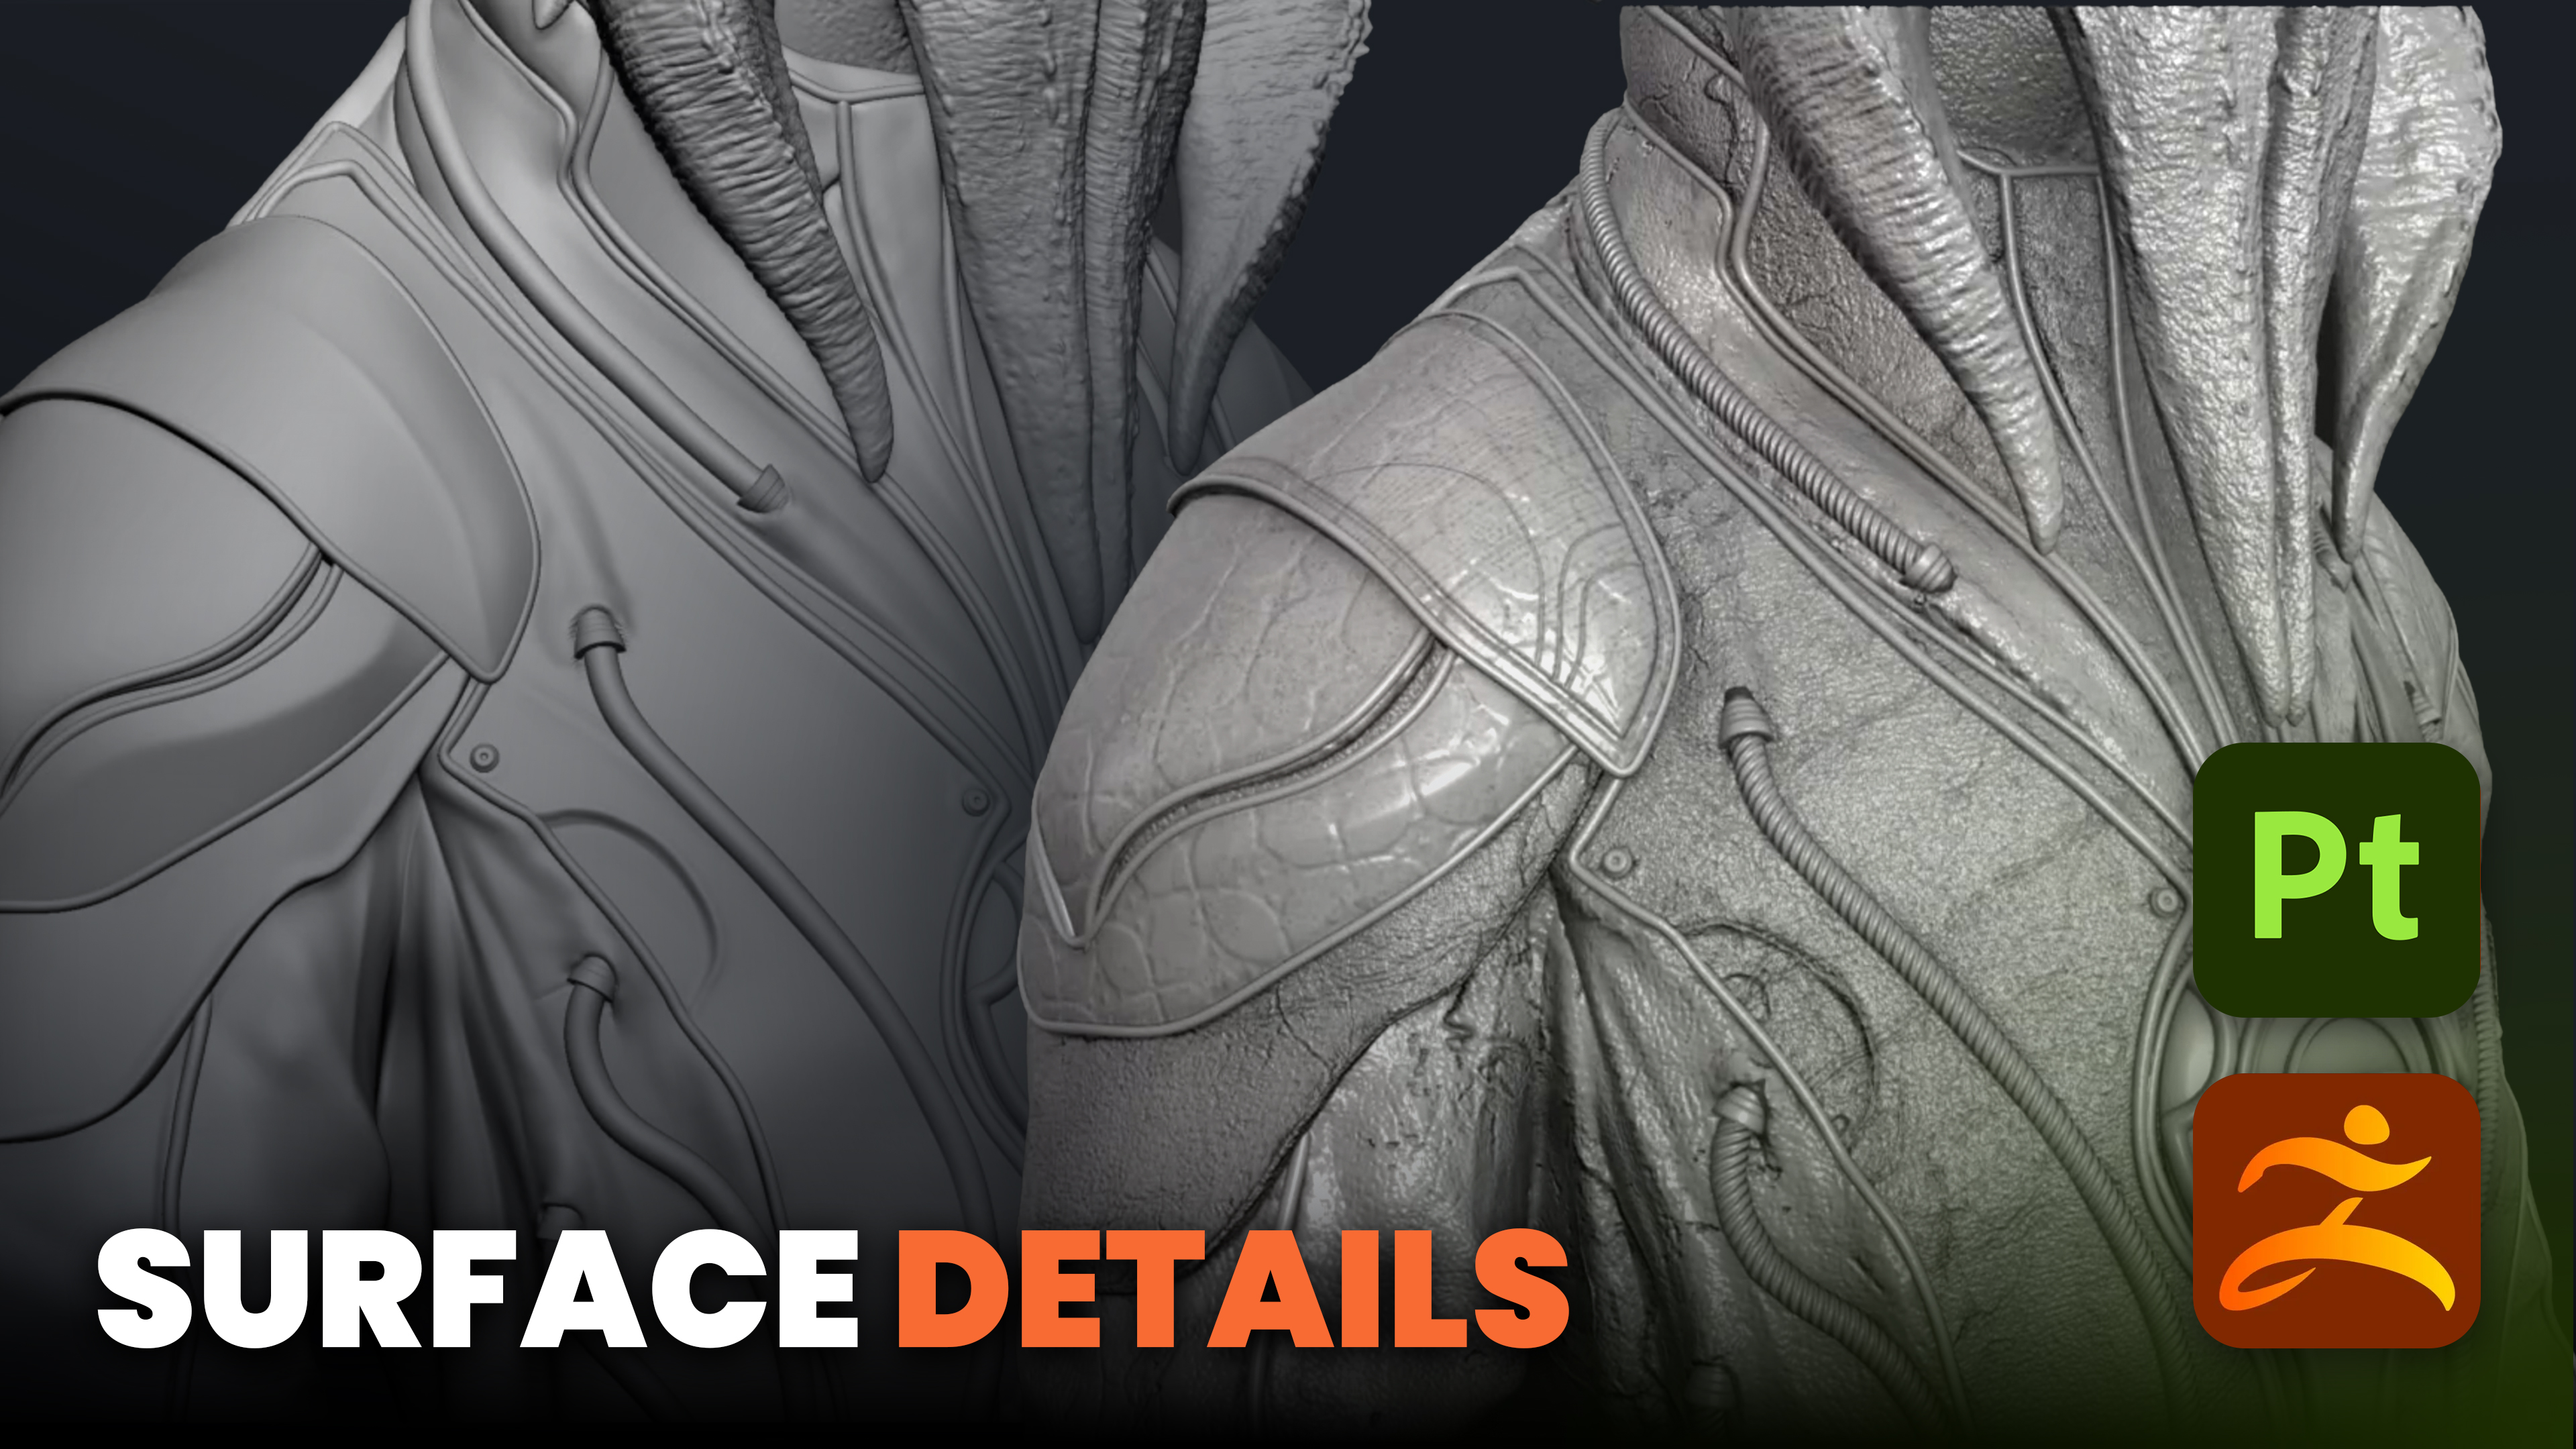



The shift is really about where high-frequency surface detail lives. Pores, subtle skin breakup, small-scale noise, repeating patterns, and material texture can often be handled far more efficiently in Substance 3D Painter. The result is not “fake” detail. It is simply a more flexible way to create and control it.
The Simple Rule: Form in ZBrush, Surface in Painter
A useful way to decide where a detail belongs is to ask one question: does this detail affect the form, silhouette, or structural design of the character?
If the answer is yes, it belongs in ZBrush. If it is primarily surface breakup that makes the asset feel richer at close range, it is a strong candidate for Substance 3D Painter.
- ZBrush: primary forms, secondary forms, structural detail, silhouette-defining elements, anatomy-driven wrinkles, clothing folds, and hand-placed hero details.
- Substance 3D Painter: pores, micro texture, fine noise, repeating scales or patterns, subtle height breakup, colour variation, and material-specific surface detail.
In other words, stop adding detail in ZBrush when the work stops being about form and starts being about surface.
Why High-Frequency Detail Does Not Need to Be Sculpted
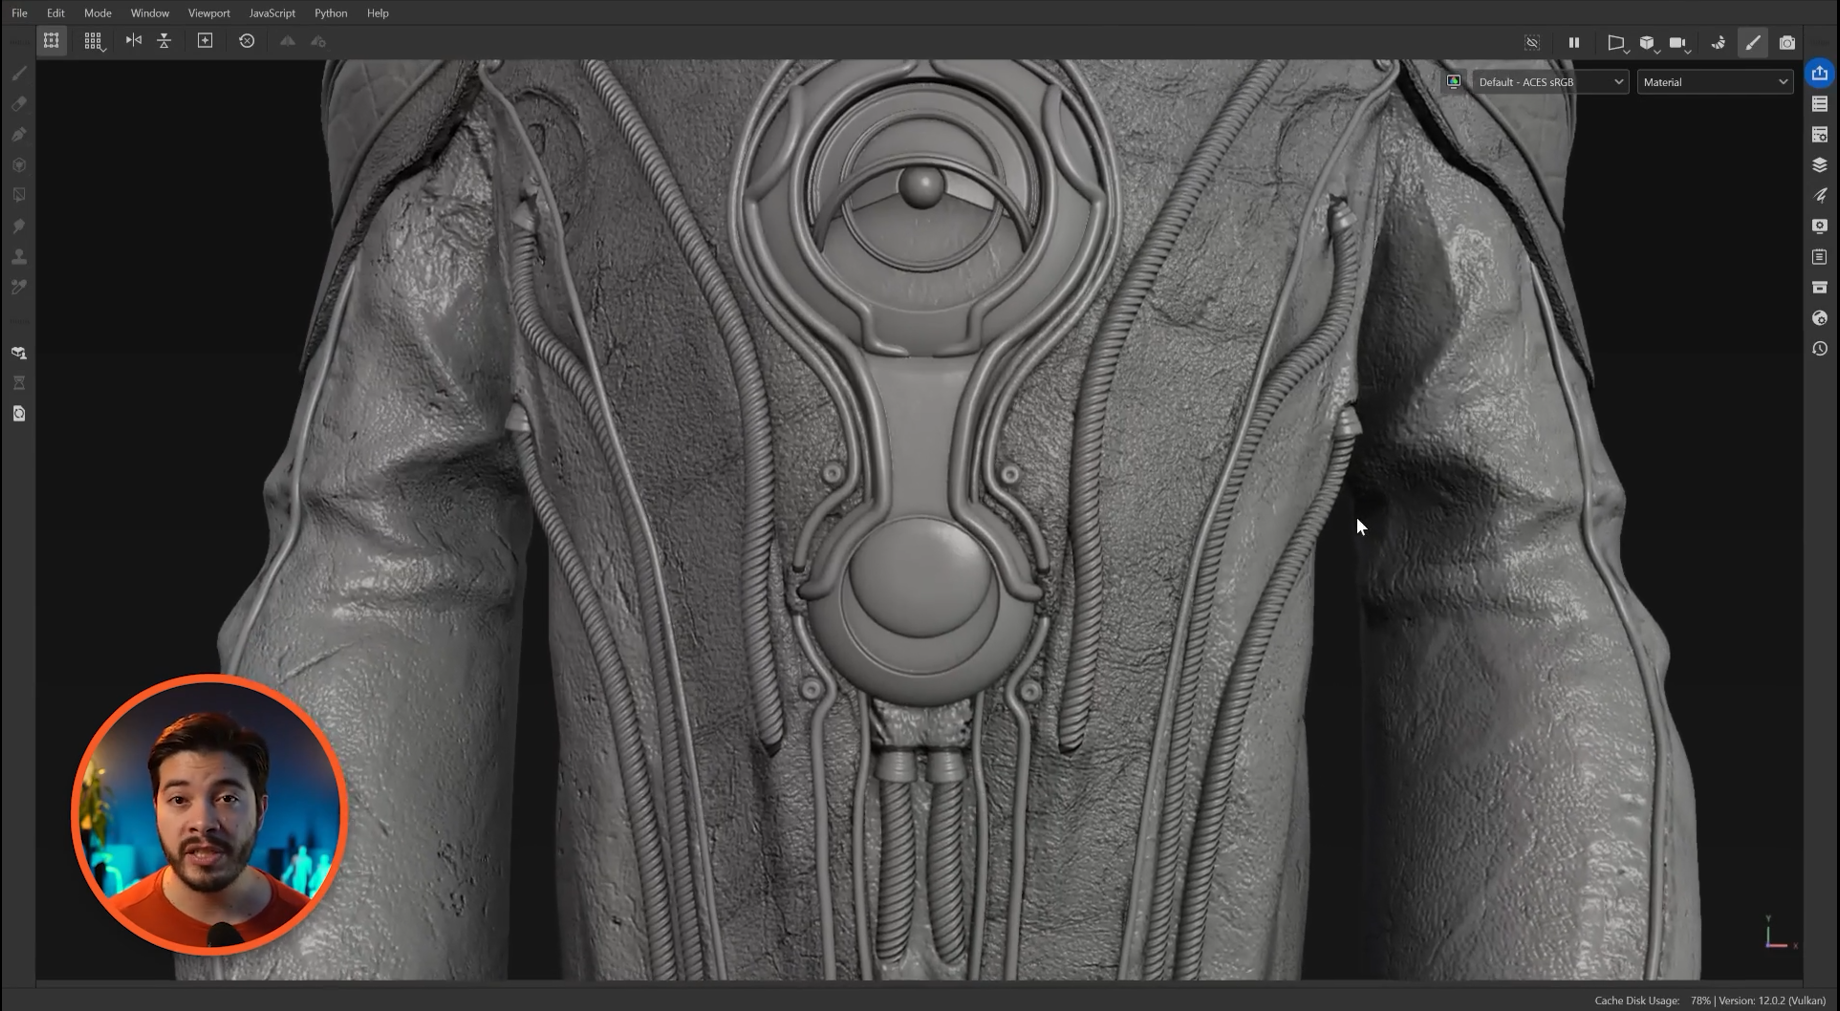
There is a common assumption that detail is only “real” if it is physically sculpted into the mesh. But a skin pore is still a skin pore whether it comes from a brush stroke with an alpha in ZBrush or from a height map in Substance 3D Painter.
What matters is the final surface response: how the detail catches light, breaks up reflections, changes roughness, and contributes to the material. A properly built Painter material can create the same visual layer of fine information while keeping the underlying asset much easier to revise.
This is especially useful for detail that is repetitive or broadly distributed. Sculpting every pore, scale, small dent, or surface imperfection directly into geometry can work, but it is often a slow and restrictive solution for a problem that Painter is designed to handle.
The Commitment Problem in ZBrush
Once you stamp a detail into a sculpt, you are committing to it. ZBrush does offer ways to preserve some flexibility. Layers can help, and the Morph Brush can be useful for walking back changes. But the work is still geometry-based, and geometry can become heavy and unforgiving.
That matters when the direction changes. Maybe the skin needs to feel harsher. Maybe the scales need to be smaller. Maybe a pattern needs to be less visible, more irregular, or completely replaced. Revising sculpted micro detail can quickly turn into an afternoon of cleanup.
There is still a place for manual sculpted detail, especially when it supports the design and follows the anatomy. But it is worth being selective. Not every tiny surface mark needs to become permanent geometry.
Why Substance 3D Painter Is Better for Surface Exploration
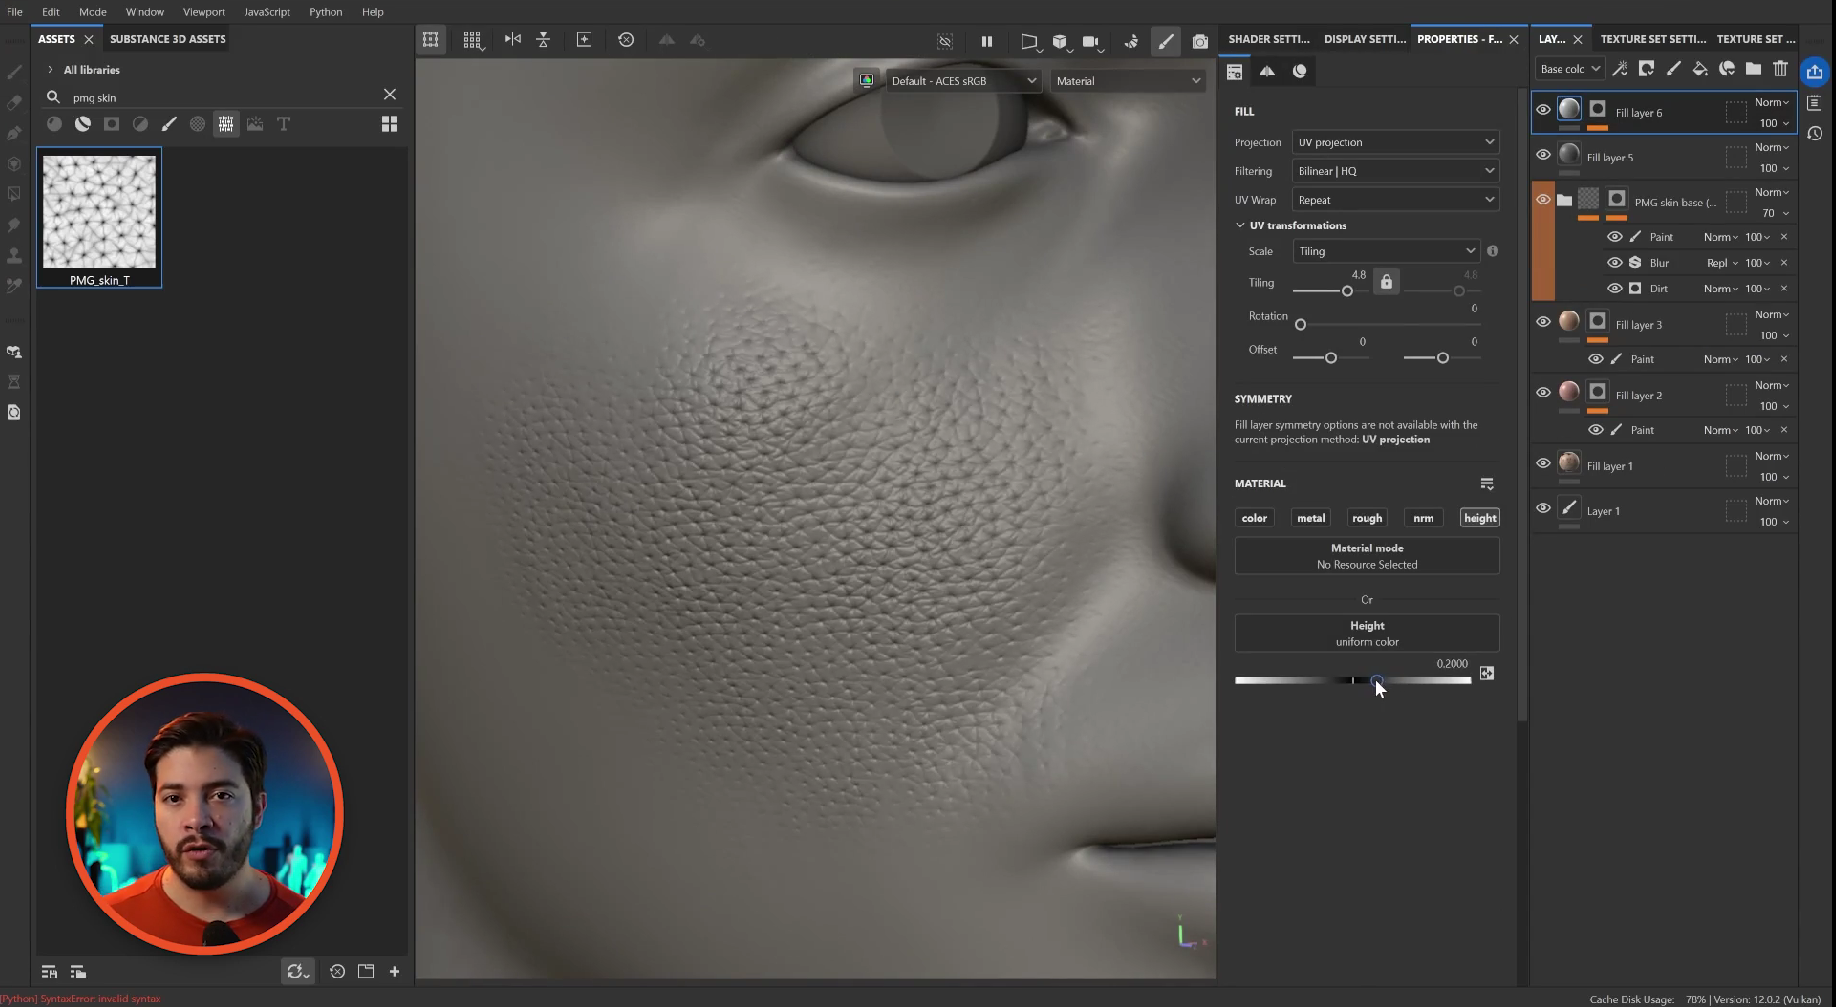
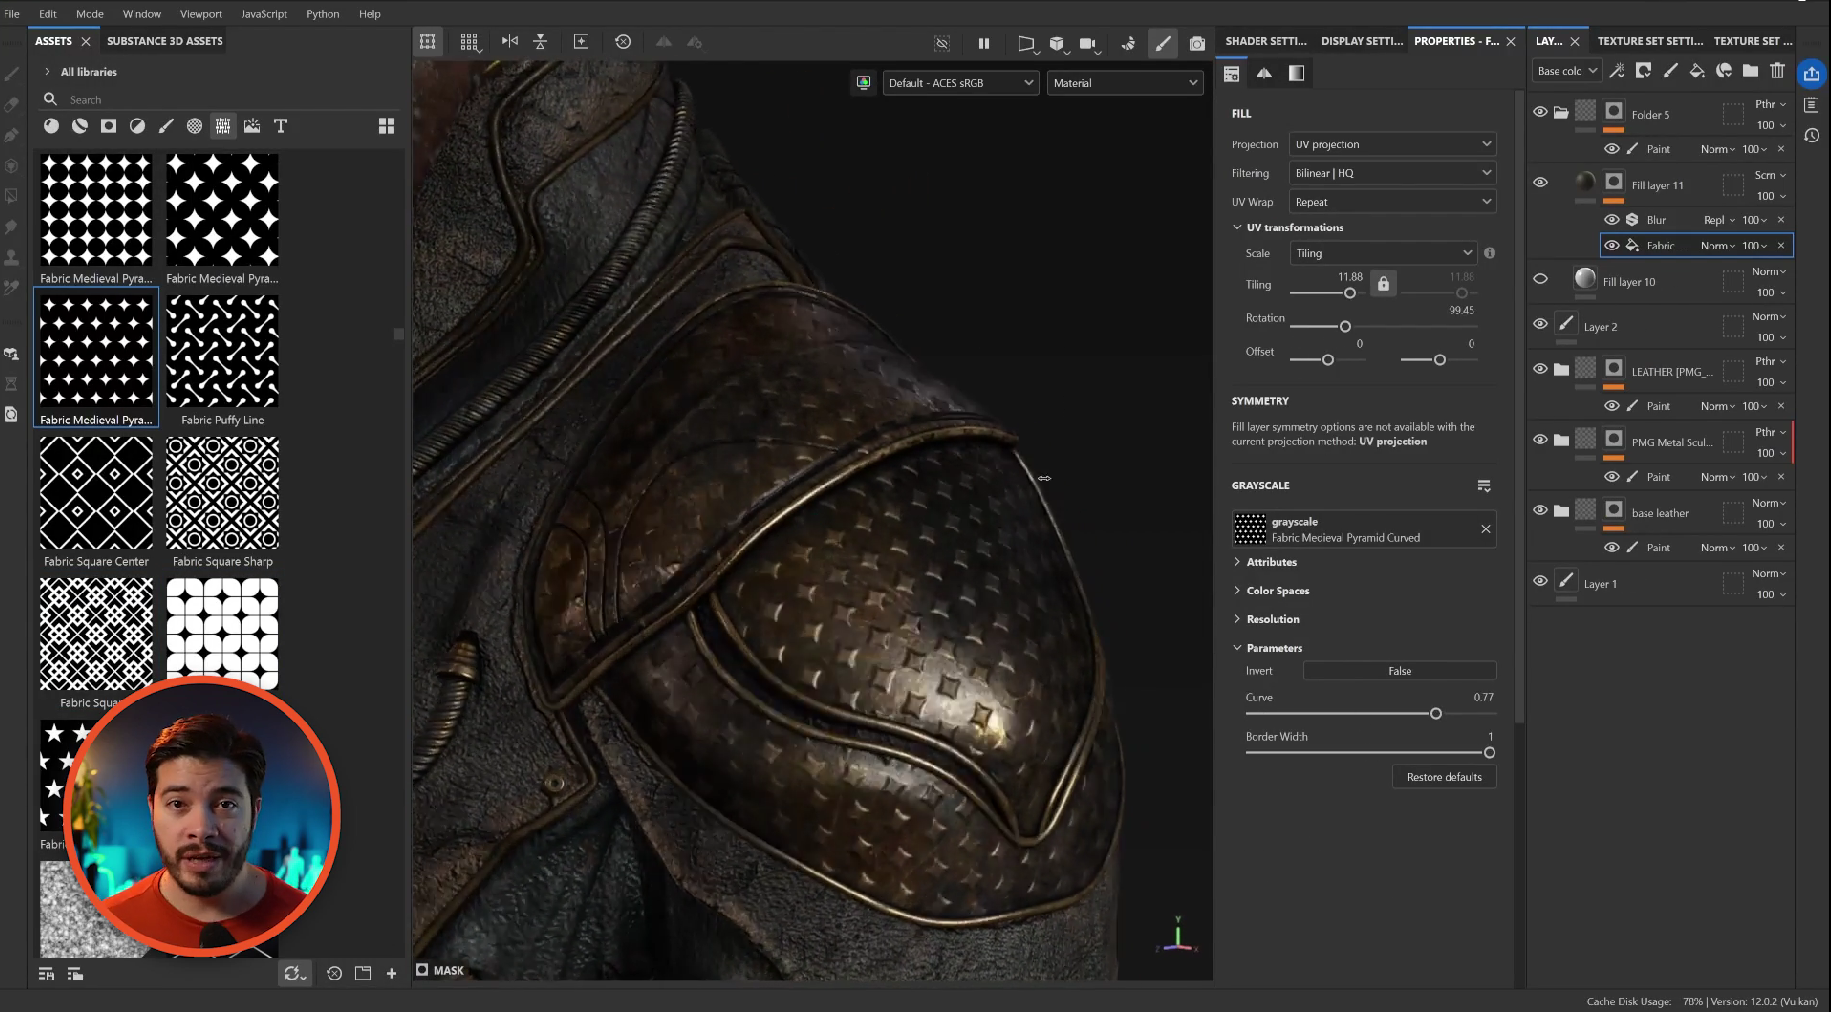
Painter keeps high-frequency detail non-destructive. You can add a pattern, change it, swap it for another texture, alter its scale, adjust its tiling, or layer multiple patterns together. You can also control precisely where the detail appears with masks.
That flexibility is the real advantage. Rather than committing early, you can keep developing the material until the character feels right.
- Scale patterns up or down without rebuilding the sculpt.
- Tile a texture differently to create finer or broader surface detail.
- Overlay multiple detail layers to avoid an obvious procedural result.
- Mask patterns so they only appear in selected areas.
- Adjust height strength, colour, and material response at any point.
- Replace a detail layer entirely without damaging the base asset.
This makes Painter ideal for art direction. A request such as “make the scales smaller” or “make the skin feel rougher” can become a quick material adjustment instead of a major sculpting revision.
Use Anchor Points to Reuse the Work You Have Already Done
One of the most useful parts of this workflow is the ability to build on existing masks. With anchor points, a mask or detail layer can be referenced later in the material stack. Instead of recreating the same selection or pattern placement, you can reuse it as a foundation for new effects.
For example, a mask that controls a scale pattern can also help drive colour variation, roughness changes, dirt buildup, or additional surface breakup. The material becomes a connected system rather than a collection of isolated layers.
This is where Painter becomes more than a place to add texture. It becomes a practical environment for exploring material decisions without rebuilding work every time the direction evolves.
What Should Stay in ZBrush
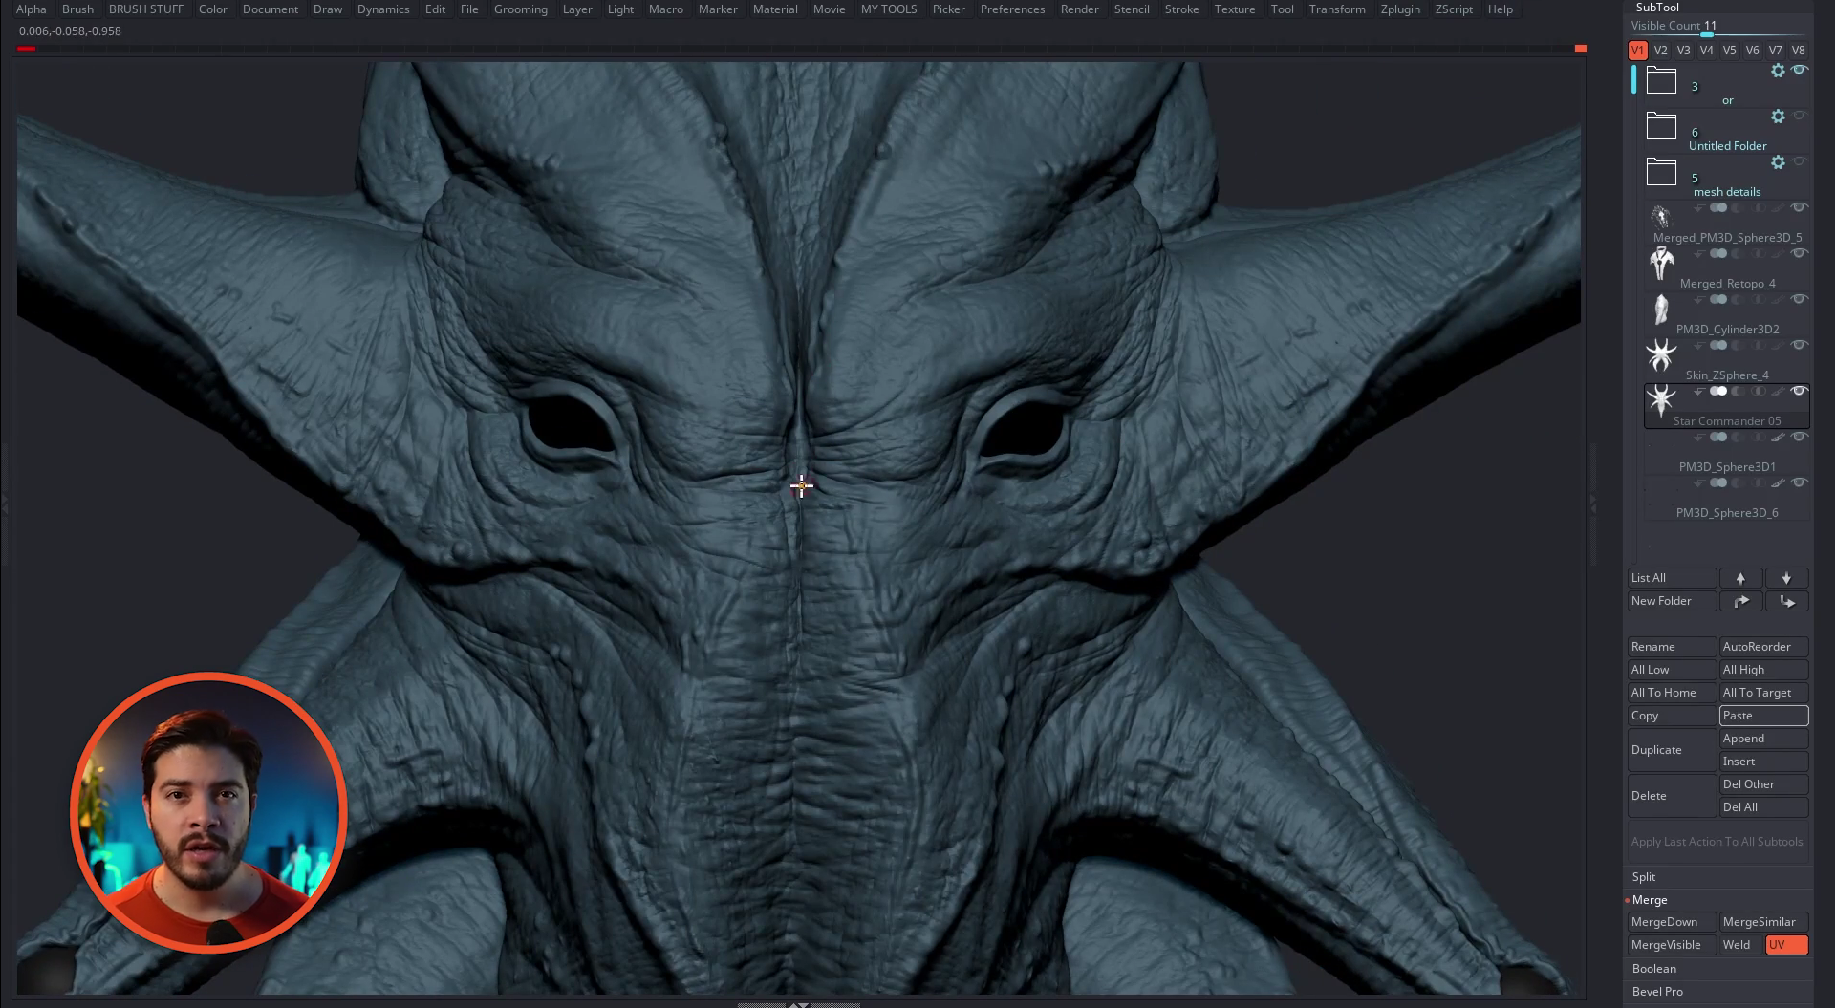
Moving micro detail to Painter does not mean removing the personality from the sculpt. ZBrush should still carry everything that defines the character at a structural level.
Keep sculpting the details that need full manual control and that contribute to the character’s design language:
- Large and medium forms that establish the head, body, and anatomy.
- Features that must read clearly in the silhouette.
- Wrinkles that follow tension, anatomy, and expression.
- Clothing folds that define material thickness and construction.
- Unique scars, creases, seams, and design accents.
- Any hero detail that needs to feel deliberately placed rather than procedurally distributed.
Custom detailing brushes are still extremely valuable here. For hand-placed, art-directed detail, sculpting is fast, direct, and difficult to replace. The goal is not to abandon that control. The goal is to reserve it for the details that truly need it.
What Should Move to Substance 3D Painter
Once the primary sculpt and hero details are working, Painter can take over the high-frequency layer. These details contribute to realism and richness, but they do not need to permanently live in the mesh to do their job.
- Fine pores and skin grain.
- Micro wrinkles and subtle surface compression.
- Fine scratches, dents, and small imperfections.
- Noise that breaks up an otherwise clean material.
- Repeating scale, leather, fabric, or armour patterns.
- Small height details that benefit from easy adjustment.
- Colour and roughness variation that makes materials feel less uniform.
This division keeps the sculpt focused and readable while giving the material room to evolve. It also makes it easier to test multiple visual directions without repeatedly altering the asset’s geometry.
A Practical Detailing Workflow
- Build the primary forms in ZBrush. Focus on proportion, anatomy, silhouette, and the overall design.
- Add the medium forms. Sculpt the transitions that give the character weight, structure, and readable planes.
- Place hero details manually. Add the wrinkles, folds, creases, seams, and unique accents that need intentional placement.
- Stop before generic surface noise takes over. Avoid spending large amounts of time sculpting repetitive pores, patterns, and micro breakup that do not define the form.
- Move into Substance 3D Painter. Build the high-frequency surface layer with fill layers, masks, patterns, height, colour, and roughness variation.
- Keep everything adjustable. Use masks and reusable references so changes to scale, intensity, placement, and material response stay quick.
Why This Workflow Works
This approach works because it separates two very different types of decisions. Sculpting is for form decisions: the things that make the character read properly from every angle. Painter is for surface decisions: the details that make the material feel rich, believable, and specific.
Keeping those layers separate gives you more control, not less. You can still sculpt all of the important character-defining detail by hand. At the same time, you gain the ability to iterate on micro detail without getting locked into geometry too early.
The final result is a workflow that is faster, more flexible, and easier to art direct. Form and hero details stay in ZBrush. Surface detail mostly lives in Substance 3D Painter. None of it is fake—it is simply a more practical way to make decisions you may want to change later.
Final Thought
Do not measure the quality of your asset by how much microscopic information is sculpted into the mesh. Focus first on the forms, silhouette, and intentional design choices that make the character strong. Then use Painter to build the rich surface layer on top.
Start simple, protect your flexibility, and only commit detail to geometry when that detail genuinely needs to define the form.
Digital Clay Brushes Pack
A collection of 45 ZBrush custom brushes to recreate the ‘look and feel’ of real clay sculptures in your characters and creatures. This pack also comes with 20 PBR clay texture sets, additional tileable maps (normals and displacements), a base to display your models and a quick start guide!
Get resource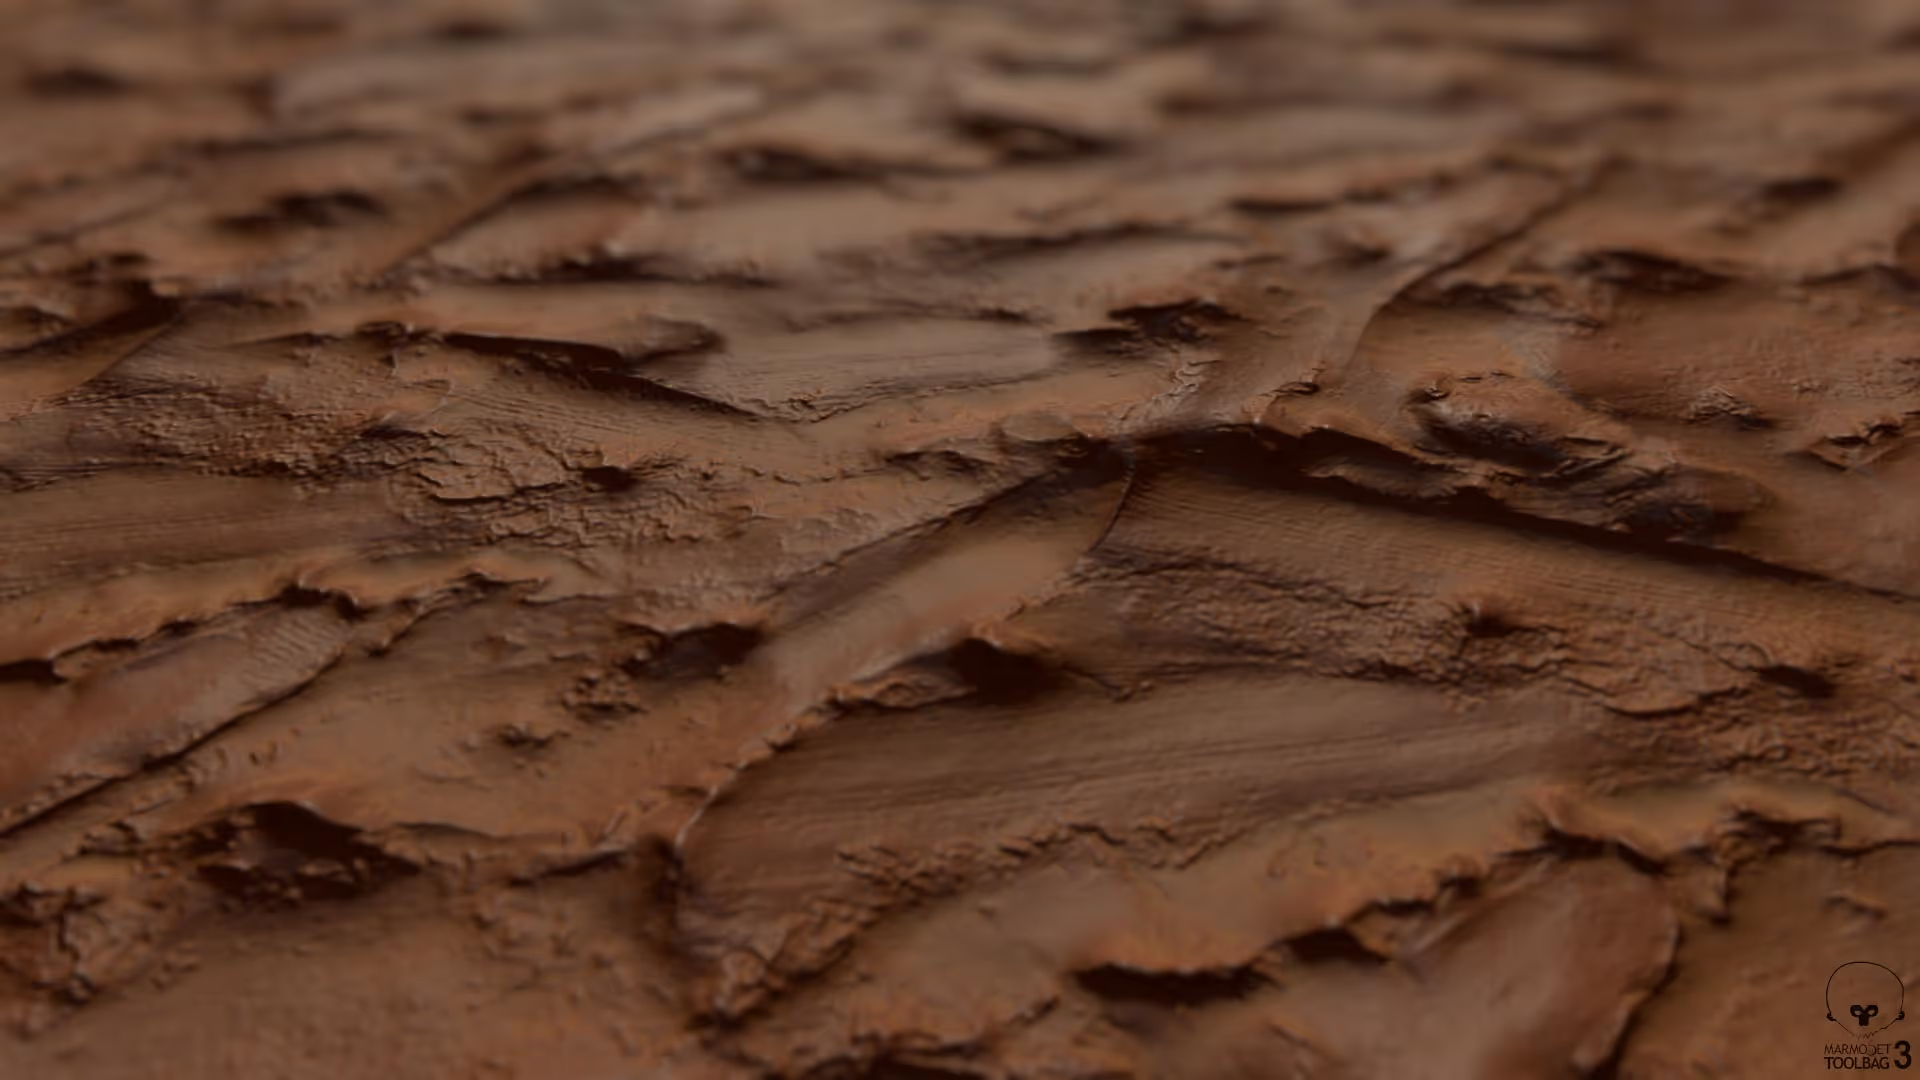
Texturing Sci-fi Gun
In this video, we'll walk you through a quick intro to the tutorial series and set the stage for everything we’ll cover.
Check it out.webp)




.png)